
DVD Flick, available here: http://www.dvdflick.net/ , is a free DVD authoring program. DVD authoring means taking a video file that you can play on your computer and changing it into a file that you burn to a normal DVD which will play on a standalone DVD player, just like the movies you buy at the store. DVD Flick takes just about any video file, it supports 45 file formats, making it much more versatile than other similar apps. It’s free, easy and foolproof. You can make simple DVDs that play as soon as you pop them into the player or you can create fancy menus, just like a real DVD. We’ll explain the basics here but feel free to explore DVD Flick on your own.
TIP: We recommended Window’s DVD Maker in a previous post but we’ve changed our minds on that program. Yes it’s good but it doesn’t work as well as DVD Flick. We recently ran into a problem where the Window’s app made DVDs with no audio. We tracked down the problem to an issue with ‘codecs’ and could have fixed things but we decided to use DVD Flick instead. DVD Flick supports over 40 audio codecs, just so you know. We doubt that you’ll run into a problem with silent DVDs if you use DVD Flick.
Here’s a rundown of DVD Flick’s features, straight from their website:
The first thing you want to do after you install DVD Flick is to add the video file that you want to turn into a DVD. While you can add more than one video file, adding more than one degrades the video quality that you’ll see on your TV screen. We’re talking full length videos here, not snippets of home videos. If you’re simply making a DVD of various family movies, that’s different. Add as many as you want up to the time limit of a normal DVD, about two hours. Again, you can add even more videos, past the two hour limit, but the final result won’t look nearly as good.
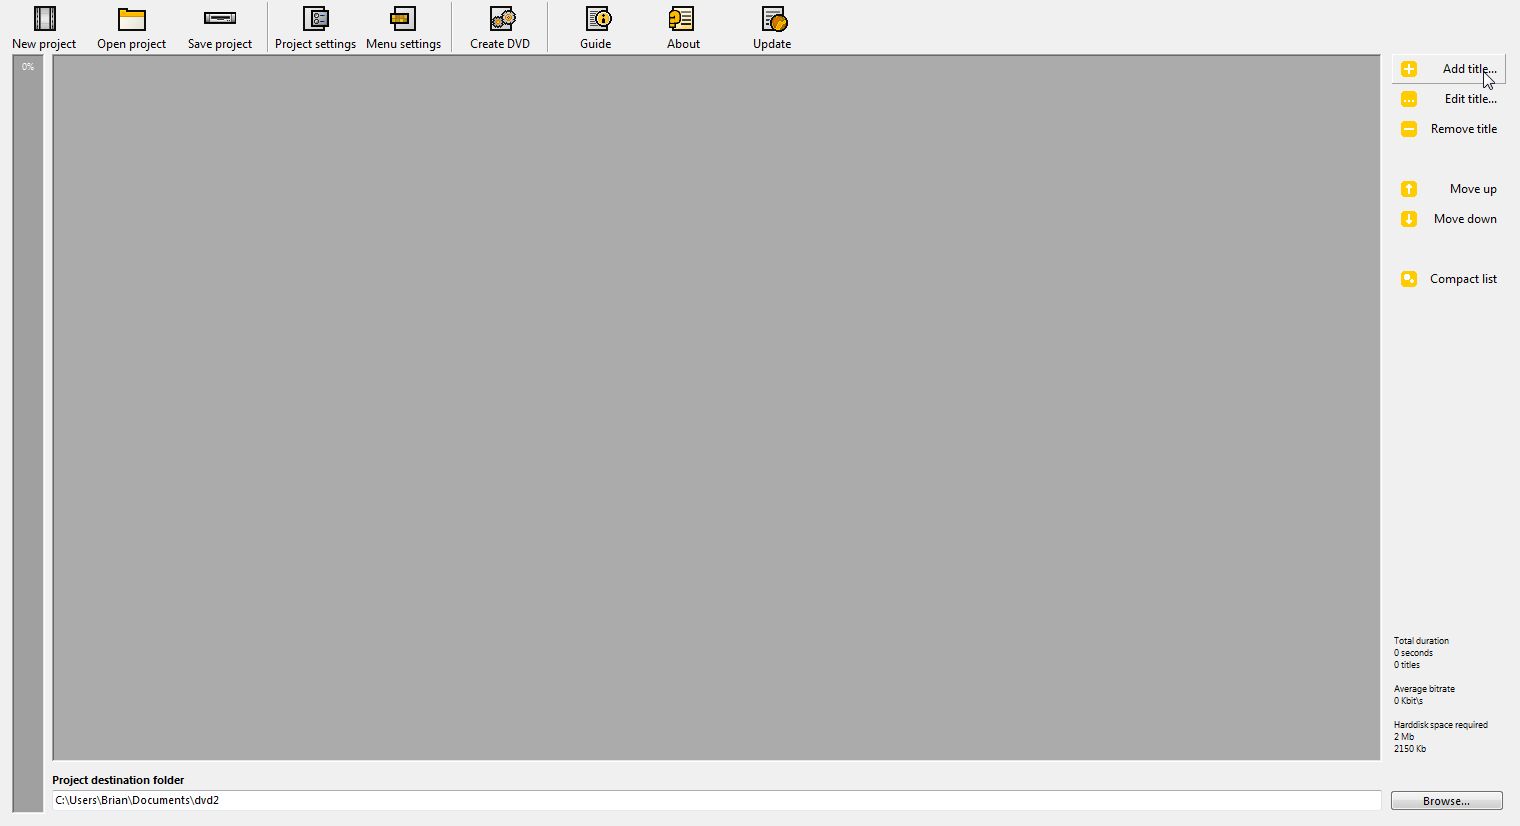
When you click ‘Add title’, you’ll open the normal Windows file window. Find the video you want and click ‘Open’.
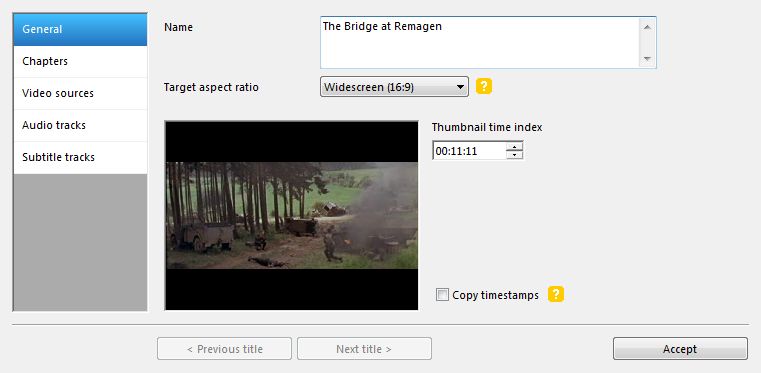
DVD Flick will show you a new menu that has the name of the movie (change it to caps), how long the thumbnail will be shown as well as different settings for things like audio, chapters and subtitles.
DVD Flick will save the final DVD files in your documents folder. It always uses the same folder, which brings up the following menu if you forget to change things:
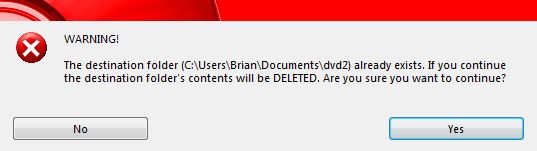
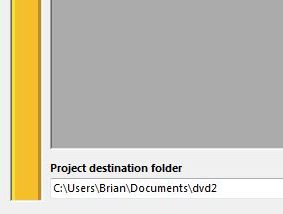
If you’re authoring several videos, make sure you change the name of the folder each time. Looks on the lower left of the DVD Flick menu:
Once you’ve done all of this, click the Create DVD button on the top row and wait. Depending on the speed of your computer, this process could take a while. In our test, on a reasonably fast computer, it took 35 minutes. When DVD Flick is finished, you’re left with a folder that contains two other folders. These creations are named VIDEO_TS and AUDIO_TS. Each folder contains the various files needed to make your DVD look like one you buy in a store. Next time, we’ll show you how to burn those files to a DVD.
TIP: Although we could, we don’t use DVD Flick to actually burn the DVD. We ran into a few problems when we tried. For now, we’ll create the DVD with DVD Flick and burn the final product to a DVD using Burnaware. We’ll show you how to do that in our next post.
Thanks for reading!
i did all the things,but when clicking “create dvd” appears a message stating that the dvd destination folder contains cheracters like e or ? and thus it doesn”t work. the oint is that the destination folder DOESN”T contain any of this characters. any comment/help?
Then do it backwards. The DVD files are usually on your C:/ drive. Use a burning app, something like Burnawre, to burn those files to a DVD. If you can’t do it inside of DvdShrink, then create the smaller files with it but use something else to burn the folders. Let us know if you still have a problem. Good luck and thanks for commenting.