Short and sweet, my Amazon Fire TV Cube pauses automatically and stays pause until I hit the play button on the remote.
I’ve had my Fire tv Cube since April 2021. Since it’s been installed, it pauses automatically, no matter what it’s streaming. Hell, it even pauses when streaming Amazon Music.
Soon after I got the Cube, I contacted Amazon’s customer support. Together, we went through at least an hour of trying this and that. Amazon took control of the Cube. Didn’t help. I reset it. Didn’t help. Amazon updated the software. Didn’t help. You get the picture. Although the Fire TV Cube stopped pausing at one point in time, it is now pausing every time I use it.
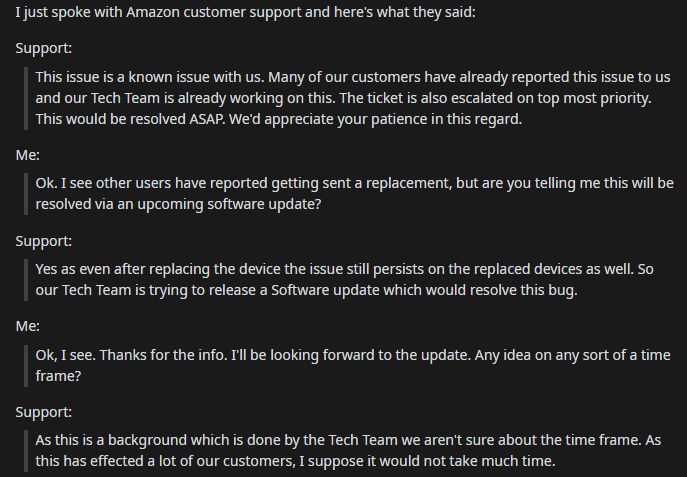
According to one Reddit user, this is a known hardware problem with the Fire TV Cube. Here’s the post, from 2018:
Reddit Post from 2018.
It seems there is no solution to the problem with my Fire TV Cube. It’s still pausing, it’s out of warranty so I’m left with a pretty useless piece of hardware. My two Fire TV Sticks work perfectly.
You’ve been warned. Don’t by an Amazon Fire TV Cube. Stick with the Fire TV Stick.
Thanks for reading. What is your experience? Does your Fire Cube TV pause? Did you find a solution? Let us know. Cheers!
I have music playing in my house from dusk to dawn. You could call me a bit of an Amazon Alexa addict, seeing as how I have four Echo Dots spread throughout the house. In the past, Alexa used to play my requested music then stop abruptly. If you asked her why, she’d say, “There hasn’t been any activity…blah, blah, blah”. Well, if you don’t want to hear Alexa say that anymore, stick around. You’ll find out how to fix it and have Alexa play your music as long as you want.
Setup is easy, pretty much. You need more than one Echo Dot. From my experience, you also need at least one Amazon Fire Stick. The count at my house is four Dots, two Fire Sticks and one Fire TV Cube.
Tip : Don’t Buy an Amazon Fire TV Cube – Stay tuned for my next post and I’ll tell you why. Fire Stick yes! Fire TV Cube no!
It’s obvious that you’ll need Amazon Music, too but if you have Echo Dots and a Fire Stick, we’re 99.9% sure you have Amazon Music. By the way, you do NOT need Amazon Music Unlimited. The normal Amazon Music works just fine, thank you. It’s free with Amazon Prime, that’s why we’re sure you have it.
OK. Step one is to install the Amazon Alexa app on your phone. Go and do that. We’ll wait.
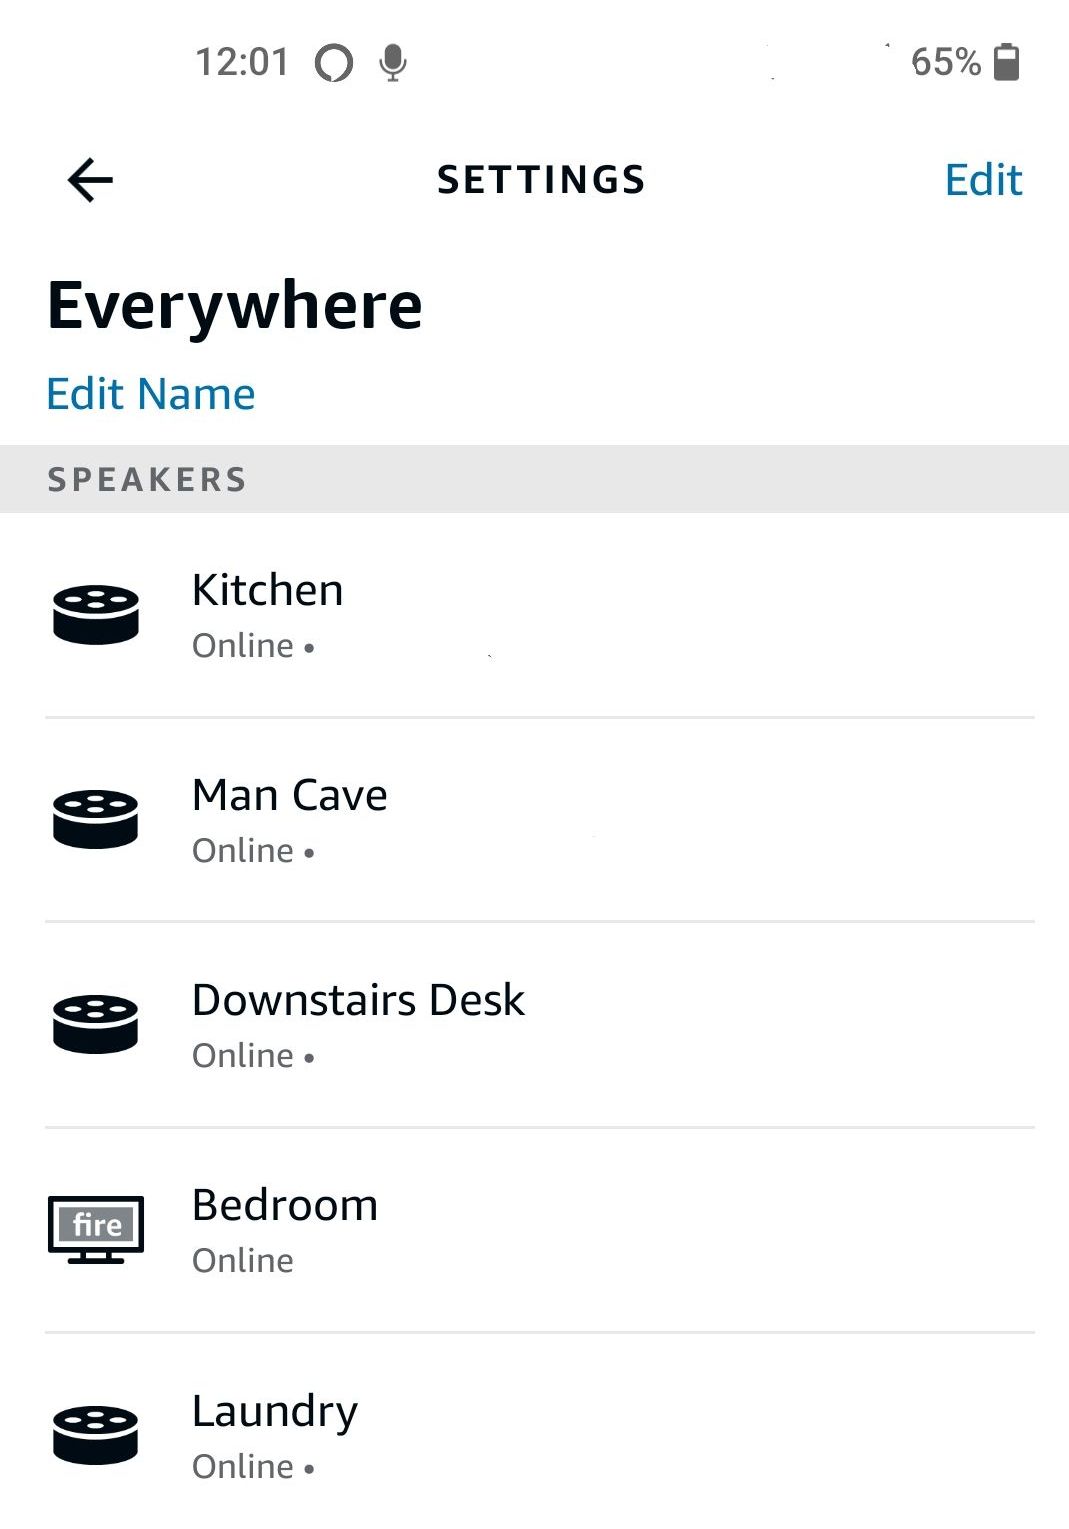
Next, link up your Dots and Fire Sticks with the app. That’s very easy to do but takes a bit of time. Itemize each one so you know where it is in your house or apartment or office. Here’s what my setup looks like:
My Amazon Echo Dot Setup. The key word here is ‘Everywhere’
Once all of your Echo Dots are showing in the app, make a group in the app. Add at least one Fire Stick and more than one Dot. Make up a name for the group and you’re all set.
Now, you can ask Alexa to play whatever music you want. If you want her to play music everywhere endlessly, make sure you tell Alexa where you want to play your request. I say something like this: “Alexa, please play My Soundtrack everywhere”. (Yes, I say please. I’m Canadian, remember?)
Alexa will respond and the key word is her last one. If she says ‘playing everywhere’, just sit back and listen. Or go to the store. Or take a vacation. I donated blood last Friday, my 50th donation, thanks for asking. Alexa started playing music at 7 AM and was still playing when I got home at 11:30 AM. The key, from my extensive research, is to have a Fire Stick in your group.
Feel free to comment, ask questions, say that you liked the article, share it or just smile. It’s all good. Thanks for reading. Cheers!
Hi to my readers. There probably aren’t that many left but in case there are a few, here’s my update.
Since I started this site, my life has changed quite a bit. Obviously, I’m older. I turn 70 in a week. Next, I’m a widower now. My wife died in December 2019 so now it’s just me. As they say, things change.
I’m winding down this site. It hasn’t been updated at all for years and I want to thank everyone for their support over the years. This site may change, I may start doing different things with it, etc.
If you’re not busy, stop by now and then. Thanks for visiting. Cheers!
Twice now, we’ve run into the same error on separate Windows 10 laptops. While the WiFi is clearly working, Windows 10 tells us that there is no Internet even though we know there is. Here’s how to fix this problem quickly and easily.
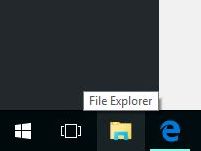
Click on the file folder icon down at the bottom of your Windows 10 screen. This will open File Explorer.
Click on this icon to bring up File Explorer
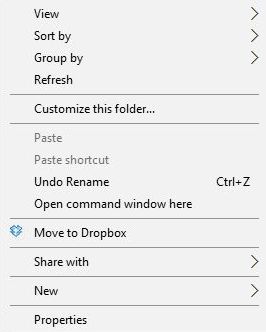
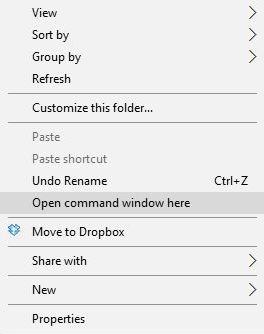
Hold down the Shift key and right click any folder on the left pane. This will open the menu shown below.
This is the menu that you see when you hold down the shift key and right click a folder in Windows 10.
From the menu, choose ‘Open command menu here’.
Choose Open command window here.
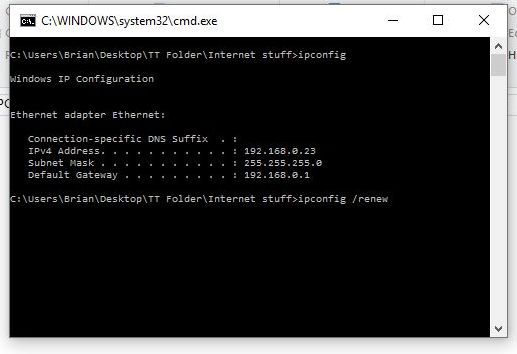
Once the black and white command menu opens, type ipconfig , just those letters, nothing else. Make sure you don’t make a typo, all you want is ipconfig
Type ‘ipconfig’ in the window. Just those letters, no punctuation.
Windows 10 will check your current IP settings and display them in the same window. More than likely, those settings will be incorrect but that is irrelevant to you now. Once Windows is finished and displays the IP settings, type the following into the window: ipconfig /renew (That is the letters ipconfig then a space then a slash then the word renew , nothing else.)
Type this: ipconfig /renew
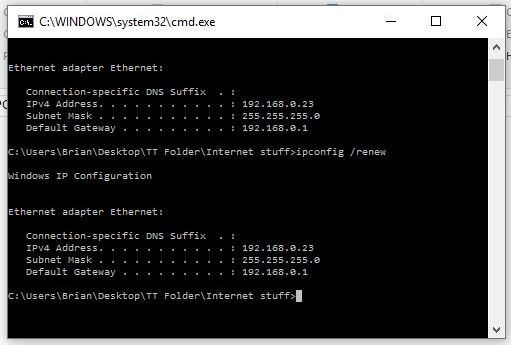
Windows 10 will then renew your current IP address and display the new configuration. At this point, your laptop or PC should be able to connect to the Internet.
You should see something like this. Don’t forget to close this menu by clicking the X on the top right.
Here are some things to check if you still can’t connect. Make sure your WiFi is turned on. If Airplane Mode is on, turn it off. Lastly, make sure your router/network actually is connected to the Internet.
Hopefully this quick trick will fix your connection. Good luck!
Comments and questions are welcome but Likes on our Facebook page get immediate attention. Here’s the link: Computers Made Simple on Facebook .Thanks for reading!
We’ve been asked to write a post about how you can use DownAlbum to download complete photo albums from Facebook. We’ve gone one step better and have created a Youtube video that explains the whole thing.
Here’s the video. You can play it here or on Youtube itself:
Here are some tips to remember:
If the album is very large, wait until all of the photos are shown on the first DownAlbum page before trying to save the album. If the page hasn’t finished loading, you won’t get all the photos.
Even though the photos on the DownAlbum page are shown smaller than the original, the full-size photo will be saved to your computer.
You will need a lot of RAM on your computer before you will be able to load large photo albums. If you’re squeaking by with 2 gigs or 4 gigs of RAM, you probably won’t be able to load albums with 100 or more photos.
If you don’t have a lot of RAM, try closing everything down first. Make sure you only have the single Facebook page open before you load the album. Basically you want to single-task, not multitask.