We love WeChat! Sometimes, however, it’s a pain to tap tap out messages on a small screen when we’re sitting at our computer or using our laptop. Here’s a quick and easy tutorial on how to use WeChat’s new feature, Web WeChat.
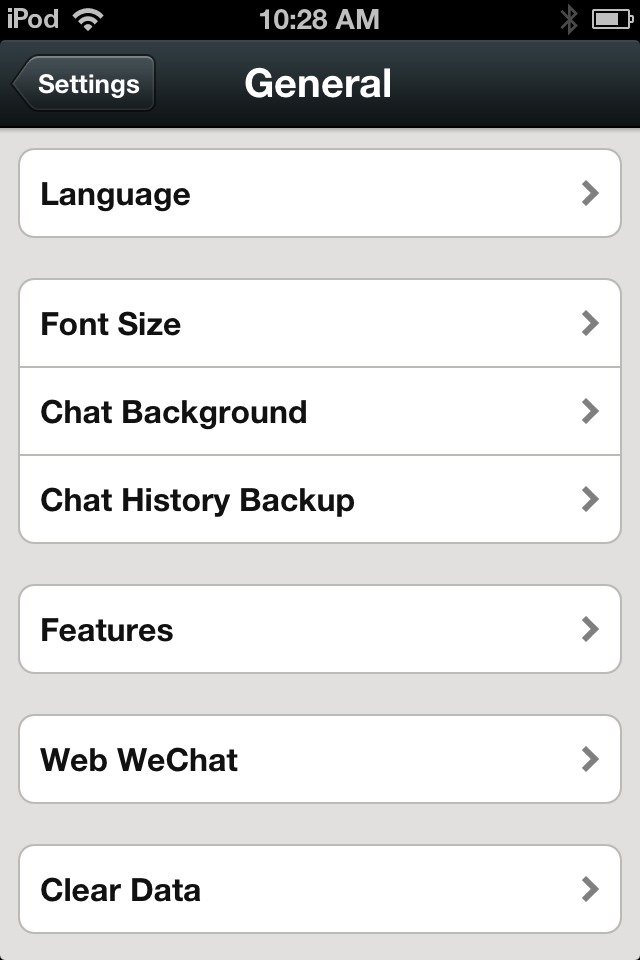
1. Press ‘Me’ on the lower right of any screen. Press ‘Settings’ then press ‘General’ on the next screen. Down near the bottom, look for ‘Web WeChat’.
There is Web WeChat, down near the bottom.
2. This whole process involves scanning a QR code that shows up on your computer monitor so make sure you have a new browser tab open. WeChat asks you to open web.wechat.com so do that now.
This is what you see after you press ‘Web WeChat‘
3. Click on ‘Scan the QR code with WeChat’ link that appears on your screen.
4. After a short wait, a large QR code appears. Scan that with your phone/mobile device. Make sure your fingers aren’t in the way and that you move back enough to let your device’s camera scan the full code:
Here is the QR code that you scan with your mobile device’s camera.
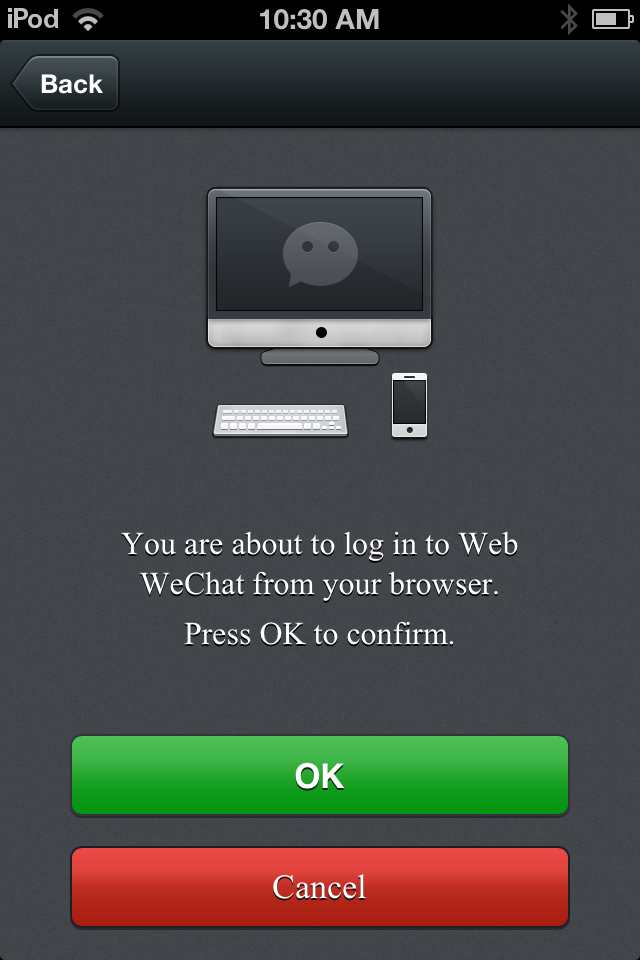
5. Once the code is scanned, your mobile device double-checks that you want to login to WeChat on your computer:
Click OK.
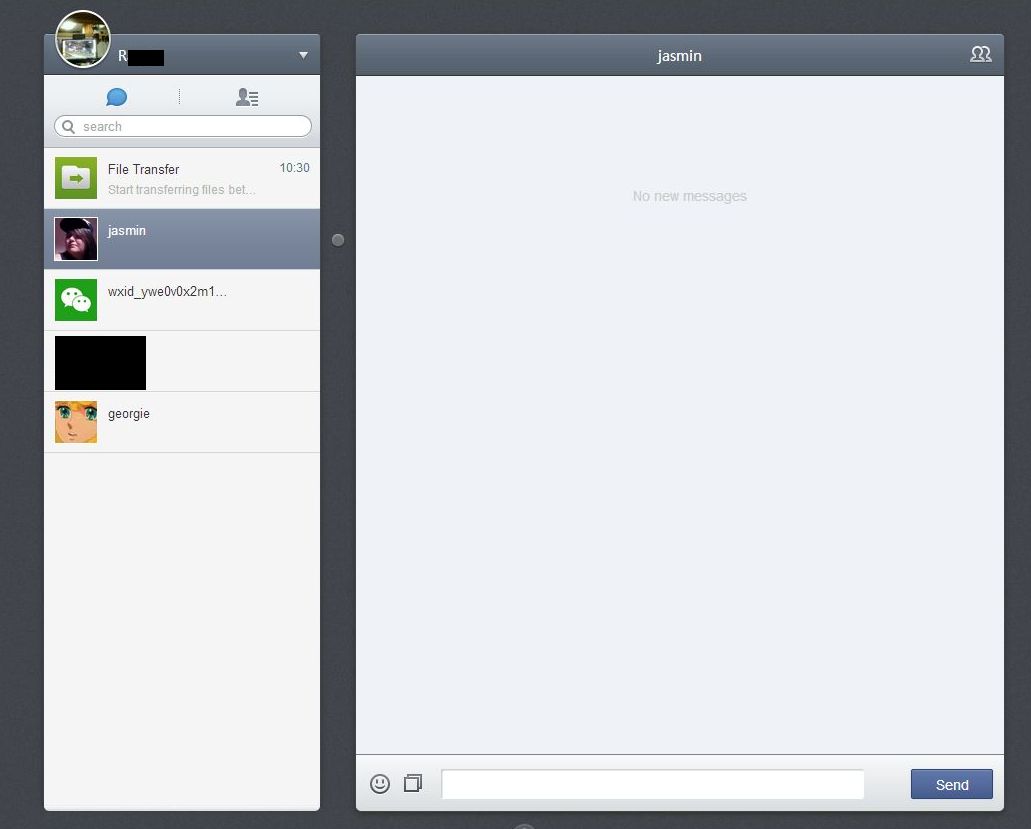
6. At this point, a chat windows opens up inside your browser, complete with contacts on the left and a chat window on the right. How cool is that?
That’s what you’re looking for, isn’t it? Your keyboard is faster, the interface is bigger. Win win!
Web WeChat is so much faster because you can use a keyboard for messaging plus all of your contacts and chats are visible. There is a audible notice of new messages. If you don’t want that, it can be turned off quite easily. Click on the little down arrow icon just to the right of your display name. Enjoy!
TIP: It goes without saying that Shake and People Nearby won’t work on your computer, right? Well, we said it anyway.
We use CamStudio to record our instruction videos for Youtube. So far we’ve only made one but there will be more n the future. The last time we installed CamStudio, everything went well. We downloaded the software, double clicked on it and that was that. Just now, we were surprised to find adware attached to the main program, even though we downloaded it from the main CamStudio site. Once we saw this, we decided to do a post on how to avoid installing extra software (adware) with some free apps.
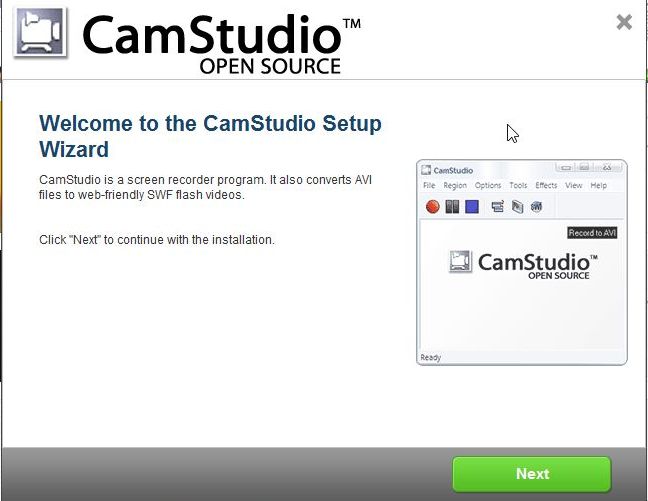
1. Once you download CamStudio, and some other software, the installation process starts normally. Usually the first screen asks you to accept the company’s terms of use. That goes for just about everything that you download. That part is easy. Here are the first two screens:
Everything looks good. It’s OK to click ‘Next’.
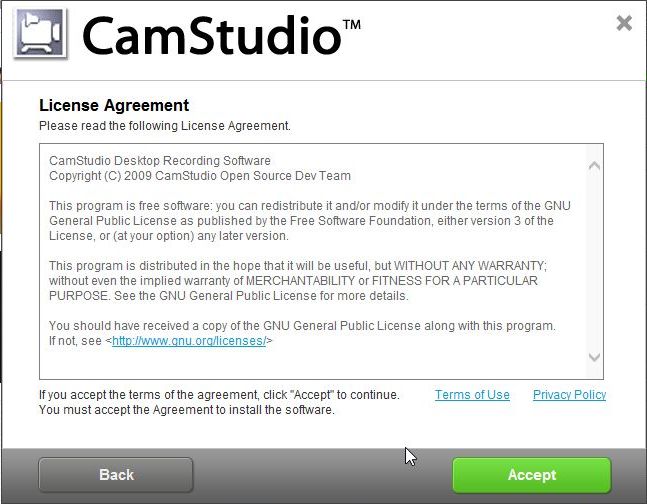
This is the actual CamStudio License Agreement. It’s OK to click ‘Accept’ on this one.
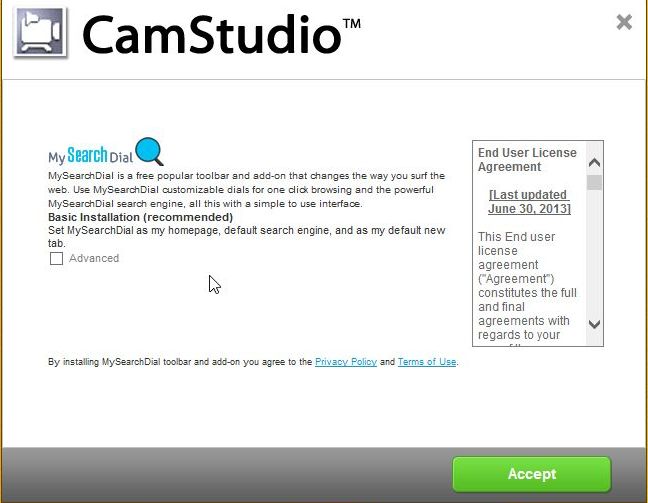
2. Now is the time to start really paying attention. The next several screens look innocent enough but they’re not. Here’s an example:
CamStudio wants to install ‘My Search Dial’. Don’t let it.
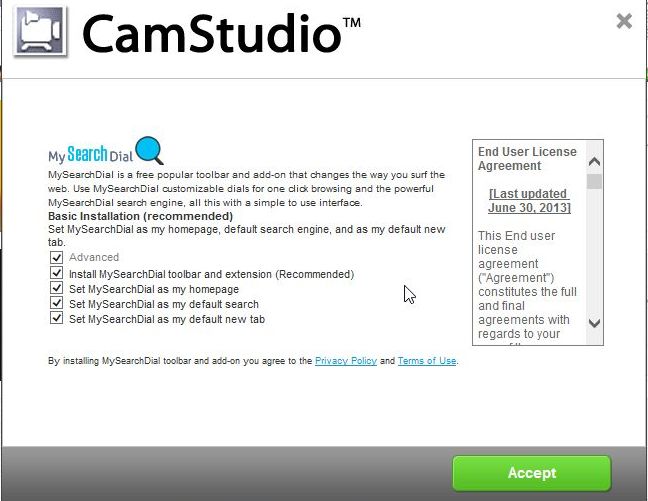
When you click Accept on this screen without clicking ‘Advanced’ first, your home page will change, ‘My Search Dial’ will become your default search engine and any new tab that you open will contain My Search Dial, whatever that is. For now, click on Advanced. This is what you see, carefully hidden behind that box:
What’s this? Here is what would happen had you click Accept without taking a look first.
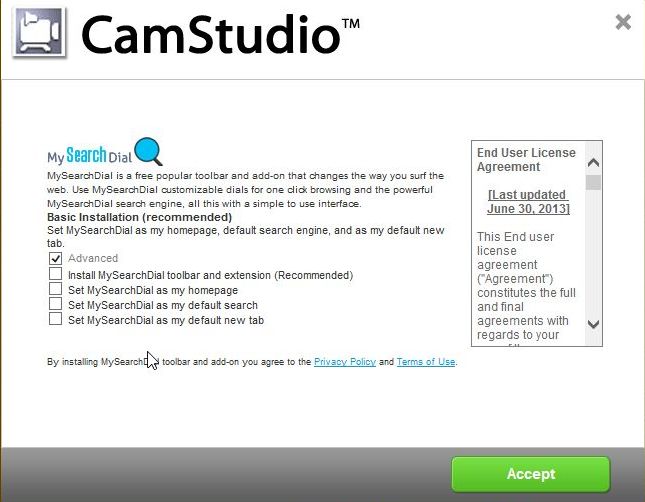
Uncheck the four boxes below Advanced, then click Accept. You want the box to look like this before you click Accept:
Even though Advanced is checked, the other four boxes aren’t. Only click Accept when the menu looks like this.
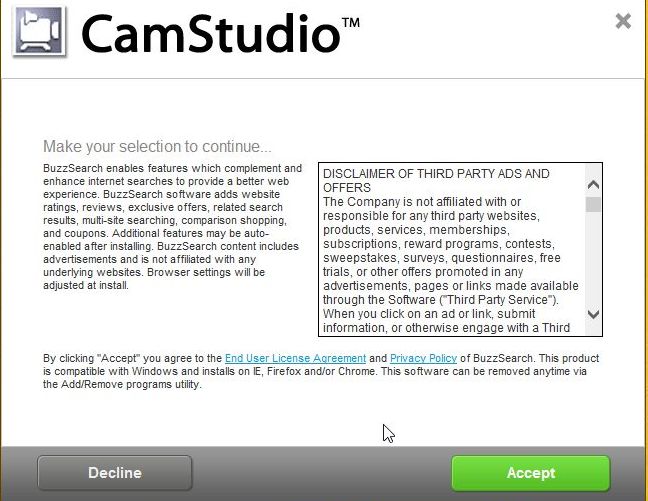
3. On the next few menus, the style has changed. This time, instead of hiding things behind an Advanced button, you will have to ‘Decline’ several options, all of which will install adware on your computer. We’ll run through them as a group, just remember to click Decline on each one.
Decline ‘Buzz Search’. You do not want whatever it is offering.
TIP: The adware wants you to think that you are actually declining the whole installation. You’re not. You are simply declining the installation of the adware. Remember that.
Linksicle Plug-In? No thanks. Hit Decline immediately.
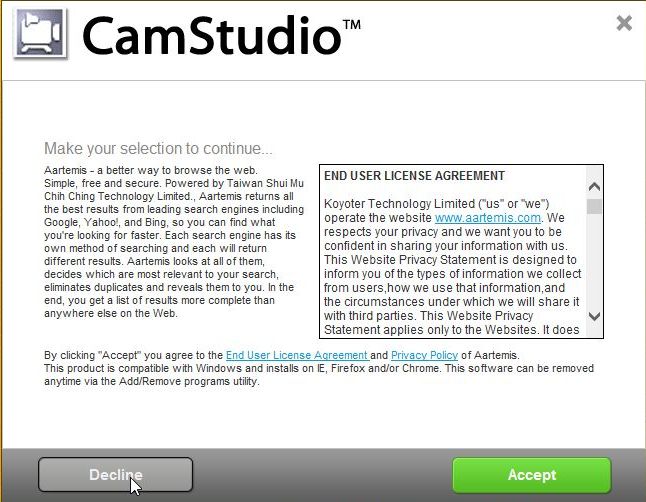
Aartemis seems to be from Taiwan. No matter where it’s from, you don’t want it. Hit Decline now.
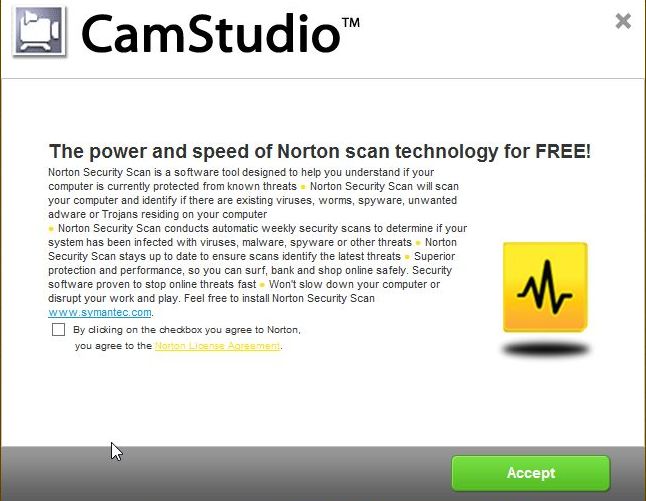
If we haven’t said it before, we’ll say it now. You don’t want anything from Norton on your computer. Everything will slow down to a crawl. Don’t click the box, just click accept.
4. CamStudio will now install correctly with no adware (many would call it malware) attached. If you haven’t been keeping track, there were five additional programs that would have been installed if you had simply accepted the default screens. We know the software creators have to make some money for their efforts but we don’t think that adding sneaky bits of adware/malware is the way to do it.
TIP: You may have noticed that we didn’t include a link to the CamStudio site. This post was to show you how to avoid adware that is attached to otherwise free software, not to plug CamStudio. CamStudio works and works well but we don’t agree with the other crap that goes with it.
This is only one example of the things you might encounter with different bits of software, some paid and some free. We do our best to only show links to free software that comes without adware. If you notice something that we’ve linked to that comes with adware, please let us know.
Short and sweet today. We just set up a new computer and realized that we haven’t done a ’10 Best’ free software post in a while. If you’re a regular reader, you’ll know that we love free! There’s no need to pay for any software these days, believe it or not, other than a basic version of Windows or iOS. Heck, you can even get a free OS by downloading Ubuntu. If you go that route, Linux has hundreds of very cool, very free apps but that’s another story. Today, let’s move on to free software for Windows.
1. Irfanview
Irfanview
We’ve written many posts about Irfanview. Here’s one, complete with links: Post on Irfanview . We use Irfanview EVERY day for viewing pics, doing screen caps as well as bulk renaming and resizing PLUS making PDFS. You’ll wonder what you ever did without it. Make sure you get the main program as well as the plugins. Install Irfanview first, then the plugins.
2. VLC Media Player
VLC Media Player
VLC will play any video file there is, hands down. Again, we use it every day. VLC will do more than play videos but the other things it does can get quite complicated. We prefer to use it as a player as opposed to a video tool. Here’s the link to the homepage: VLC Media Player
3. Windows Movie Maker
When we’re going to upload a video to Youtube, WMM is what we use to create it. Forget about using the Youtube tools, they’re not worth trying. Download WMM, get to know the easy interface, then create your masterpieces with it. It’s free but it’s powerful too. If you’re not into video, use WMM to create slideshows from your holiday pics. Here’s the link: Windows Movie Maker (If you have downloaded the old MSN Live Essentials, you should have WMM already. If not use the link.)
4. The GIMP
The Gnu Image Manipulation Program is just as powerful as Adobe Photoshop but it’s free. This powerful tool will take your plain pics and turn them into works of art, all the adjustments are at your fingertips. Here’s the link: GIMP
5. Burnaware
Archiving data to DVDs is simple and fast with Burnaware. The GUI is very intuitive, point and click and you’re soon creating DVDs (both normal and BluRay) in minutes. Get it here: Burnaware
6. Dropbox
Dropbox…you need it.
This should be number one on your list. We use Dropbox on every computer we own, and we have lots, keeping all of our current projects synced from on each one. Here is a link to one of our many posts on Dropbox:
Although not completely compatible with Microsoft Office, LibreOffice is extremely robust…and free. With six components (Writer, Calc, Impress, Draw, Math and Base), LibreOffice has all of your office suite bases covered. Here’s where you can get it: LibreOffice
8. Recuva
If you’ve accidentally deleted data from a flash drive or an external hard drive, download Recuva and get it back. Read the instructions, they’re simple, and copy the deleted files to another drive. You’ll be breathing easier in no time. Get it and learn to use it now so you’ll be an expert when you need to be. Recuva
9. 7-Zip
Windows has its own zip utility which is pretty good and only a right click away but, and this is a big but, it doesn’t have a password locking feature, at least not an easy one. If you have a file(s) that you need to keep private, 7-Zip is quick, free and easy to use. 7-Zip site
10. Calibre
Calibre – Ebook management.
If you are into Ebooks, you need Calibre to manage them. This software catalogues all the ebooks on your computer, no matter which folder they’re in, then changes everything into a format that your reader can use when the time comes to upload them to your device. You can also use Calibre as an ereader, too. iTunes works fine as far as getting books to your Apple device, but you still need Calibra to get those books into the format that your reader can handle. It’s a big download but it’s worth it. Calibre – Ebook Managment
That’s our ten. What do you use that is indispensable? Let us know in a comment or on our Facebook page: Computers Made Simple on Facebook
Sometimes, music just doesn’t cut it, right? You’re on a bus or subway train, maybe sitting on an airplane waiting for takeoff or in a boarding lounge waiting for your plane to load; wouldn’t it be cool to watch a movie while you wait? Virtually every mobile device out there will play both audio and video files. Today’s post will tell you how to get your favorite Youtube videos from your computer to your mobile device.
Tip: This post is NOT for Apple users. iTunes handles all transfers, video and audio, from your computer to any Apple device. Get to know iTunes and let it do the work for you. For the rest of the world:
‘Download Flash and Video’ is the answer!
We’ve written about Download Flash and Video before. Check out this post before you go any further: Download Youtube Videos Revisited
DFV is a plugin or extension for Mozilla Firefox. While we normally recommend Google Chrome, we think Firefox is pretty good too, although we only use it when downloading videos. Follow the installation process described in the post above. Once everything is ready and you’ve found something on Youtube that you want to add to your mobile device, follow these steps:
1. Get the video page loaded and the video playing.
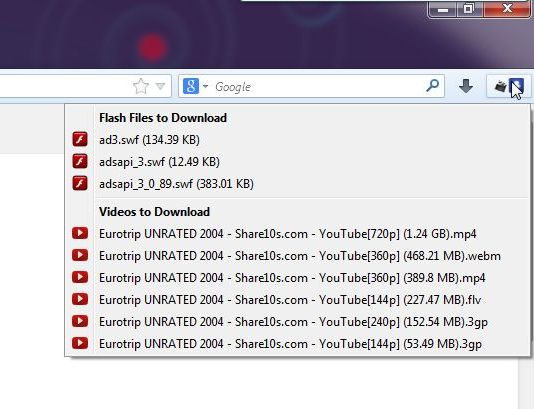
2. Up on the top right, look for the blue and white icon of an arrow pointing down. Here’s what you will see when you click it:
Lots of choices here. Which is the right one?
Ignore the flash files at the top. Instead, look at the row of ‘Videos to Download’. (We’ve chosen Eurotrip for this lesson. It’s a bit trashy at the start but, overall, it’s a very funny film. If you missed Matt Damon as a rocker, it’s worth seeing just for that.) Somewhere in that list is the file you need but, you ask, which one?
You have two variables here. The first is the question of how much storage you have on your device. The second is almost as important, that being the size of your display. Although it might not seem obvious to you, the various files listed in the photo above are arranged by size AND screen resolution. Check out the last one, for instance.
We can see that the file size is the smallest at 53.49 megabytes. The resolution is also the lowest, that being 144p. Ignore what those numbers mean, just remember that the lowest resolution is meant for smaller screens. There are two 3gp files but each has a different file size and a different resolution. Confused? Don’t be. Think of the display on your mobile device. Is it tiny? Medium? Large? If you’re running around with an old Nokia, for instance, either one of the 3gp files might be fine for you. The 144p file would look pretty crappy on our Nexus 4 but it would be perfectly fine on one of our tiny video players, the ones with the 1.5″ screens.
Up at the top, check out the very large mp4 file. That is large enough to play on an HDTV, certainly on any computer monitor but it’s overkill for a mobile device. It is 720p, meant for large screen HDTVs. For our Nexus 4, we’d look at the smaller, 360p mp4 file.
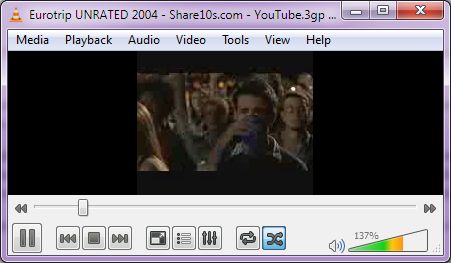
What should you do? Download them all. Find a video that you want to use and download each version of it. Now, DFV seems quite slow, to be honest. We downloaded four versions of Eurotrip and it took a while. Be patient, it’s worth it. Once we got the videos into our Download folder, here’s what we saw:
This is the 144p 3gp file.
This is the worst quality available but on a small screen, it’s perfect. In this photo the image looks grainy but when it was playing on the computer, it looked great…tiny but great.
This is the 244p 3gp file.
244p 3gp here. See how the image is bigger in the player? The image is clearer, too.
This is the 360p mp4 file.
Much finer image, much larger in the video player and a substantially larger file. If you have the storage room, this is the one to go for but only if you have a decently large screen. For the average cell phone, specially those with the keyboard on the bottom half below the display, the 3gp files are fine.
Figure out how much storage room you have then add one or more of the downloaded video files to your device and see which one works best. That way you’ll know the size and type of file to concentrate on. If you’re using a large tablet and have scads of room, let’s say 32 gigabytes or more, the 389.8 MB mp4 file would be an excellent choice. Smaller screens and smaller storage limit your choices to the bottom four video types.
TIP: Ignore the ‘webm’ file for most or all mobile devices. While its quality is equal to the large mp4 at the top, we doubt that any mobile device would have the ability to play it. It’s a good format but only for computers at this point.
Youtube has millions of videos at your fingertips. Download them using this process and you won’t ever be bored again.
Unless you’ve been living under the proverbial rock, you’ve encountered an e-book reader somewhere. Virtually every mobile device these days has e-book capability. Sure, there are some pure readers such as the Kindle or the Nook, but smart phones and the many types of tablets, pads and pods can also be used to read them. We started out using our iPod then a Playbook and how we use our Nexus 4 smart phone. You can, of course, use your laptop or desktop computer to read e-books as well.
Each device has its own e-book format. When you download a book from a major site, it is often sent directly to your licensed device. Because of this you may never know what format they’re in. A format is something akin to a language. Some people speak English, others speak French, right? A device that can read one type of e-book format usually cannot read any other type. As long as you know which format your device uses, you’re home free, at least as far as getting new books on it. Here’s a guide to the formats:
As each device uses a different e-book format, there are also many different ways to get a book onto these readers. Some use a simple and easy drag-and-drop process while others, the iPod for instance, can be fairly difficult to figure out. What to do? Well, you could read the manual that comes with your device or you could use a free bit of software to help you.
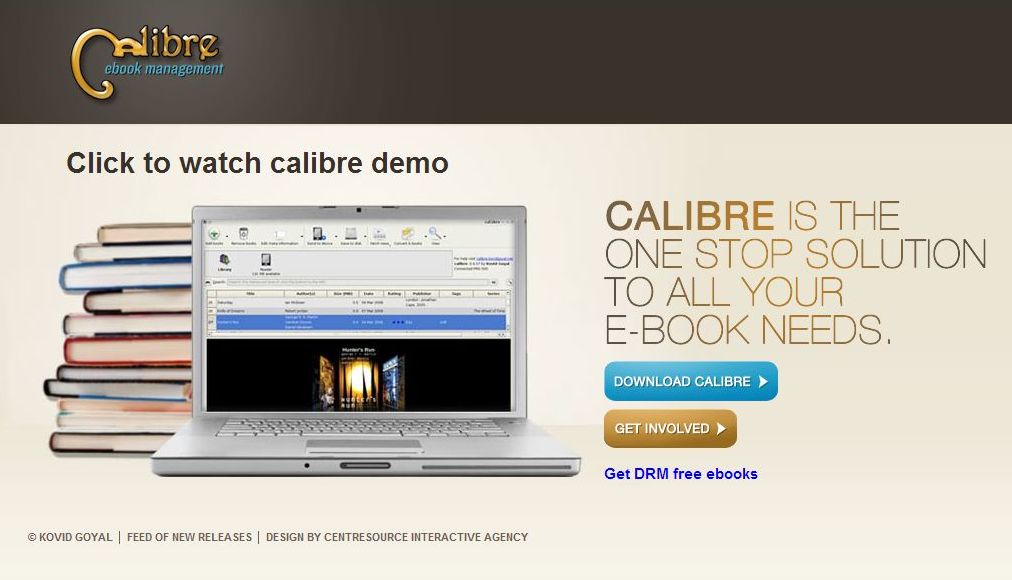
Calibre is an e-book manager. It handles all of your cataloguing and format switching needs, something similar to the way iTunes handles most people’s music libraries. As with all software that we mention here on Computers Made Simple, Calibre is free. Here’s the link:
Calibre E-book Manager It’s quite a large download, about 80 megs, so it might take a while, depending on your bandwidth.
While Calibre manages all of your e-books, it can also be used to read those books on whatever computer where it’s installed. The best part of it, though, is its ability to convert an e-book from one format to another. This allows you to download a book in any format then switch it to the format that matches your device. Alternatively, you can put the same e-book on several of your devices, even if each one uses a different format.
Click the Download button.
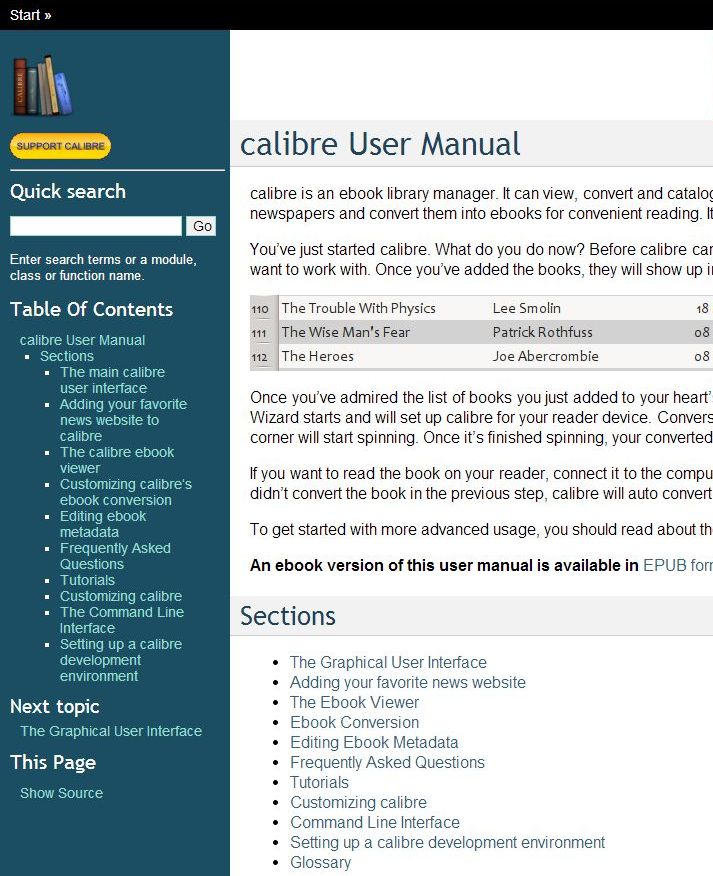
Once Calibre is installed, and it takes a bit longer than normal, it will offer to locate and catalogue every e-book on your computer. After that, everything is essentially in one place, even if the books are in different folders. We aren’t going to go into the actual workings of this powerful program but we will say that its help manual is one of the best we’ve ever seen. The manual itself is online but it’s a click away and is very comprehensive. Here’s a screenshot:
It’s all here. Tips and how-tos for everything Calibre does.
If you haven’t tried an e-book yet, we’d suggest that you give it a try. Gone are the days of squinting to read fine print (just increase the typeface size) and trying to decide which book to take on your vacation (take them all! Our iPod has 653 books on it now). We’re not going to tell you that reading an e-book is as satisfying as cuddling up with a real book on a rainy day. It isn’t, it’s just different. In the same way that watching a movie in a theatre is a different experience than watching it at home, e-books have their place, just as real books do. Give them a shot and we think you’ll agree that they have their place all of their own in our lives today.
Finally, not all e-books cost money. There are many free sources for them on the Internet. We’ll do a whole post on this at some point in the future. Many classic books, titles such as Tom Sawyer for instance, are completely free to add to your device and read in your spare time. There are enough classics out there to keep you entertained for years. By the way, none of them are as heavy to carry around as Middlemarch was back in university!
Thanks for reading. We love comments, questions and suggestions so get busy and ask us something, even if it doesn’t pertain to this post. Like us on Facebook and we’ll like you! Here’s the link: Computers Made Simple on Facebook
a little bit of hi-tech, a little bit of common sense and a lot of fun