
Digital cameras are incredible, aren’t they? Twenty years ago, who would have thought that we’d all be carrying around at least one camera almost all the time? While the cameras themselves are amazing, sometimes the photos that they take need a bit of work. Assuming that you’ve used the correct settings, most digital photos should look pretty good. The problem arises when you take a picture in a difficult lighting situation, one that your camera doesn’t really handle well at all.
Most of these photos occur with a primary component of the photo is backlit. Look at our example photo and you’ll see what we mean:
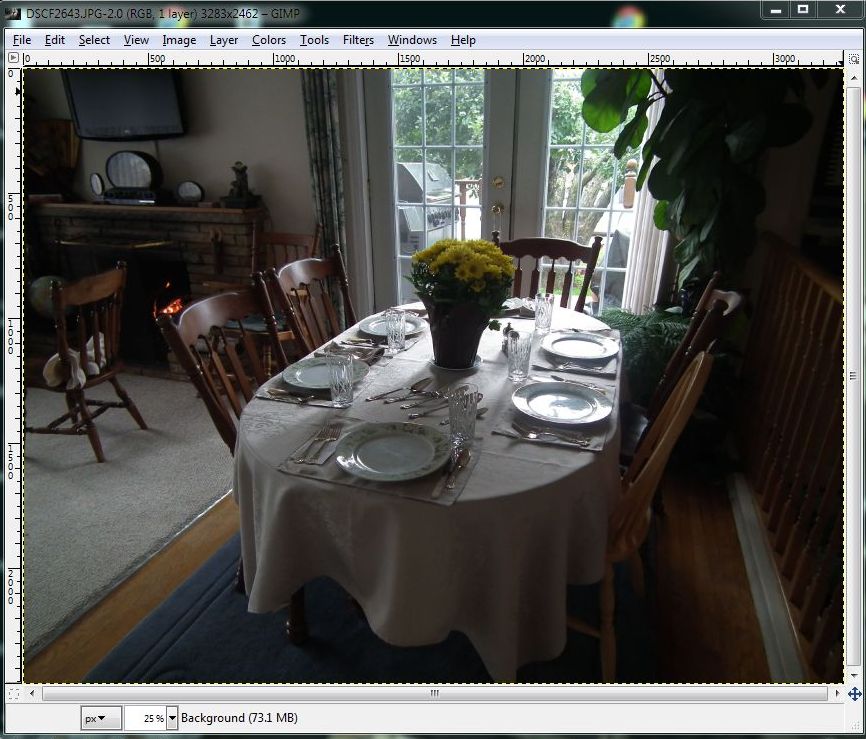
Every digital camera user should know that they have to set focus and exposure before they snap the photo. How do you do that? With most cameras, you press the shutter button halfway while you’re aiming at the primary part of the photo, let’s say the table in this example. Then you would raise the camera, frame the shot and snap the photo, all without letting go of the shutter button. The camera then knows that you want the lighting and focus set for the table, not for the windowed doorway.
If you didn’t get the right shot, here’s how you can use GIMP to do some repairs. First of all, if you don’t have GIMP, or ‘the’ GIMP, as some people call it, get it here: http://www.gimp.org/ and install it. Once it’s installed, you can right click on any photo file and the option to ‘Edit with GIMP’ will appear on the menu.
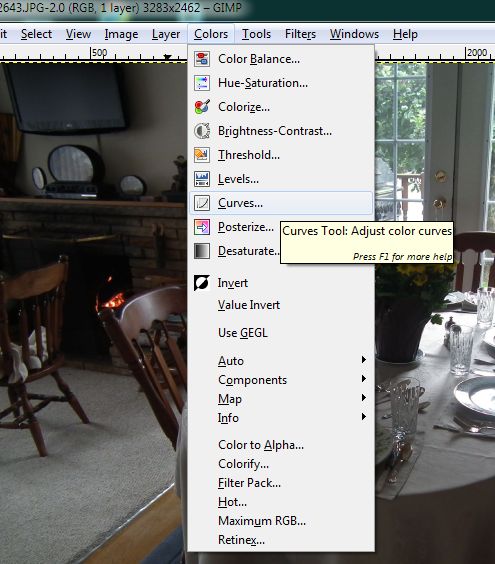
As with most computer tasks, there are several different ways to do the same thing. As far as adjusting brightness or intensity in a photo, we’ve found that the Curves tool works best, much better than the ‘Brightness-Contrast’ or Levels tools. Once the image is open, head up to Colors at the top and click on Curves when the menu pops down.
Here’s what you’ll see:
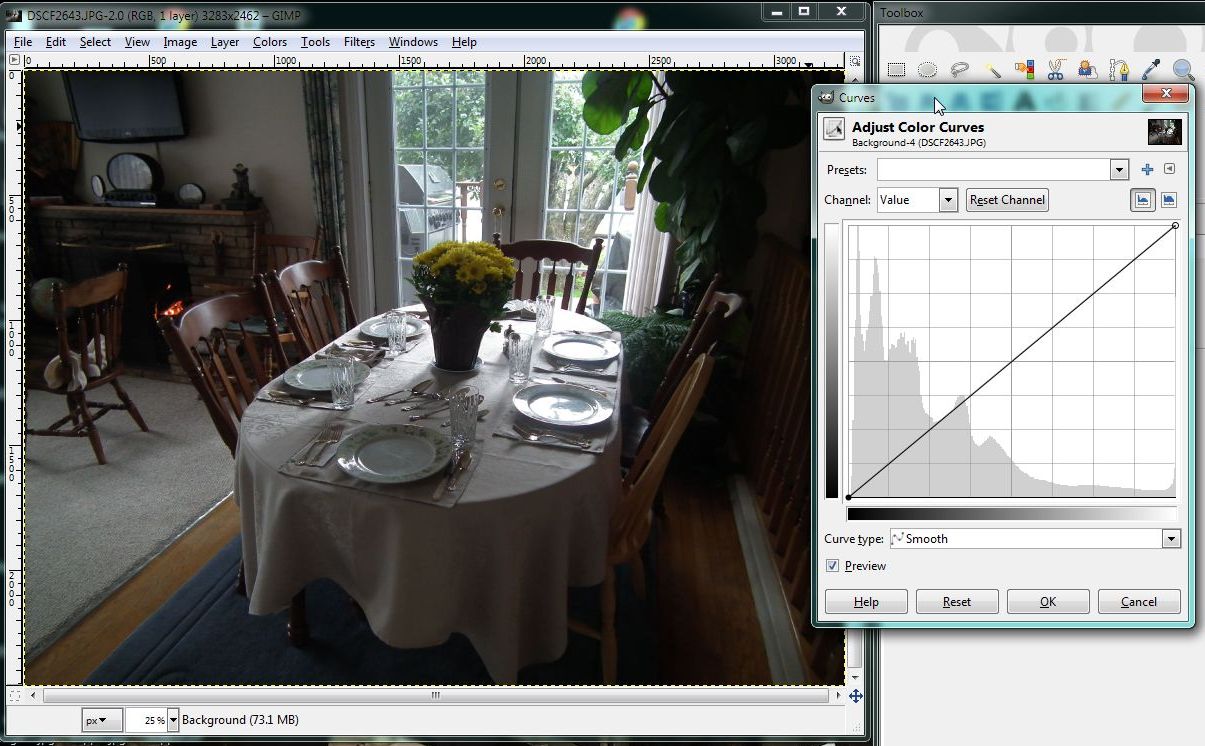
See that straight line running on a diagonal in the window on the right? That’s how you adjust the curves in a photo. Grab the line anywhere with your cursor (mouse) and move the line up or down, left or right, while holding the left mouse button down. Look at the photo and you’ll see how the levels are adjusted. You can grab the line in one place, adjust it, then grab it in another place and adjust that, as well. If you get waylaid, simply click the ‘Reset’ key and the image goes back to normal. Here’s what we decided that we liked best:
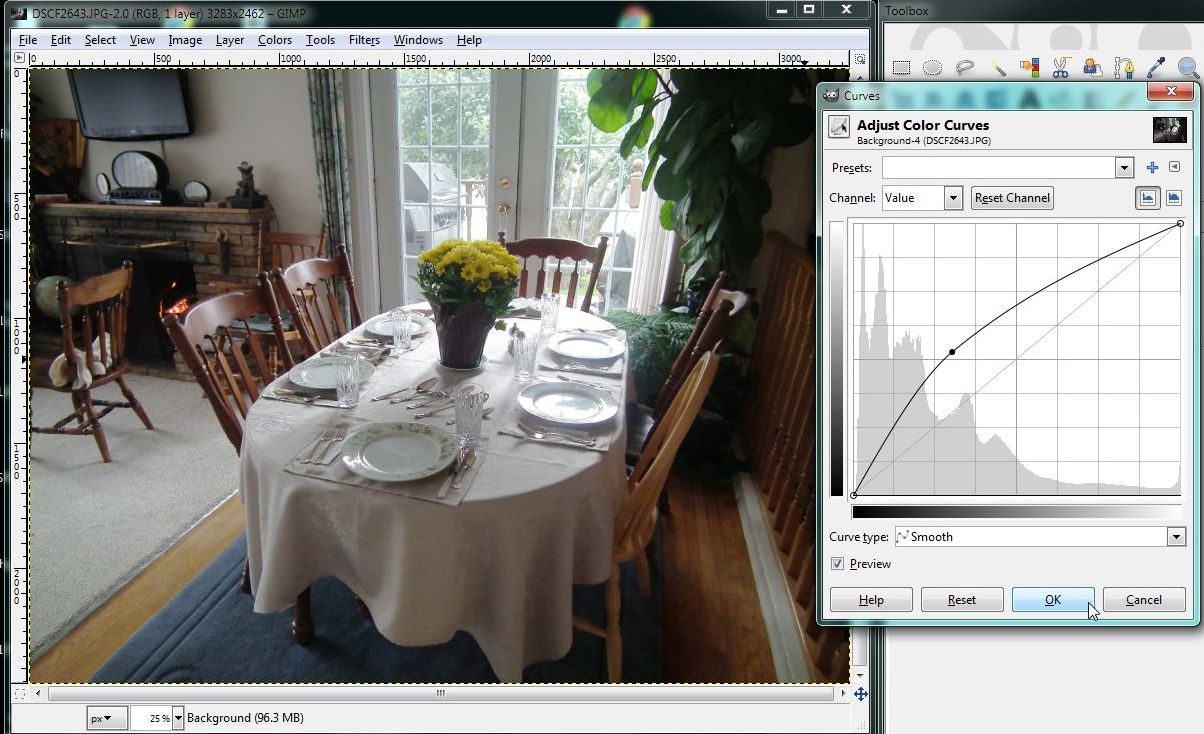
All of these adjustments are subjective, yours will be different from ours. Once you get things set the way that you want them, click OK and save the photo under another name. Such and such ‘edited’ works well for us. Why? Because you still want the original photo, even if the light levels aren’t perfect. If you or your partner or whoever decides that they don’t like your interpretation of the photo, you can always go back and redo your work.
Thanks for reading!