
Wouldn’t it be nice to be able to record your favorite TV shows so you can watch them when you want to? Sure, you can use the DVR that your cable or satellite company provides but that costs money every month. Here’s how you can do it for free, the only cost is the TV tuner card for your computer. Here’s how we do it:
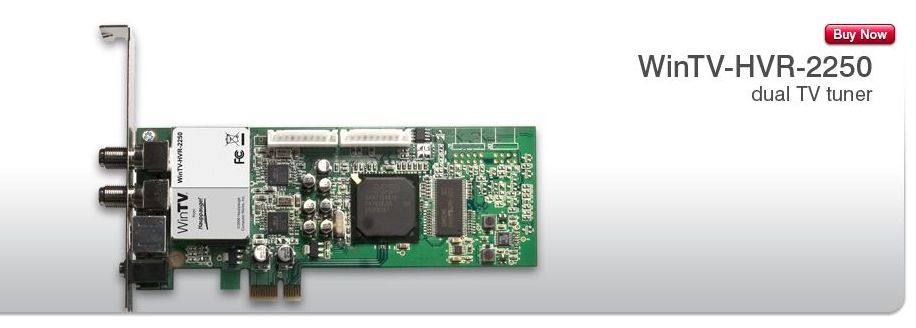
1. Head over to Hauppauge Computer Works Click on the Products at the top and check out their selection of tuners. Some fit inside your desktop, some connect via USB and others sit beside your dekstop or laptop, something like a game console. This is the card that we have in one of our desktop computers:
2. If you have a laptop or if you don’t want to open your dekstop, Hauppauge also makes USB tuners. Here is what one of these looks like:
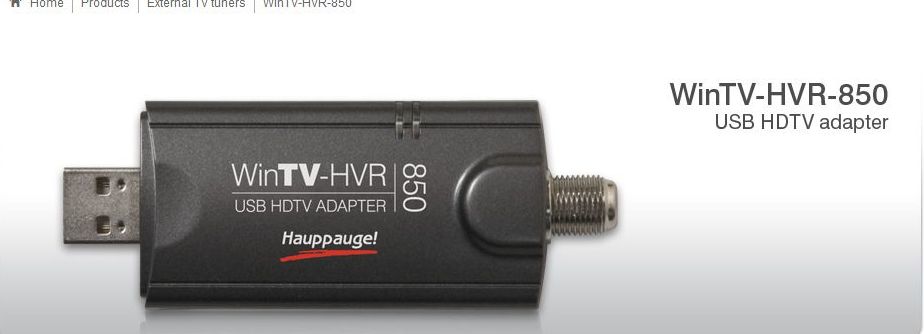
Watch out for these USB tuners. What you gain in ease of use, you lose in reliability. We strongly recommend a tuner card that fits inside a desktop.
3. Every tuner comes with a complete set of software. TV tuner software consists of two things. First, you have a driver, the thing that Windows uses to interact with your card. The second bit of software is the interface, the thing that you use to watch and record television. Hauppauge uses a product called ‘WinTV’ but some tuners will work with other TV software. We’ve found WinTV to work perfectly well and the only reason you might want to use something else is because you aren’t using Windows. MythTV is popular with Linux and, from what we hear, it’s a magnificent, free program.
4. Depending on whether you bought a card that fits in your desktop or a USB that plugs into a free slot, make sure you read the installation manual before you go ahead and install the software. Some USB products ask you to install the software first, then plug in the product. Read the ‘Getting Started’ booklet before you begin.
5. While these tuners work with regular subscription cable TV, we use ours with a very basic OTA (over the air) antenna. The antenna is connected to the tuner with RG9 coaxial wire, the same wire that your cable or satellite company uses. We’re in Toronto so our antenna faces south and brings in about twenty-five crystal clear HDTV channels. We also get a few SD (standard definition) channels, ones that are not available by subscription. One of these, named AntennaTV, broadcasts retro shows from the early days of television. Take a look at their site to see what you’re missing: AntennaTV site
6. When you’re ready to get going, your tuner software will automatically search for all of the channels available from your antenna. It lists them one by one as they are tuned, finally giving you a total number. If you know there are more available, you could try to adjust the direction your antenna is facing. Even a few inches one way or the other can make a difference. Be patient, it’s all worth it.
7. Here is a shot of the tuner interface:
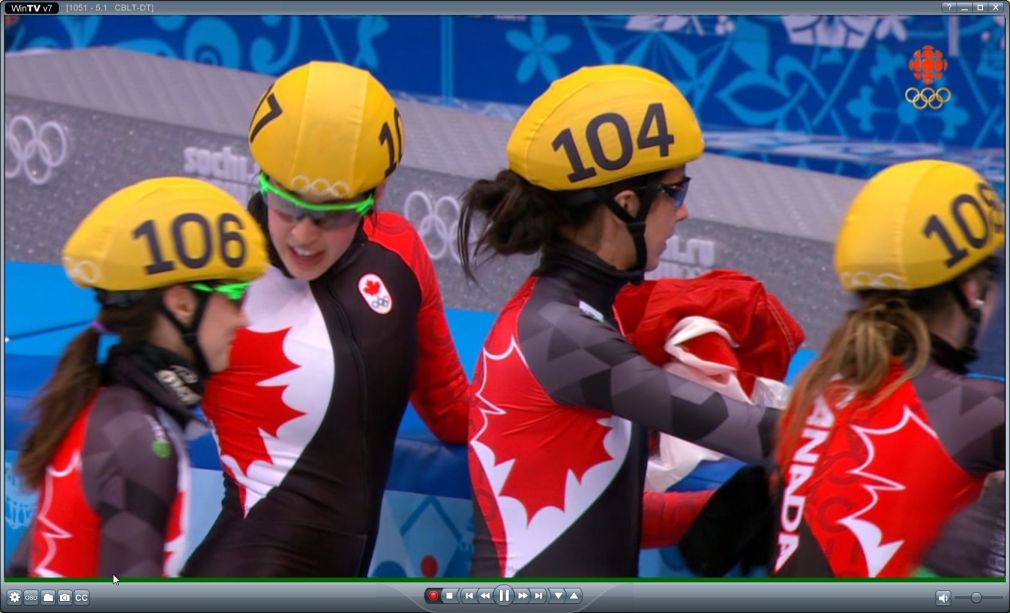
The GUI has buttons across the bottom that you’ll gradually get used to using. From left to right: settings, OSD (on screen display), file open (to play a pre-recorded video file), snapshot, closed caption. Yes, you can turn down the sound and read the words on the screen. To the right are the normal DVR or VCR controls that you should be very familiar with. The red button on the left is for instant recordings but you can also schedule WinTV to record by itself automatically. Set up the timer, tell it how long you want to record any channel and you’re set. Just remember to leave your computer running. WinTV does not have to be on to record but your computer does.
Finally, remember that the recordings that you make take up a lot of room. A few hours of HDTV can easily gobble up thirty gigabytes of disk space. Because of this, we use a three gigabyte drive on the computer that uses the TV tuner card. On top of that we watch the shows then delete them as soon as we can. If we want to archive the recordings, we will convert them to a format that retains the quality but takes up far less room on our hard drive. MKV is the format we use.
Thanks for reading! We have lots of fun with our OTA/tuner card setup and hope that you will soon do the same. Questions or comments are welcome. You can also ask questions on our Facebook page. Here is the link: Computers Made Simple on Facebook
_________________________________________
Here’s a link that might help us if you are interested in hosting your own blog with Fatcow Hosting. We’ve signed up to become an affiliate and we make a bit of money if you sign up for hosting via this link: FatCow Hosting Thanks!