Category Archives: Photo Repair

Adjust Brightness Using GIMP

Digital cameras are incredible, aren’t they? Twenty years ago, who would have thought that we’d all be carrying around at least one camera almost all the time? While the cameras themselves are amazing, sometimes the photos that they take need a bit of work. Assuming that you’ve used the correct settings, most digital photos should look pretty good. The problem arises when you take a picture in a difficult lighting situation, one that your camera doesn’t really handle well at all.

Most of these photos occur with a primary component of the photo is backlit. Look at our example photo and you’ll see what we mean:

Photo of example photo 1
This is our ‘before’ photo. The light from the doorway is overpowering everything else.

Every digital camera user should know that they have to set focus and exposure before they snap the photo. How do you do that? With most cameras, you press the shutter button halfway while you’re aiming at the primary part of the photo, let’s say the table in this example. Then you would raise the camera, frame the shot and snap the photo, all without letting go of the shutter button. The camera then knows that you want the lighting and focus set for the table, not for the windowed doorway.

If you didn’t get the right shot, here’s how you can use GIMP to do some repairs. First of all, if you don’t have GIMP, or ‘the’ GIMP, as some people call it, get it here:  http://www.gimp.org/  and install it. Once it’s installed, you can right click on any photo file and the option to ‘Edit with GIMP’ will appear on the menu.
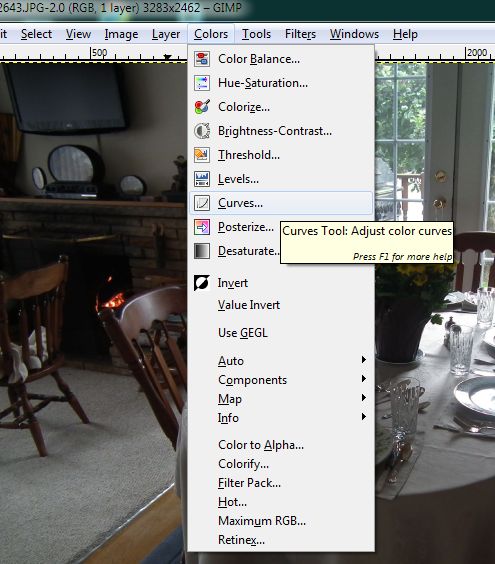
Photo of Curve  2
We’ll be using the ‘Curves’ adjustment tool.


As with most computer tasks, there are several different ways to do the same thing. As far as adjusting brightness or intensity in a photo, we’ve found that the Curves tool works best, much better than the ‘Brightness-Contrast’ or Levels tools. Once the image is open, head up to Colors at the top and click on Curves when the menu pops down.

Here’s what you’ll see:
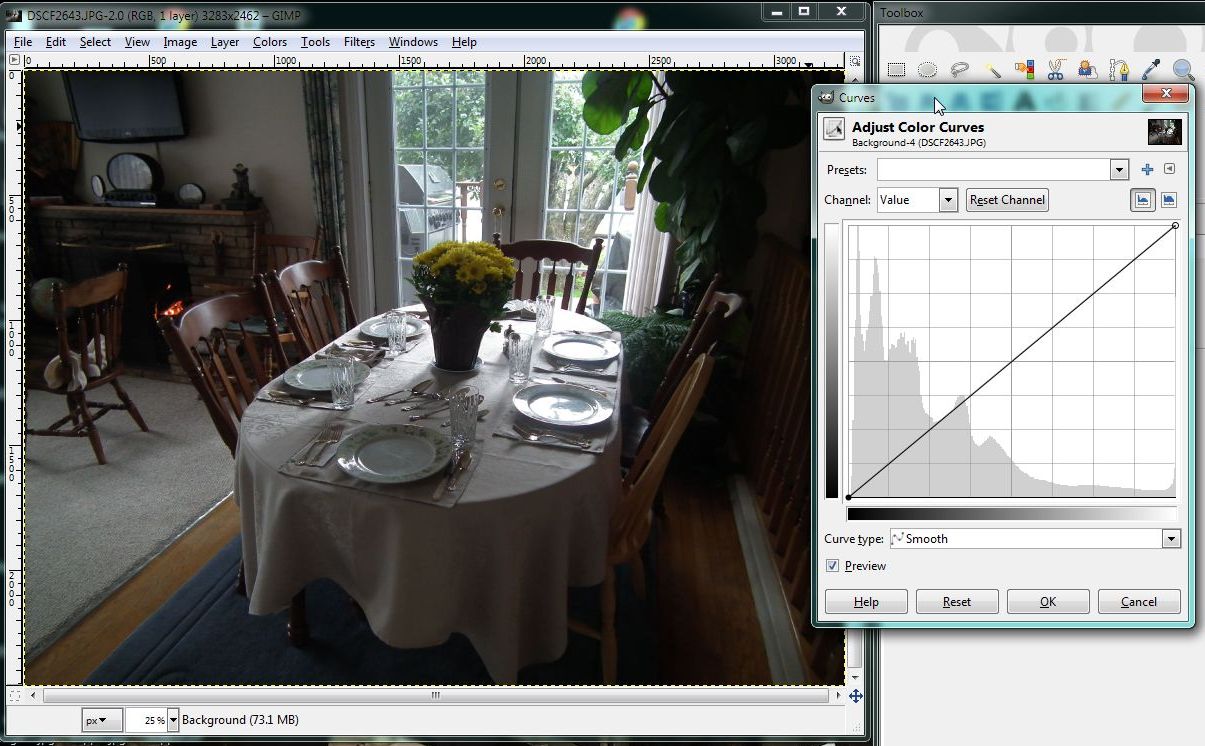
Photo of Curve  3
The straight line is actually the tool.


See that straight line running on a diagonal in the window on the right? That’s how you adjust the curves in a photo. Grab the line anywhere with your cursor (mouse) and move the line up or down, left or right, while holding the left mouse button down. Look at the photo and you’ll see how the levels are adjusted. You can grab the line in one place, adjust it, then grab it in another place and adjust that, as well. If you get waylaid, simply click the ‘Reset’ key and the image goes back to normal. Here’s what we decided that we liked best:
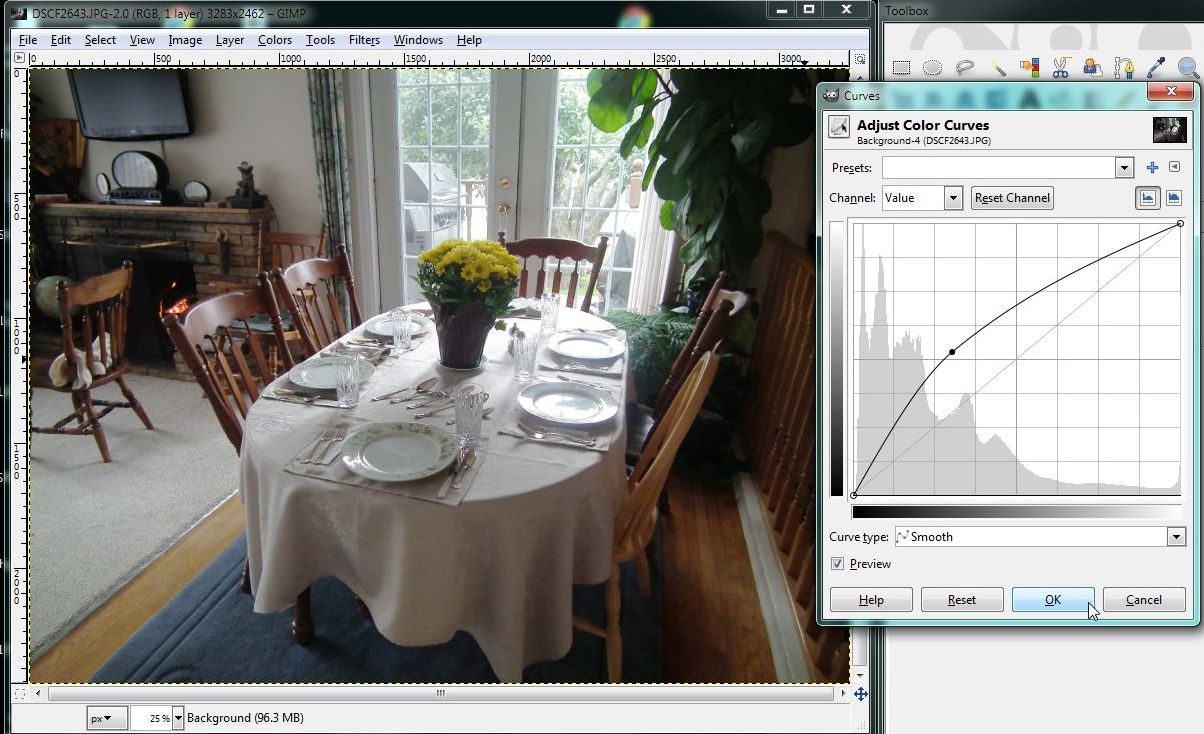
Photo of Curve  4
Once we got what we liked, we clicked OK to set the curves.


All of these adjustments are subjective, yours will be different from ours. Once you get things set the way that you want them, click OK and save the photo under another name. Such and such ‘edited’ works well for us. Why? Because you still want the original photo, even if the light levels aren’t perfect. If you or your partner or whoever decides that they don’t like your interpretation of the photo, you can always go back and redo your work.

Thanks for reading!


Red Eye Removal with GIMP

Most modern digital cameras have an automatic setting to remove ‘red eye’. Red eye is simply light from the camera’s flash bouncing off the back of a person’s eyeball. When our pupils are wide open in a dimly lit room, conditions are perfect for red eye. Nowadays, cameras use the flash to force the pupil closed before the photo is taken. Blip, blip, blip goes the flash and the pupil closes. Voilà! No more red eye.

But what about all of those old pics that still contain red eye? Here’s a quick, basic tutorial on how to remove red eye using GIMP, the free photo editing program. We’ve written about GIMP before. Maybe you can check out those posts to get acquainted with GIMP. Here the the links:

Photo Repair with GIMP

How to Clone Part of an Image using GIMP


Using GIMP – The Mosaic Filter

In this tutorial, we’ll be using several tools:

Photo of Red Eye 03
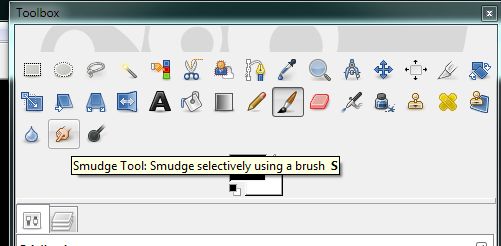
The smudge tool will even out the new pixels in the eye area.


Photo of Red Eye 04
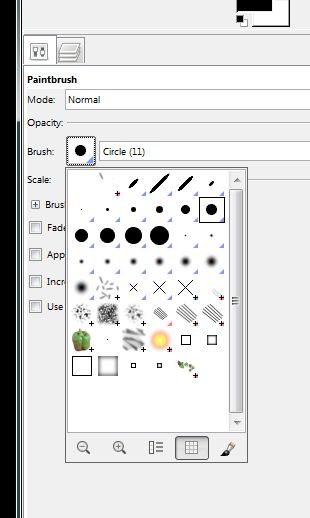
Remember to change your brush size as you move in with the zoom. A brush that seems small on the normal photo will be huge when you’re zoomed in.


Photo of Red Eye 01
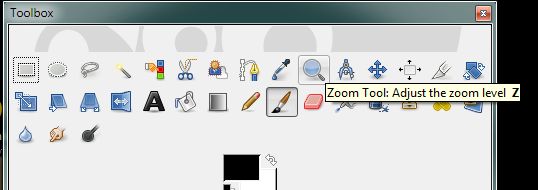
The zoom tool will bring you in close to the red eye you’re working on.


Photo of Red Eye 02
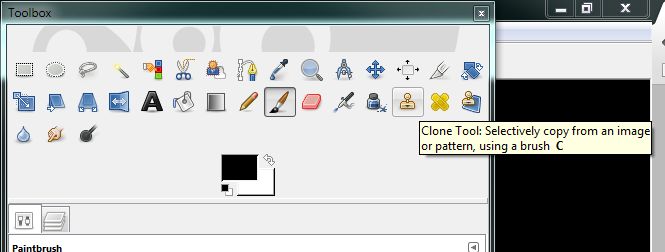
The clone tool will take pixels from one place to another.


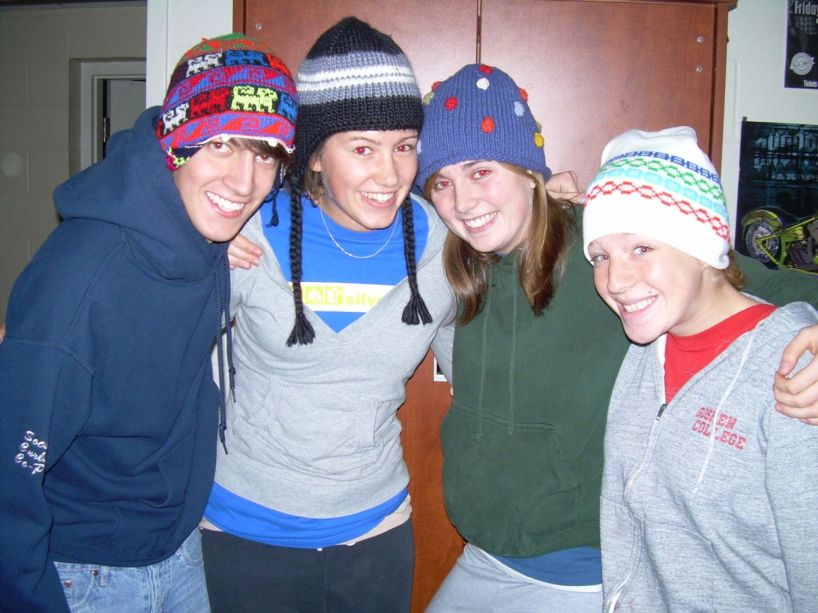
Here’s the image that we’re using today:

Photo of Red Eye 1
Lots of red eyes here.


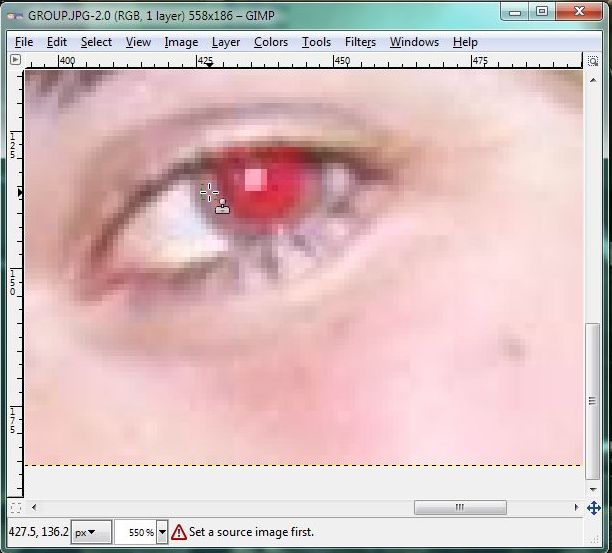
1. Our first step is to open the photo in GIMP. Right click it and choose Edit in GIMP. Then, in order to get close in on one of the red eyes, choose the magnify tool and click right on the eye you want to work on. That will center the eye on the GIMP workspace. Here is how far we zoomed in:

Photo of Red Eye 2
Zoom in to about here.

2. With the eye this big, it’s easy to see the work area. In the photo above, we’ve already chosen the area that we want to clone from, the beige area outside of the red part. Choose the clone tool then click the tool in a non-red area while holding the CTRL key. Look for the cross-hairs in the photo above, that’s our source. The icon of the rubber stamp is our tool which will place pixels from the beige area onto the red area.


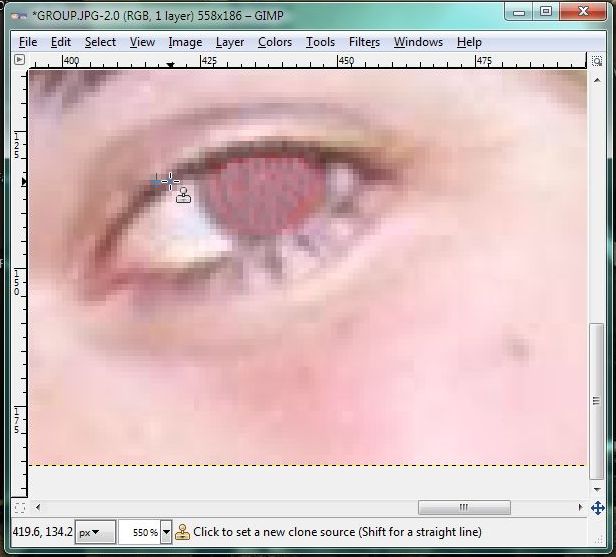
Photo of Red Eye 3
This is the eye with all, or most, of the red removed.


3. We’ve taken all of the red pixels and replaced them with beige pixels. Are the person’s eyes beige? No, but there is nothing else to work with. In this particular case, there is no color at all except the beige which is, most likely, the brown of the real eye color mixed with red. We could have used a darker brown but, as you will see later, just about anything looks better than the red.

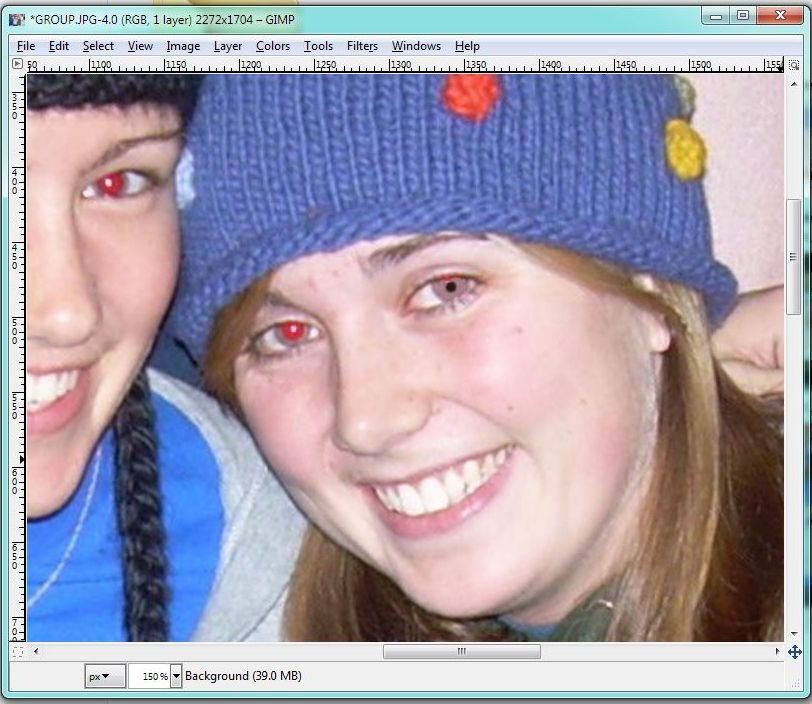
4. What’s missing in the eye above? The center part, right? We will add some black in the middle to make the eye look real. Zoom back out (choose the zoom tool and hold the CTRL key while clicking on the image. GIMP will zoom out). In our example, we moved back enough to get some of the dark cap on the other girl. Here’s how it looks:

Photo of Red Eye 4
We took pixels from the cap on the left and put a dot in the center of the eye we were working on.

At this level of zoom, the eye looks totally fake. We know that. First, this is an example, and second, once you zoom out to the bigger photo, you won’t notice this as much. Take your time and do the best you can.

5. We worked on the two girls in the middle for a short time and came up with this:

Photo of Red Eye 5
Not perfect but better than the red that we started with.


Two things here: we expect that you’ll be able to do better than this example, that’s first. Second, we wanted you to know that we were working on a real photo, not one that had been set-up for this. If we were going to use this photo in an album or on Facebook, for instance, we would have done a substantially better job. As it is, it’s not that noticeable but it’s not perfect.

Have some fun with this tutorial and see what results you can come up with. Questions and comments are welcome so don’t be shy.

Thanks for reading! Like our page on Facebook and get constant updates on our posts and other information that we post there. Computers Made Simple on Facebook
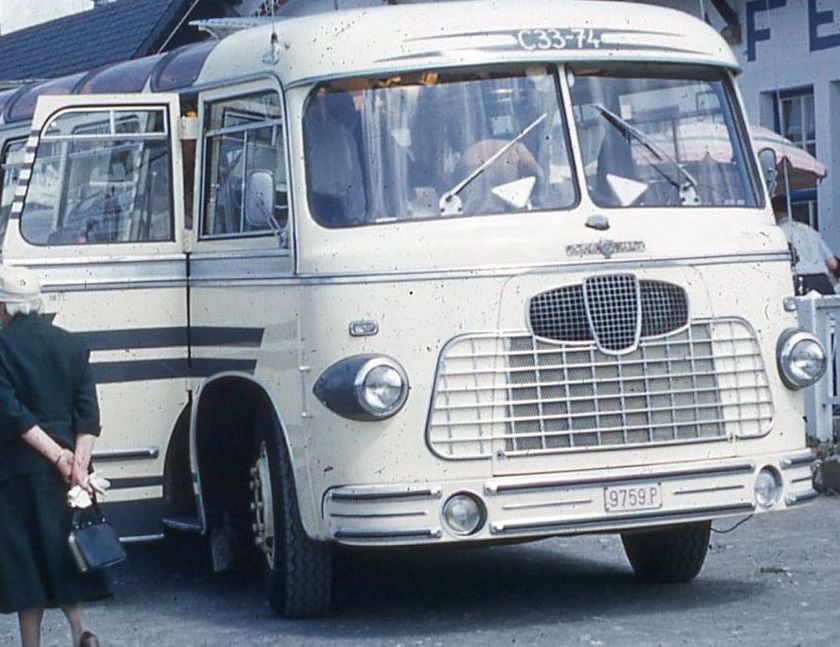
Photo Repair with GIMP

Here’s a quick and easy way to repair digital photos or scans. You can use these same techniques to get rid of red-eye, too, but we’ll do a whole post on red eye reduction, don’t worry. For now, let’s concentrate on fixing blemishes on old photos that you’ve scanned.

1. Download and install GIMP. Get it here: http://www.gimp.org/

2. Once GIMP is installed, find the photo that you want to repair and save it under another name somewhere else on your computer. We suggest putting a new folder on your desktop for copies of the original photos that you want to repair. Why? Simply because you want to preserve the originals, just in case you make a mistake. Keep the original scan or photo in one folder and save the copy in another. Save it using something like ‘edited’ or ‘fixed’ so you know which is which.

3. Right click the copy and choose ‘Edit in Gimp’.

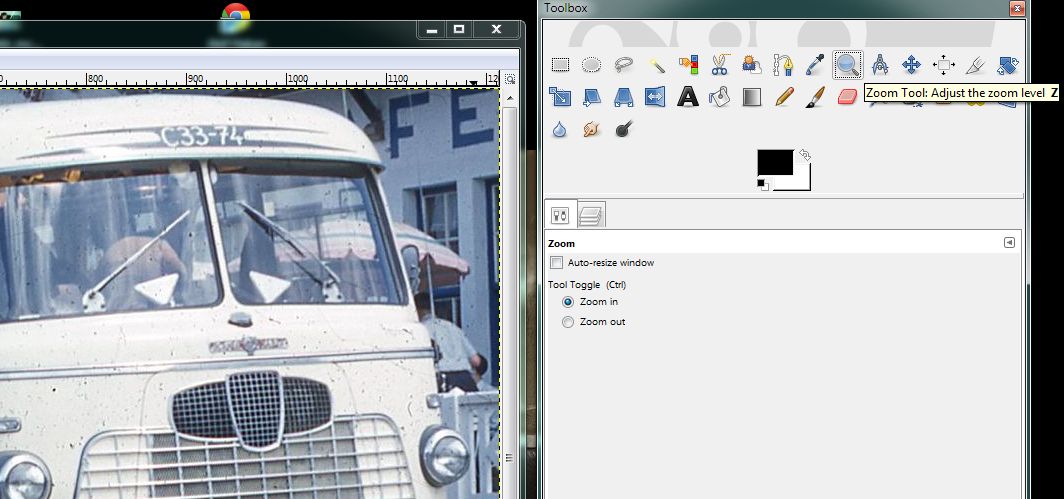
4. Once GIMP opens, look up on the top right, in the Toolbox, for the icon of the magnifying glass. Making repairs is much easier when you zoom in on the pixels, the little things that make up the photo. Here’s how we started:

Photo of GIMP Photo Repair  1
Click on the magnifying glass.


5. Once you’ve clicked the zoom icon, move over to the photo and click on the area that you want to repair. You can click anywhere you want but if you stick to the part you want to fix, that area will be centered in the window.

Photo of GIMP Photo Repair  2
We want to fix the hood of the bus so we start the zoom there.


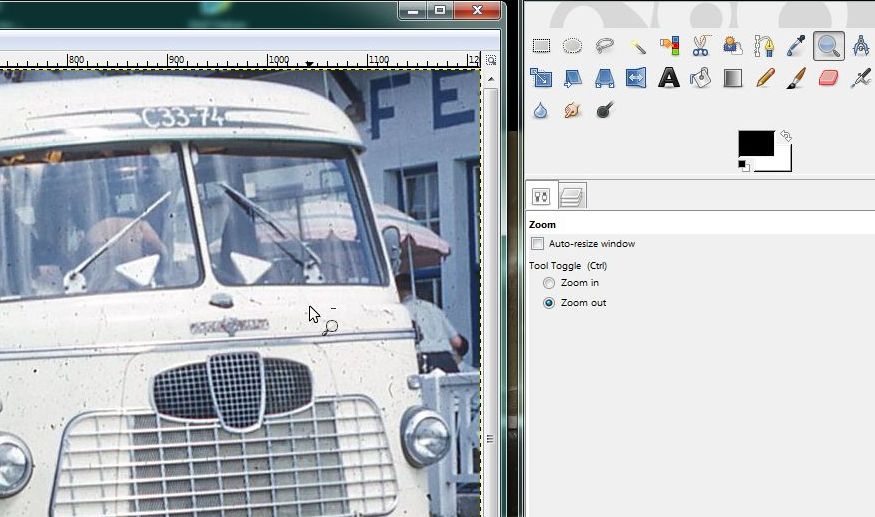
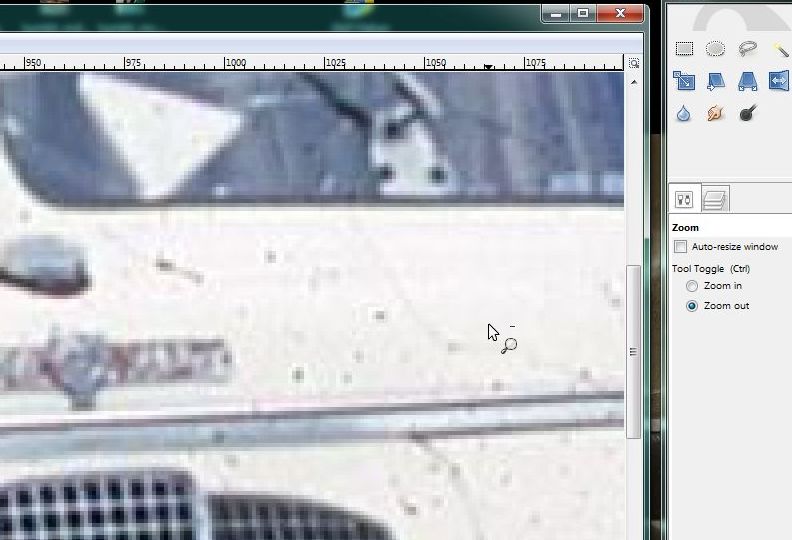
6. Depending on the type of repair you are doing, zoom in very close or just a bit. We’ve found that with red-eye removal, it’s better to click as far in a possible. In this example, we don’t need to be quite so far in.

Photo of GIMP Photo Repair  3
Zoom in or zoom back out, if you get too close. See the ‘zoom’ toggle on the right?


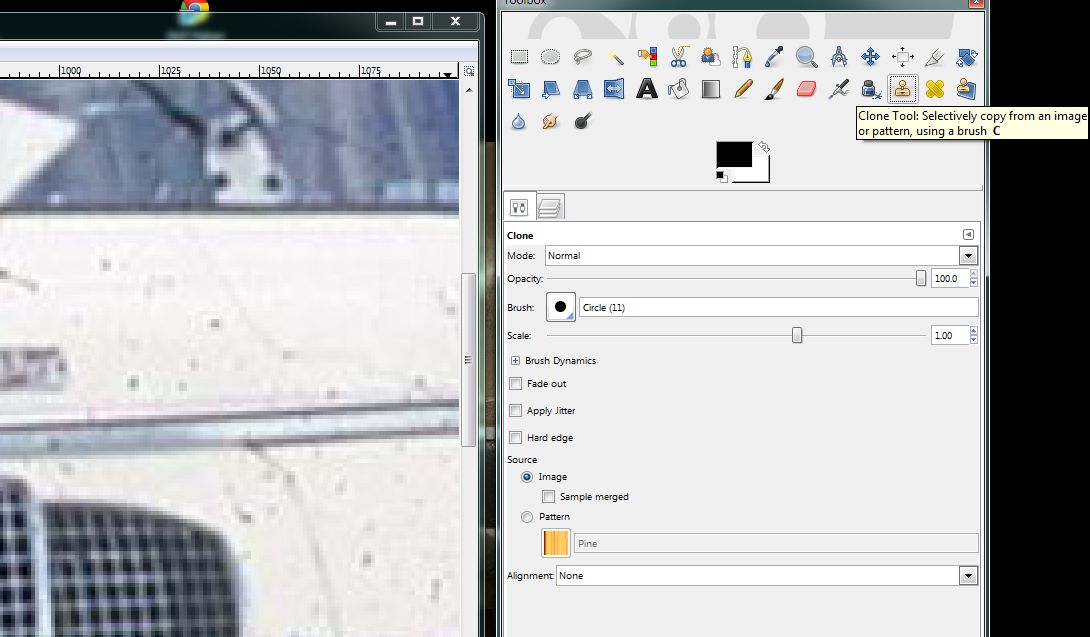
7. Once you get the size you want, look over into the Toolbox and choose the Clone tool, the rubber stamp icon.

Photo of GIMP Photo Repair  4
Click on the rubber stamp icon.


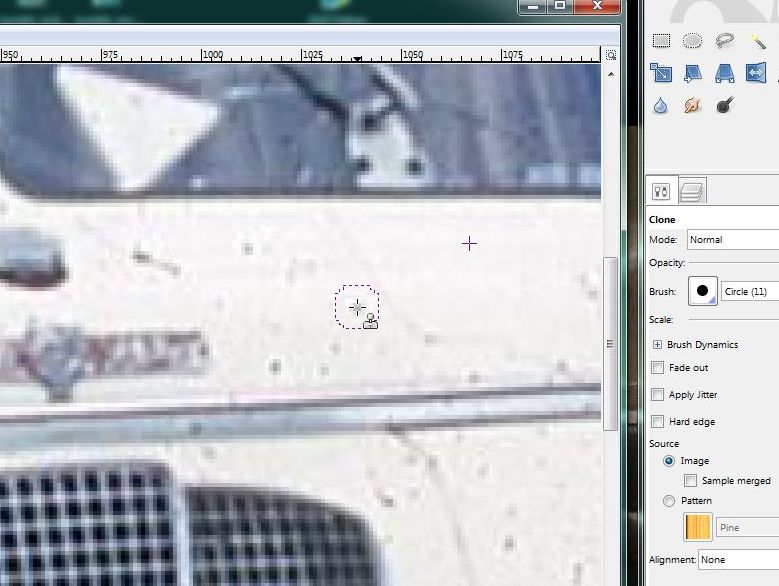
8. Next, select an area of the photo that isn’t smudged or damaged. What you’re looking for is a section that is clean and completely unblemished. When you find that area, hold down the CTRL key and click once in the middle of that section. GIMP will place a small cross icon there. Like this:

Photo of GIMP Photo Repair  5
We choose a clean section of the image.


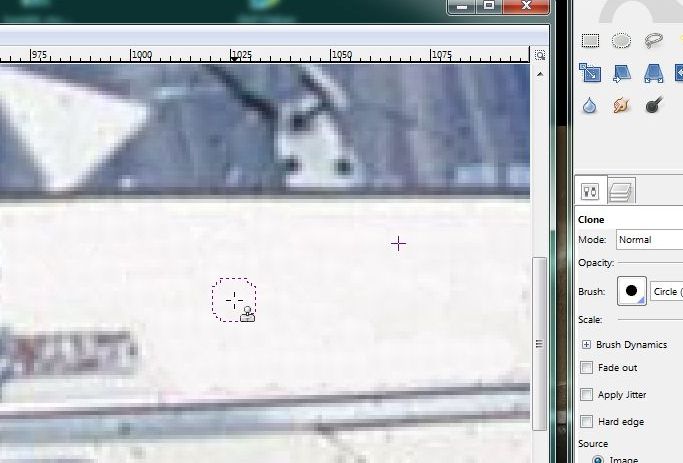
9. Once you have a nice, smooth area chosen, move the cursor (mouse) to an area that you want to repair. Hold the left mouse button down while you move the cursor around that problem area. GIMP will replace pixels in that area with clean pixels from the area you choose before. In a way, you’re painting over a dirty area with clean, fresh pixels. You have to make sure, obviously, that the pixels you are moving from one place to another are the same color and brightness, etc., as the originals.  Here is how we did it:

Photo of GIMP Photo Repair  6
See the difference? We’ve cleaned up one area of the bus.


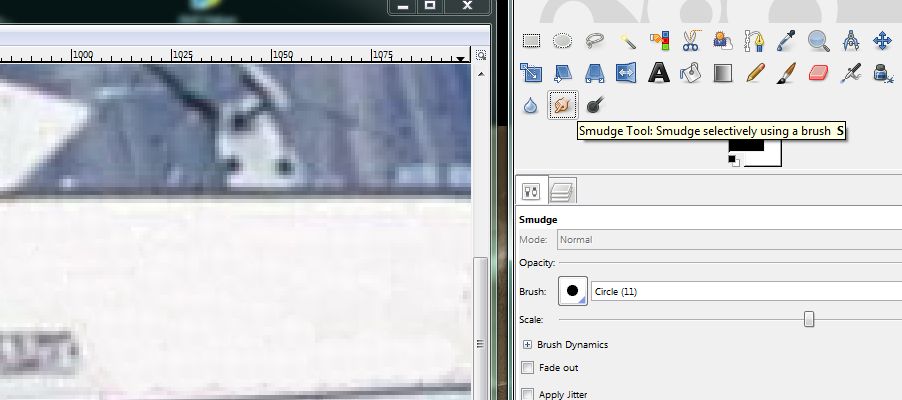
10. Before you save your work, you might want to smudge the area that you worked on in order to smooth out any irregularities that cropped up when you replaced the pixels with clean ones. Back to the Toolbox and choose the icon of the hand with a finger sticking out. Here it is:

Photo of GIMP Photo Repair  7
The smudge tool will even out the area that you worked on.


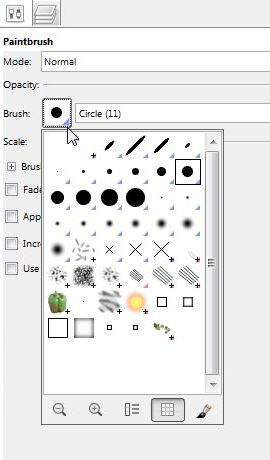
11. Move the smudge tool around and you’ll see the area become much smoother. You might have to vary the size of the brush. Click on the icon just to the right of the word Brush in the Toolbox. This is what you’ll see:

Photo of GIMP Photo Repair  8
Vary the size of your brush, specially when you zoom in.


TIP: You may find that the smudge tool is all you need to repair some photos. If there are slight blemishes, let’s say on an old document or newspaper clipping that you’ve scanned, the smudge tool is all you need to repair those spots. Give it a try.


12. Here is our work, not completed, but you can see how the repair is looking now:

Photo of GIMP Photo Repair  9
The hood is clean and fresh after a bit or work.


Remember that you can undo anything by hitting CTRL and the z key or by going up to Edit on the top and choosing Undo. We hope you find our instructional helpful. Explore GIMP on your own. You’ll find that it is a very handy bit of software…and it’s free!

Thanks for reading!