Irfanview, available here: Irfanview , is our favorite ‘free and fast’ photo software. While we don’t use Irfanview to manipulate images (retouching, etc.), we depend on it for cropping and resizing. One thing that we really love is the batch conversion feature. Our post today is a short guide about how to use this menu:
1. Download and install Irfanview. Accept the screen that asks you if you want Irfanview to associate itself with your image files. You can always change that later but there is no reason to do that.
2. For this lesson, double-click on one image in a folder of many images. Irfanview will open the image.
3. On the top left, look for File and click on it. The menu that comes down looks like this:
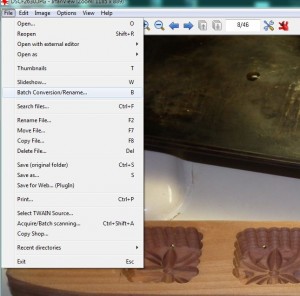
4. Click on Batch/Conversion Rename and this menu will pop up:
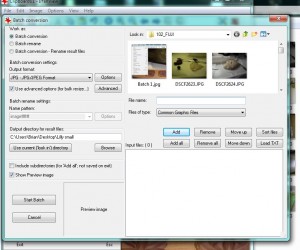
5. First, let’s ‘Add’ some photos from the top right box to the bottom right box. Either choose a few or choose ‘Add all’. The bottom pane will fill up accordingly as shown here:
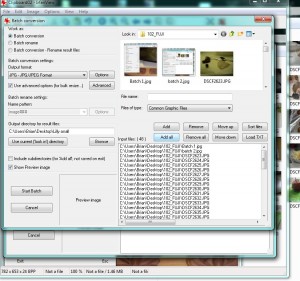
6. Those are the images that we will work on today. Next, look for the Advanced button shown here:
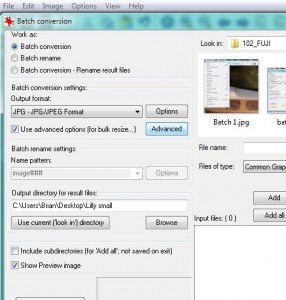
7. Once you hit the Advanced button, this menu pops up:
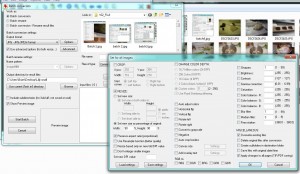
8. With this one menu, you can crop, resize, flip, convert to grayscale and so on. Today, we’re going to resize all of the photos in the selection box to 90% of their original size. Make sure that Resize is checked then choose a percentage of the original, in this case 90%. Then, make sure that you have selected Preserve aspect ratio (proportional). We don’t use the Resample function but you can judge for yourself if this is necessary. Once all that is done, click on OK.
TIP: The most important thing in the previous menu is the ‘Overwrite existing files’ selection. Make sure that you uncheck this if you don’t put the processed results in another folder. If you don’t, you’ll lose the original files. Not a good plan, Stan.
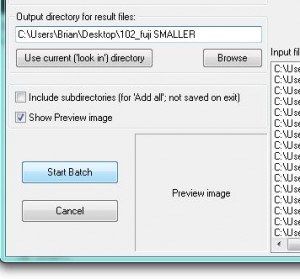
9. Back to the main Batch/Conversion menu. In the ‘Output directory for result files’ , create another folder for the smaller files. We have named this ‘102_fuji SMALLER’ in this example. Doing this means that you keep the originals as they are and you’re putting the smaller versions in a completely different place. Smaller images are handy when you are uploading an album to Facebook, for example. Then, look for the Start Batch button.
10. Here’s what you see when Irfanview is processing the images:
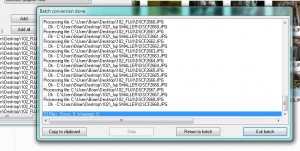
11. Depending on the speed of your computer, the size of the original photos and some other variables, this process might take a while. As long as you have chosen a different directory for the output files, as opposed to replacing the originals, you’re safe. If you’ve made an error, usually done when cropping a group of photos, then you can simply delete the process folder and start over again. Whatever you do, don’t overwrite the originals.
If you have time, play around with this menu. Someday when you have 100 pics to adjust, you’ll be ready.
Thanks for reading!
