If you have old VHS tapes that you’d like to save, here’s a relatively cheap and easy way to do it, without the use of a TV or separate monitor.
1. Find a Diamond One Touch Video Capture unit online or in a store near you. I paid about $40.00 for mine.
2. Hook it up to your VCR as described in the instructions and then to your computer using the supplied USB cable.
3. Follow the instructions to install the capture software.
TIP: Guard the program shortcut with your life! Once you install the software, it’s very hard to find the shortcut if you move it. I’m a geek and found it hard to find. Warning!
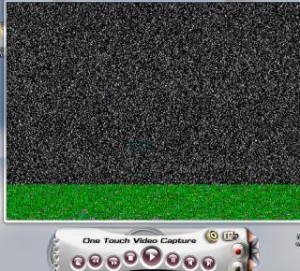
4. Start the capture software. You’ll see a screen like this:

What’s wrong with this image? The green line across the bottom, that’s what. Down on the lower left is an X. If you see this kind of screen, hit the X and reopen the program. Maybe this is just on my computer but I have to restart the program in order to get rid of the green lines on the bottom.
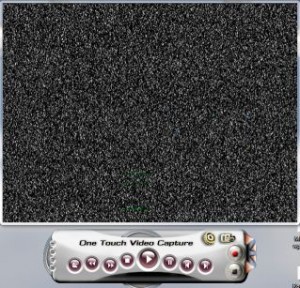
Your screen should look like this:

Once you can see this screen, you’re ready to go.
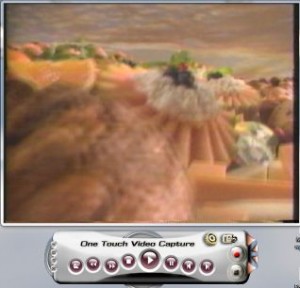
5. Pop a tape into your VCR (could be Beta or VHS or camcorder, it doesn’t matter what you use as a source). Start to play it and you’ll see this kind of screen:

6. Once you can see this kind of image in the window, you’re all set. Use the VCR to control the tape, then record the bits and pieces that you want to save using the One Touch controls. The red button records what’s in the window, including sound if you have the cables set up correctly, and the black button (which turns red after you start recording) stops the capture.
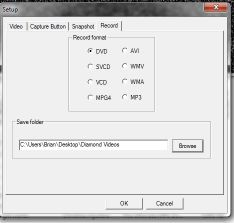
7. In the Settings menu, shown here:

This is showing the Record tab where you can set the file type (I use DVD for small file size) and save the files in a folder on my desktop. Set your preferences according to your tastes.
8. Once you have the tapes sorted and have saved the files that you want, rename them to keep track of them and then you can archive them to DVDs, etc. I prefer to change the files to either FLV or DIVX in order to keep the files as small as possible. If the video if very important, leave it was a DVD file and write it to a disc.
That’s it! Simple and cheap, without the pain of having to have a TV monitor cluttering up your desk or work area. Not only does this method capture fine quality video (depending on the source, of course), it eliminates the need for a video monitor. Alternatively, you can feed your TV output into this unit and watch and record live TV on your computer.
Thanks for reading! If you have questions or comments, write them below or follow me on Twitter: @_BrianMahoney
