Most modern digital cameras have an automatic setting to remove ‘red eye’. Red eye is simply light from the camera’s flash bouncing off the back of a person’s eyeball. When our pupils are wide open in a dimly lit room, conditions are perfect for red eye. Nowadays, cameras use the flash to force the pupil closed before the photo is taken. Blip, blip, blip goes the flash and the pupil closes. Voilà! No more red eye.
But what about all of those old pics that still contain red eye? Here’s a quick, basic tutorial on how to remove red eye using GIMP, the free photo editing program. We’ve written about GIMP before. Maybe you can check out those posts to get acquainted with GIMP. Here the the links:
How to Clone Part of an Image using GIMP
Using GIMP – The Mosaic Filter
In this tutorial, we’ll be using several tools:
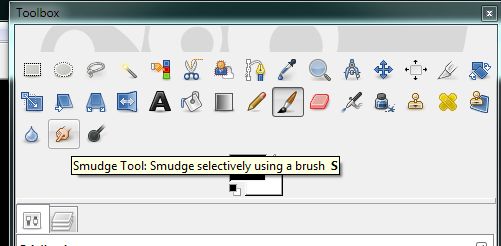
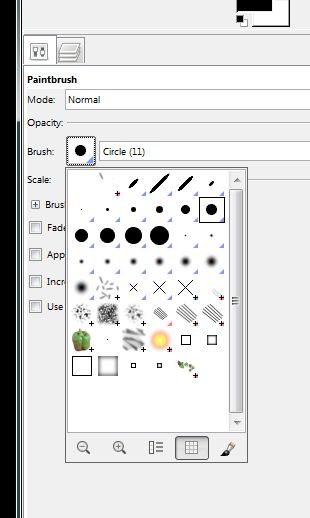
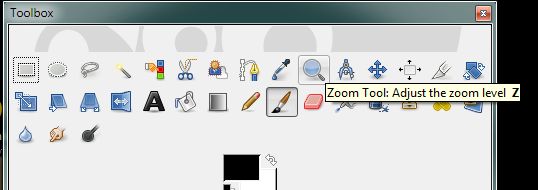
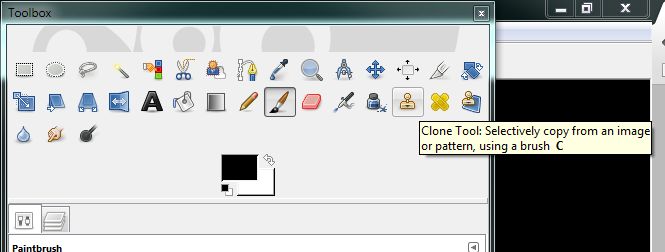
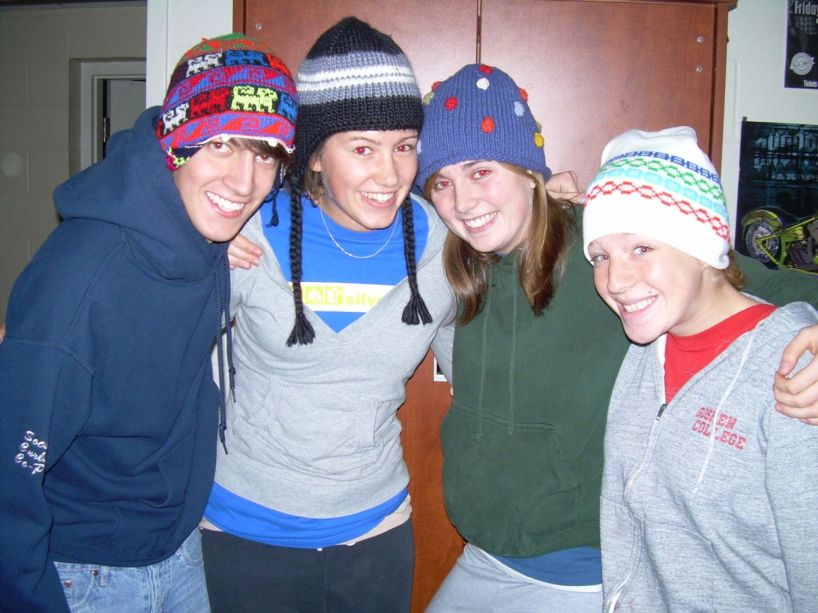
Here’s the image that we’re using today:
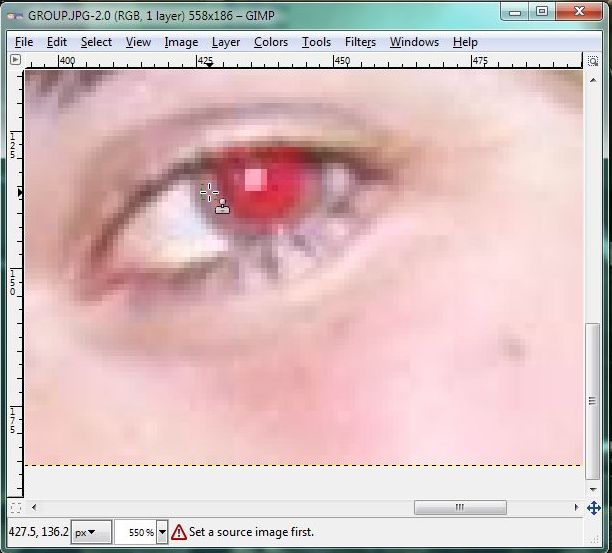
1. Our first step is to open the photo in GIMP. Right click it and choose Edit in GIMP. Then, in order to get close in on one of the red eyes, choose the magnify tool and click right on the eye you want to work on. That will center the eye on the GIMP workspace. Here is how far we zoomed in:
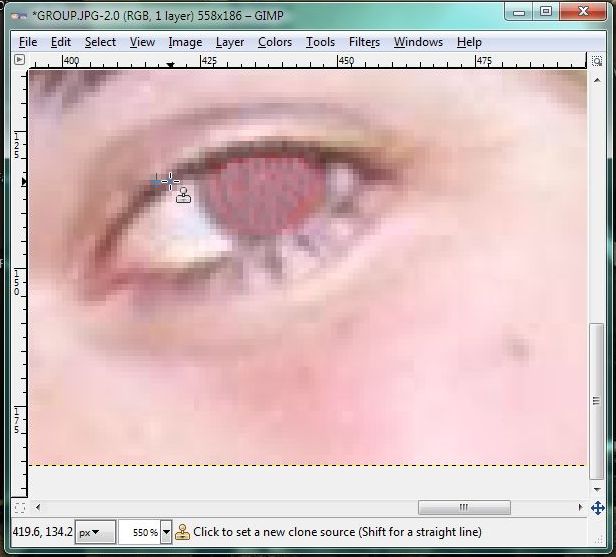
2. With the eye this big, it’s easy to see the work area. In the photo above, we’ve already chosen the area that we want to clone from, the beige area outside of the red part. Choose the clone tool then click the tool in a non-red area while holding the CTRL key. Look for the cross-hairs in the photo above, that’s our source. The icon of the rubber stamp is our tool which will place pixels from the beige area onto the red area.
3. We’ve taken all of the red pixels and replaced them with beige pixels. Are the person’s eyes beige? No, but there is nothing else to work with. In this particular case, there is no color at all except the beige which is, most likely, the brown of the real eye color mixed with red. We could have used a darker brown but, as you will see later, just about anything looks better than the red.
4. What’s missing in the eye above? The center part, right? We will add some black in the middle to make the eye look real. Zoom back out (choose the zoom tool and hold the CTRL key while clicking on the image. GIMP will zoom out). In our example, we moved back enough to get some of the dark cap on the other girl. Here’s how it looks:
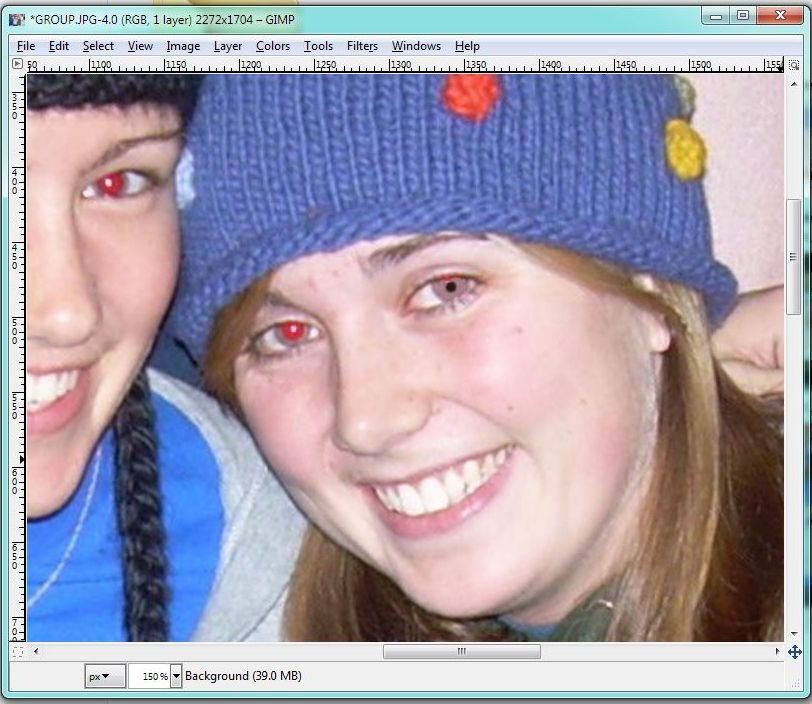
At this level of zoom, the eye looks totally fake. We know that. First, this is an example, and second, once you zoom out to the bigger photo, you won’t notice this as much. Take your time and do the best you can.
5. We worked on the two girls in the middle for a short time and came up with this:
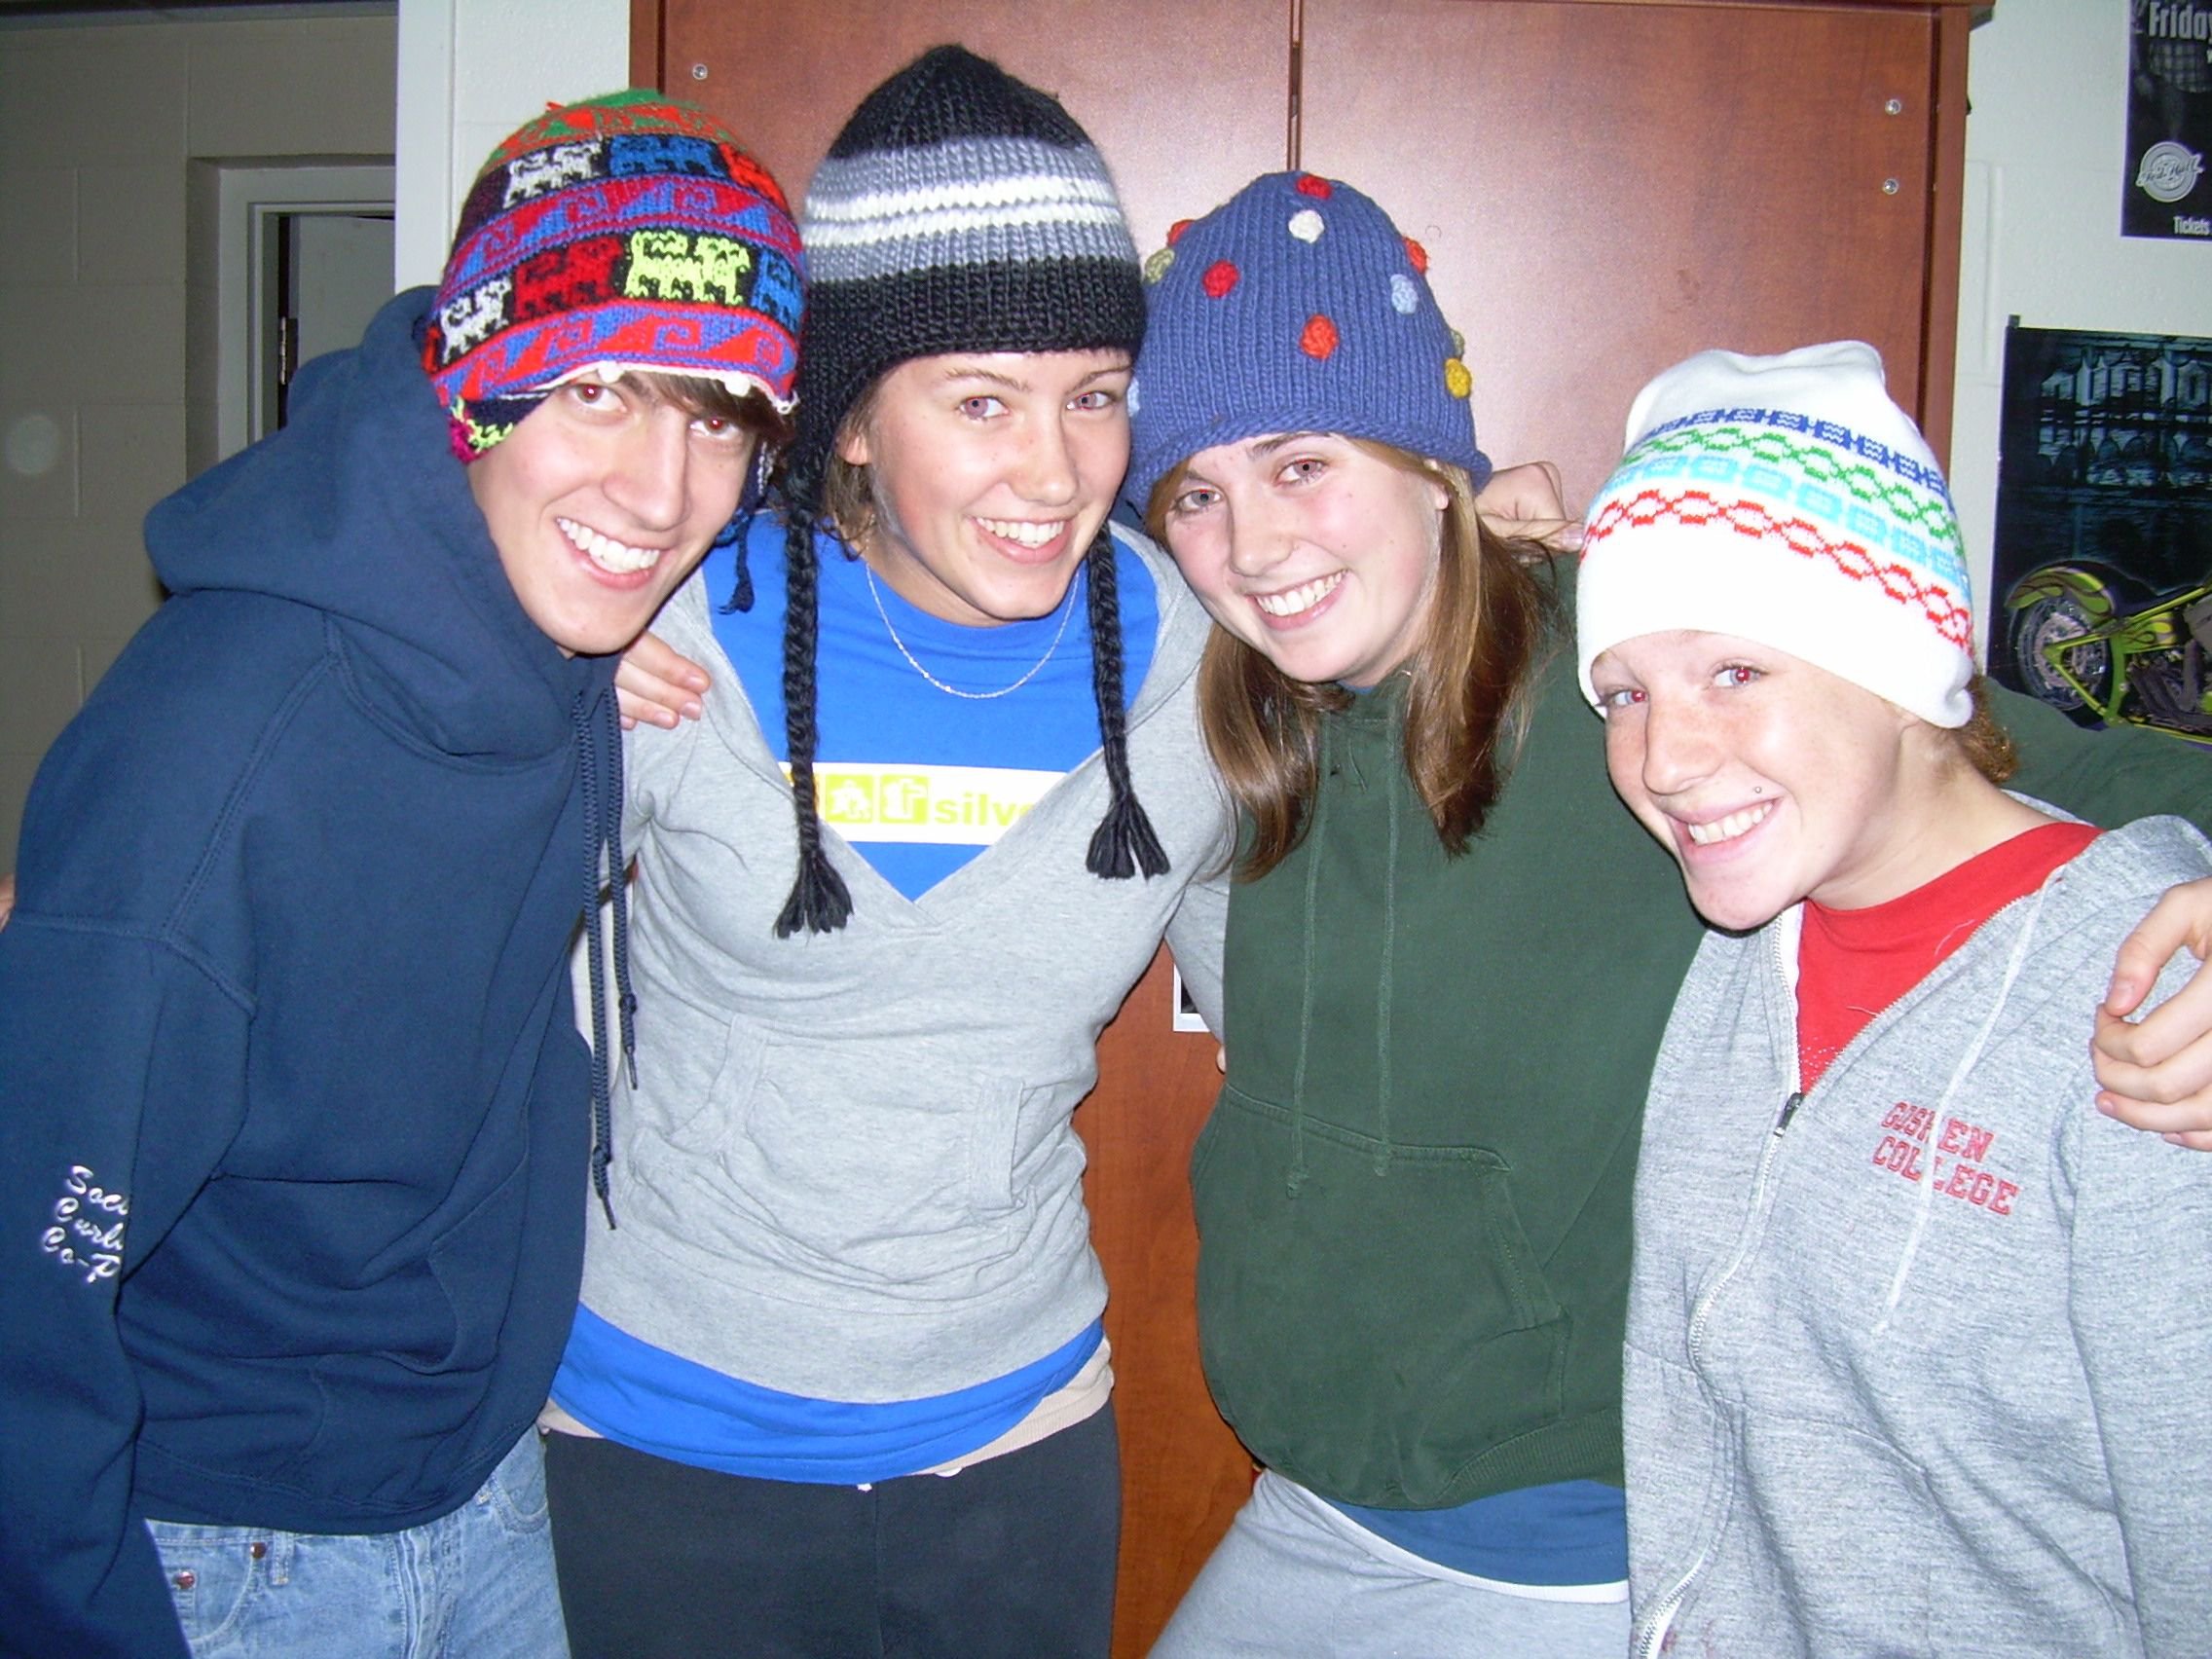
Two things here: we expect that you’ll be able to do better than this example, that’s first. Second, we wanted you to know that we were working on a real photo, not one that had been set-up for this. If we were going to use this photo in an album or on Facebook, for instance, we would have done a substantially better job. As it is, it’s not that noticeable but it’s not perfect.
Have some fun with this tutorial and see what results you can come up with. Questions and comments are welcome so don’t be shy.
Thanks for reading! Like our page on Facebook and get constant updates on our posts and other information that we post there. Computers Made Simple on Facebook
