Here are some tips to keep in mind when you are assembling your new PC. For actual step-by-step instructions plus pictures, head over to MaximumPC online. I have written for MaximumPC in the past (and hope to again) and I recommend the magazine and the website. Because the instructions change from month to month, it’s best to keep up to date on the current how-to articles on MaxPC.
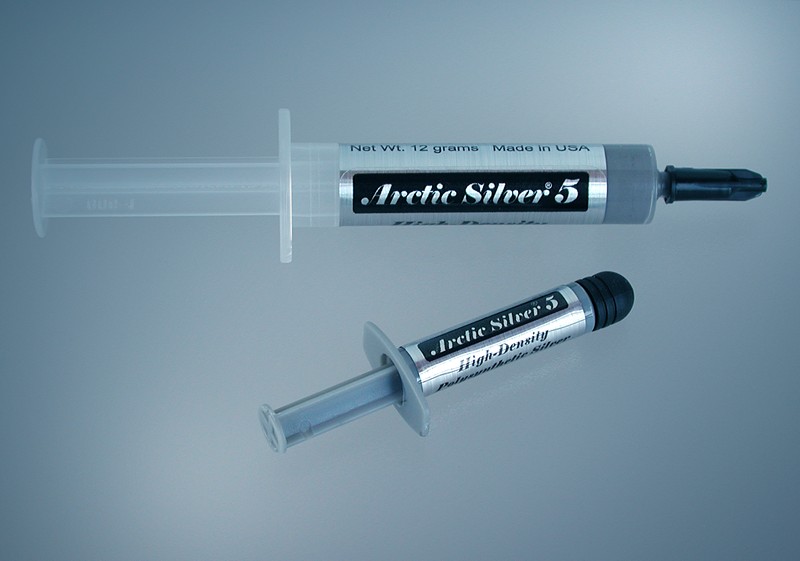
1. Make sure you’ve got everything together. Some things that you might not remember are the thermal paste (I got mine from Arctic) even though the Intel CPU came with paste pre-applied. I scrubbed off the old stuff and applied the Arctic Silver paste. You just need a pea sized dab of paste, not a whole bunch. Less is better but make sure you have complete coverage. Another thing you might forget are the SATA cables. Most motherboards come with a few but make sure that you have one for every drive.

2. Clean the area, clear your mind and don’t assemble the computer while standing on carpet! A good static electricity shock can fry some parts, your RAM or one of the many chips on your motherboard. Touch the case before you touch anything else. There are grounding straps you can pick up, too. I’ve never used one but, then again, I’m pretty anal about grounding myself every ten seconds.
3. Read the manuals. You should take an hour or so to refresh your memory about the ins and outs of your motherboard/CPU assembly. The RAM and drives are pretty self-explanatory but make sure you know which connectors are which. Keep the schematic of the motherboard layout in front of you and turned for the correct orientation. If you have SATA 2 and SATA 3 connectors, figure out which are which. The most confusing part of all of this, from my experience, is the system that connects the tiny wires from the front console of the computer to the motherboard. ASUS has made this very easy with a little do-jiggy that takes all the connectors in one foul swoop and pops them all at one time onto the motherboard. Look for that piece and learn out how to use it.

4. Every case is different. Some have easy to load bays that don’t require screws, others are more old-fashioned. Above all, look out for sharp edges on the steel. A cut from one of these is much worse than a paper cut and can really ruin your day.
5. When it comes to installing the stand-offs (those little screws that make the motherboard sit a bit above the case), make sure you install the right number. If you have too many screws or too many holes, you’ve done something wrong.

6. The process, as explained in Maximum PC, begins with installing the CPU, the RAM and the cooler. If there is any pressing down to be done, make sure you do that BEFORE you install the motherboard into the computer. I used the plastic bad that the motherboard came in to put under the board while the whole thing sat on a towel which absorbed any pressure.
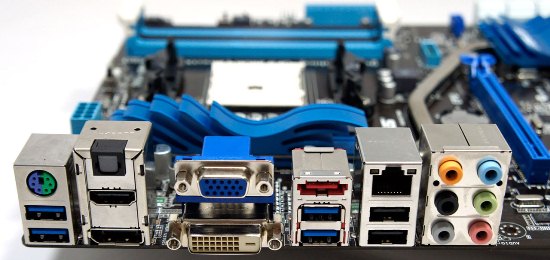
7. Another difficult part was fitting the connector console on the motherboard into the corresponding hole in the case. The little pressure tabs usually get screwed up so take your time here and check your work. The first two times I did this, the pressure tabs covered one or more of the holes. Not a good situation once the whole computer is assembled and ready to go.

8. Once you get everything assembled, check your work. My latest computer wouldn’t POST. There was a panic moment but then I realized that I had managed to knock the tiny switch wire off its connector when I was installing the SATA cables. Usually it’s just a little thing that screws you up.
Good luck with all of this. Questions, comments are welcome.
TIP: NCIX will assemble your computer for only $50.00 before they send the whole thing off to you. They even have a PC building system that tells you what will work with what. Check out the site. If you are timid but still want to ‘roll your own’ computer, maybe this is an option.
Thanks for reading! Follow me on Twitter: @_BrianMahoney
