SNAPCHAT (Part 2) – THE ULTIMATE SOCIAL MEDIA GUIDE – PART 6

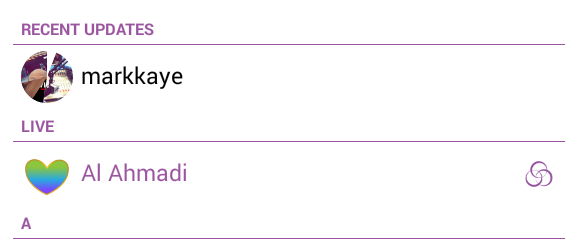
Once you’ve got your Snapchat account, you’ll be able to pick up snaps from Snapchat’s Live account. You don’t have to subscribe or add this Live feed, it’s there automatically. Recent feeds have been from Dublin, Al Ahmadi, Boston, New York, Hong Kong, The Netherlands, etc. You also get snaps from various events; award shows, music concerts, sport feeds and so on. These snaps are not from pros, they’re from people like you.  That’s the cool part of this, the snaps aren’t staged or repetitive, they’re live and real.

Snapchat’s Screens

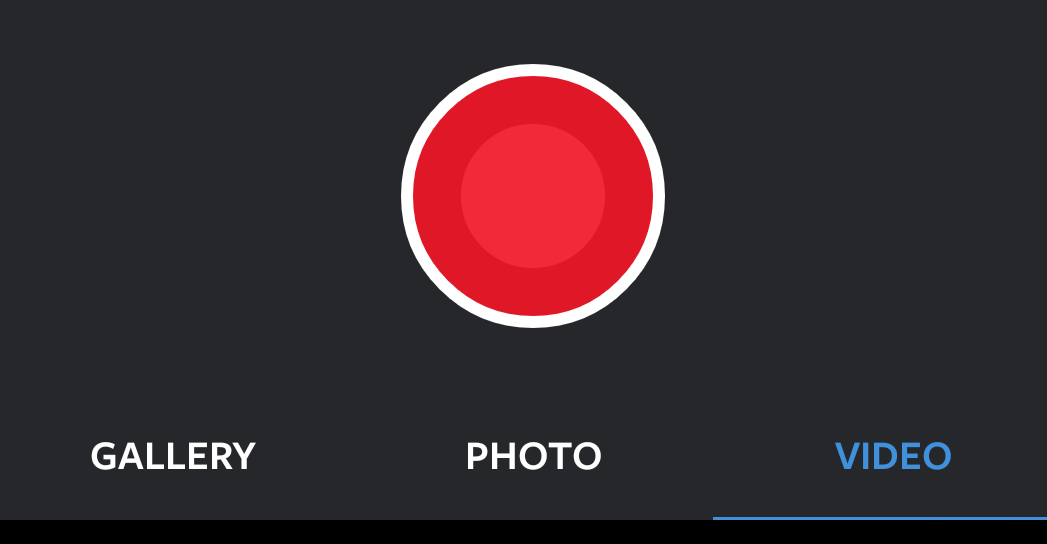
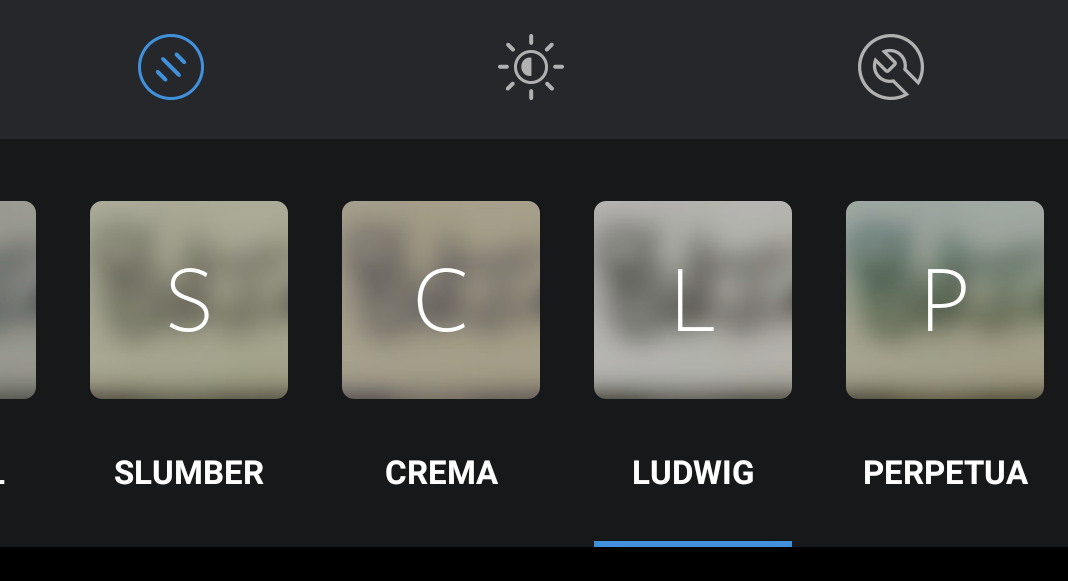
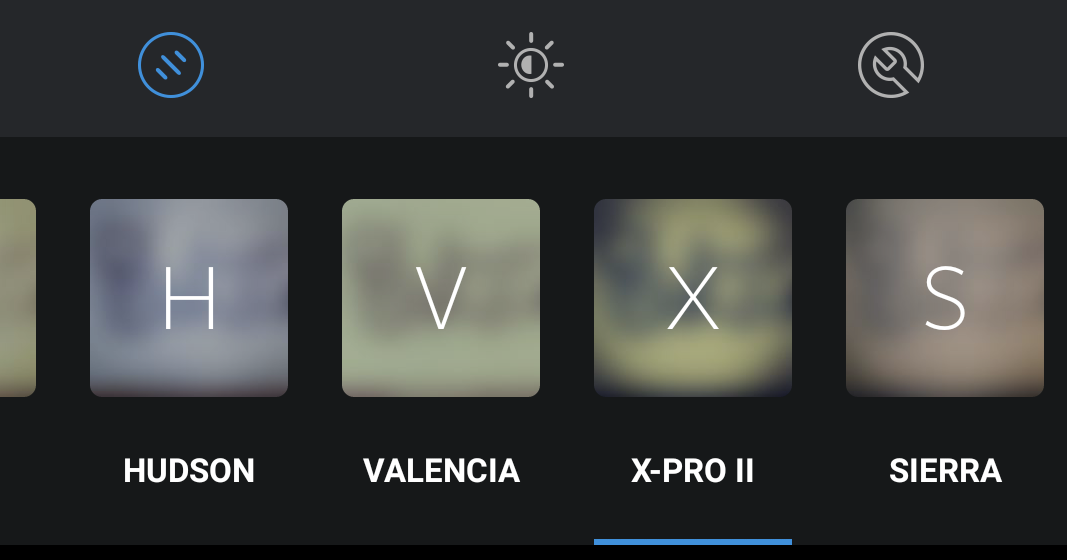
There are five Snapchat screens. The default screen shows your camera. The button at the bottom controls the camera, press it once and you take a photo; hold it and your snap becomes a video.

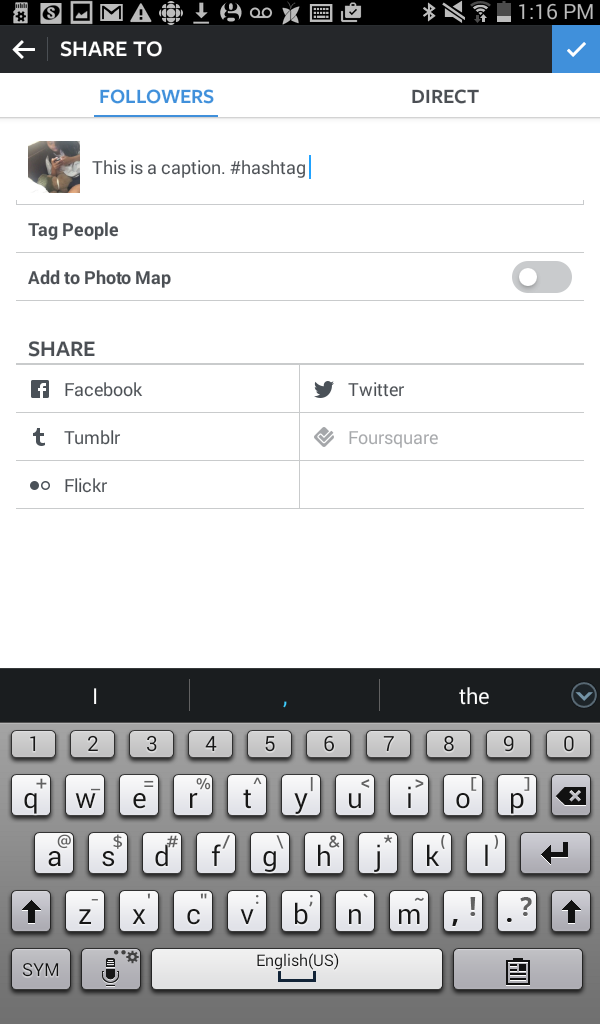
Scroll left and you’ll see any snaps that have been sent to you. Scroll once more left and you’ve got your chat screen. See the line at the bottom? That’s where you can type your message to one of your Snapchat friends. Tap it and a keyboard appears. Once you’ve typed your message you can either attach a photo or video snap or just send the text. Note that you can’t send a chat message to someone until they have sent you a snap.

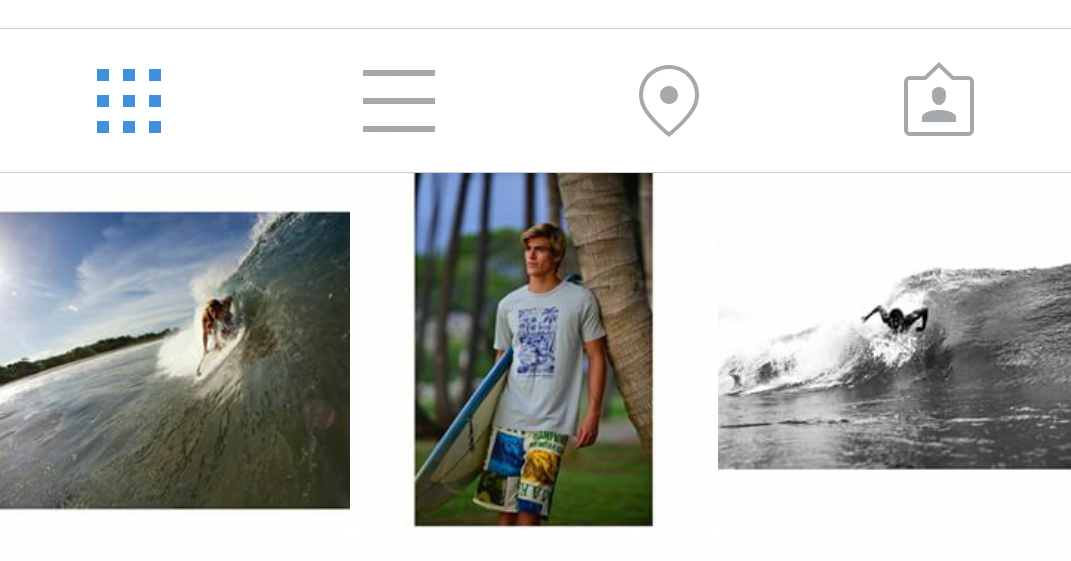
Scroll three to the right and you’re at your main Snapchat window. This is where the most recent updates are, the ones at the top of the page are new snaps you’ve received since the last time you checked. Below that, your friends are listed in alphabetical order. If they have a recent snap, it will show below their name.

Photo of SnapChat screen
We only have to updates at this point. One is from Mark Kaye, a DJ who is very popular on Snapchat. The other is from Snapchat’s live feed, this time from Al Ahmadi in Kuwait.


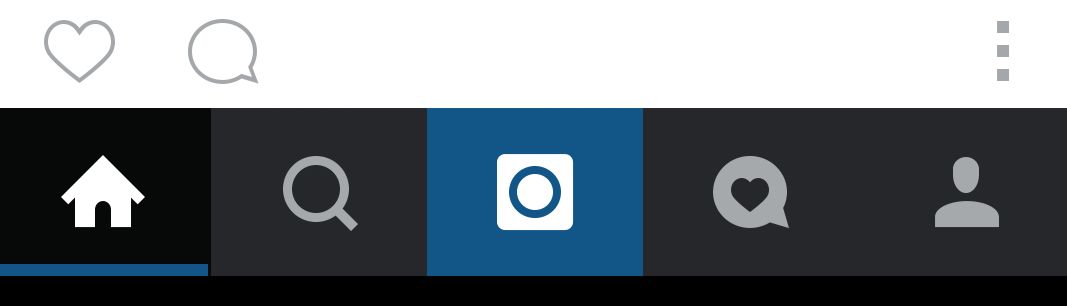
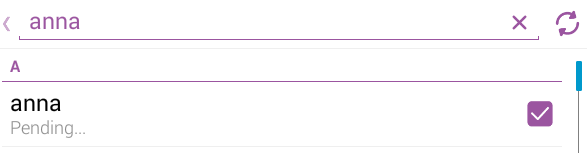
Scroll once more to the right and you’re at the Find Friends screen. Press on the magnifying glass at the top and start typing. You’ll know that you’ve found someone who has a Snapchat account when there is a tiny square with a plus sign inside it to the right of the name. Press that and you’ve added that person to your Snapchat as a friend. Anyone you add has to approve your request but that’s common in most social media. You will see the word ‘pending’ just below their name once you’ve pressed the add icon.

Photo of Snapchat Friend Addition
We’ve added anna. We don’t know who she is but she has the option to refuse us. See the ‘pending’ below her name?

If you search Google for ‘snapchat users’, you will find quite a few sites that list Snapshat accounts. Be advised that while Snapchat doesn’t condone nudity, some of the profiles you encounter may not be suitable for all ages or for browsing at work. That’s where the term NSFW pops up. If something is Not Suitable for Work, you can bet there is probably partial nudity in the snaps.

Generally though, Snapchat isn’t crawling with adult-themed photos or videos. For the most part Snapchat is fun, wholesome, often silly and entertaining. It’s full of pranks, bad jokes and people being people. That’s why we like it.

Snapchat Tips:

1. Add MarkKaye if you’re into Snapchat stars, both current and upcoming. CyreneQ is a very popular Snapchat artist. Check out her site for more Snapchat users: the11thsecond.com 

2. If you’re searching for users on your own, make sure you use as many forms of the name as possible. Anna might be just Anna or she could be Anna_ or Anna_Anna plus many other variations.

That’s it for Snapchat. Have fun, share your adventures with us and, if you want followers, add your Snapchat in a comment below.

Comments and questions are welcome but  Likes on our Facebook page get immediate attention.  Here’s the link: Computers Made Simple on Facebook .  Thanks for reading!


Snapchat – THE ULTIMATE SOCIAL MEDIA GUIDE – PART 5

Snapchat used to have a bad reputation, back in 2011 and 2012. Many people thought it was just another way to send rude photos. We’re not sure who the app was aimed at originally but lately it’s been embraced by many companies and organizations, something that never happens with some social media. If you think Snapchat is just for teens, it’s time to take a second look.

Although the app is simple, Snapchat’s power is in its portability, spontaneity and, yes, its simplicity. Want to share a moment or a series of moments? Press a button to record a photo or short video, decide who to send it to and, presto, it’s delivered. As with other social media, users add contacts with whom they can interact. Some may be genuine friends, others may be total strangers. They could even be celebrities, Nick Jonas for one, or a company, Me Undies for instance.

Photo of Me Undies
Where else can you get 365 pairs of undies? We’re not affiliated with Me Undies but their Snapchat videos are fun to watch.

Besides photos and videos, Snapchat’s other claim to fame is its customization. Snap a photo or video of anything then enhance it with your own art. Adding colorful art has created some world famous Snapchat users, not all of them from the U.S. Sure, there is a huge American user base but Snapchat has taken off worldwide. On any day of the week, you could find a whole city sharing Snapchats with you. This week it’s Amsterdam, last week it was Sydney.

Photo of Nick Jonas
Follow Mark Kaye and you’ll get to see Nick Jonas with his eyes closed.

When it comes to live events, Snapchat leads the way. Whether it’s Coachella , the NBA playoffs or the World Cup of Cricket, Snapchat was there. We’re not sure how that part of it works but however they do it, it’s a lot of fun to share in these events. If you like red carpets, check out the Snapchat feeds from the award shows. Your favorite stars are suddenly themselves when they’re away from the TV cameras and interviewers. You’ll see a whole other side of things, things that Instagram and Facebook never show. Snapchat is the winner here, hands down.

Snapchat is cross-platform. The versions differ somewhat but you can have fun on Android as well as iOs plus, we expect, on some others as well. Download it, install it and sign up. In our next post we’ll show you how it all works and, best of all, how to find people to follow. Stay tuned!

Comments and questions are welcome but  Likes on our Facebook page get immediate attention.  Here’s the link: Computers Made Simple on Facebook .  Thanks for reading!


WeChat Shake Problem Solved! (Thanks to one of our readers.)

We’ve had dozens of questions about the WeChat Shake problem.  Users who are ‘shaking’, often get results that seem to be from China, not their own country. This is how one of our readers solved this WeChat Shake problem:

1. Go to your storage settings.

2. Clear the WeChat cache.

3. Move WeChat storage to your SD card.

4. Clear your data.

5. Login and the problem should be solved. Good luck!

Instagram (Cont’d) – The Ultimate Social Media Guide – Part 4

We’ll finish up with Instagram in this post. Posting videos, searching for users with similar tastes, following/unfollowing…let’s get going.

1. Posting Videos – You don’t need a separate app to post short videos on Instagram. If your device can record videos, and most can, you will be able to post them right from the Instagram app. Why would you post a video? Maybe you’ve got something to say, something to sing or maybe you’ve captured your cat doing something funny. All are great subjects for videos.

Photo of Instagram video button
Press the red button to shoot a video now or press Gallery and choose one from there.

It doesn’t matter if your video is new or if you recorded it previously. Press the camera icon then choose Video instead of Photo if you want to record it live. Press Gallery if you want to use a video that you recorded at another time. After that, it’s the same as posting a photo. Type in some words, some hashtags, etc. then press the blue arrow at the top right. That’s it! Videos are good for sharing sounds with your followers. We post unusual bird songs, crazy squirrel noises, etc. , things that don’t come out in a photo.

2. Followers – You will start out with no followers at all, that’s obvious. If you use Facebook, however, you’ll be able to add your friends who also use Instagram. That’s a good start. Later on, you can start to ‘like’ or ‘love’ photos that you see when searching for followers. Sometimes, those users will follow you back.

If you see a photo that you like, click the user’s name. This will take you to the user’s profile page, complete with a short bio and thumbnails of all the photos and videos that they’ve posted. Scroll down to see if the photos match your tastes. If they do, scroll back up to the top and press the word Follow. Once you do that, you’ll see every public post from that user.

3. Hashtags – We’ve described hashtags and how to use them before but you must remember this: without hashtags, it’s hit and miss if anyone will actually see your photos, at least at the start.  Hashtags bring your efforts to the attention of anyone who searches using them. Even if those users don’t follow you, they just might like your photo. You will get a notice when they do, don’t worry. That way, you’ll discover other users with similar tastes.

4. Search for People – You can search by username as well but that usually doesn’t work. Why? People rarely use their own name for their Instagram profile. If you press the icon of the magnifying glass at the bottom of any Instagram screen, you’ll be able to search by photo or people. Instagram chooses recent photos and posts them on the photo search page. If you see something you like, tap the photo to make it larger then tap the user’s name to see all of that person’s public posts.

If you tap the People tab, you should see a list of people you might know, from Facebook let’s say, or maybe a series of well known Instagram users.

If you tap the magnifying glass icon at the top of that page, you can search for people by typing in their name or, better yet, search the hashtags. Type in some of your hobbies, for instance,  to discover other Instagram users who share the same interests.

5. Beyond that, the final two icons will show you your notices, as in people who have liked or commented on your photos or followed you. The last icon is your profile. You’ll be able to see how many people you follow and the users who follow you. Make sure you type a few words about yourself, right? If you have a website, this is a good place to advertise it.

6. The Secret Button – Well, it’s not really secret but not many people know how to use it. The main Instagram screen shows photos in a continuous line, allowing you to scroll from top to bottom. All of the photos are large, you don’t have to tap them to see a bigger version. That’s great but as soon as you go to someone’s profile, the photos are shown as thumbnails, requiring you to tap each one to see a larger version. Here’s where the secret button comes in. Look for these icons, just above the thumbnails:

Photo of lines
See the icon of three horizontal lines? Press that.

Press the three horizontal lines. The thumbnails suddenly change to full size photos, allowing you to scroll through them just like on the main Instagram panel. Much easier than tapping a thumbnail, waiting for it to load and then tapping the back button to see the rest of the thumbnails. Cool!

That’s it! You are now officially an Instagram expert. Go forth and impress your friends with your photo techniques and posting skills. Let us know if you have a problem, OK?

Comments and questions are welcome but  Likes on our Facebook page get immediate attention.  Here’s the link: Computers Made Simple on Facebook .  Thanks for reading!

Instagram (cont’d) – The Ultimate Social Media Guide – Part 3

Here’s how to post and adjust your photos on Instagram. All of the information here is directly from the Instagram app, none of what you see is from a third-party source. We advise you to stay away from any third-party apps, we call them ‘helper’ apps. Instagram is secure and very well known. Any helper apps cannot be guaranteed as safe so stay away from them. Here we go:

1. Posting a photo on Instagram can be as easy as opening up the app, pressing the camera icon, snapping a photo then clicking the blue arrow. You don’t even have to put any words on your photo. Simple, yes. Fun, no. Let’s use Instagram’s own tools to make your photo pop out from the rest.

2. Start on the main Instagram screen:

Photo of Instagram icons.
We’re going to use the middle icon for this exercise.

3. You’ll figure the icons out sooner or later but, for now, we’re looking at the middle one, the one that loosely resembles a camera. Press it. This is what comes next:

Photo of Instagram menu
Choose your photo’s source.

4. Instagram wants to know where your photo will originate. Is it from your photo gallery? Is it something you’re going to take right now or is it a video? If you have a selection of photos to choose from, press Gallery. If you want to snap a photo now, press Photo.

5. Once your photo is on the screen, the first thing you might want to do is ‘crop’ it. There’s a bit of a snag here so read this carefully. If you choose a photo from your gallery, you can easily crop it (make it smaller, essentially zoom in on it) simply by putting two fingers on the screen and separating them. The photo will expand beyond the frame. You can then move the center of interest around until you get what you want. You can’t do this with a photo that you shoot within Instagram. For that, you have to crop the photo before you take it. Do the same thing, put two fingers in the middle of the screen then pull them apart to zoom in on whatever it is you’re shooting. Remember that the image you get that way won’t be as crystal clear as the full original. That’s because you’re making the pixels bigger, you’re not really zooming in as you would with a lens with optical zoom.

6. Once the image size is set, move on to the filters. Press the blue arrow at the top, it points to the right, to proceed to the filter screen.

Photo of Instagram filters.
These are the filters, all are inside the Instagram app itself. No need to add a third-party app.

7. Pressing each main filter changes your image except the first one. That one is the #nofilter setting that we talked about last time. The rest, named Slumber, Crema, Ludwig etc., adjust the tones, color and brightness of your photo. Scroll through them by pressing the right one again and again until you find the one you want.

Photo of Instagram filter adjustment
X-Pro is the chosen filter. Press one of the two icons on the right above it for further adjustment.


8. Once you’ve locked in on one filter, there are two more adjustments that you can make. Look for the sun icon, that adjusts the brightness of your photo, then the wrench icon. That one adjusts your chosen filter settings. It’s up to you to decide if you want to adjust things or leave them as they are. Some Instagram users spend a lot of time with this and their images reveal the care they take.

9. All done? Press the blue arrow on the top right. This will bring you to the final screen, the one that will allow you to describe your photo, explain it, make a joke, whatever suits your fancy. Use hashtags to increase your audience. If your photo has a cat in it, use the hashtag #cats so that other Instagram users will find it, if they search for #cats, that is.

Photo of text screen.
On this screen you can add a description of your photo, a hashtag as well as share it with all of your followers, just some of them (press direct) as well as share your photo on other social media.


Note: You can share a photo with all of your followers or just some of them. Use the Direct menu to send your pic to any of your followers using the @ symbol then typing their name.

That’s it. Our next post will be about posting videos, finding people and some of the finer details of Instagram. Stay tuned!

Comments and questions are welcome but  Likes on our Facebook page get immediate attention.  Here’s the link: Computers Made Simple on Facebook .  Thanks for reading!