
Here’s a quick and easy way to repair digital photos or scans. You can use these same techniques to get rid of red-eye, too, but we’ll do a whole post on red eye reduction, don’t worry. For now, let’s concentrate on fixing blemishes on old photos that you’ve scanned.
1. Download and install GIMP. Get it here: http://www.gimp.org/
2. Once GIMP is installed, find the photo that you want to repair and save it under another name somewhere else on your computer. We suggest putting a new folder on your desktop for copies of the original photos that you want to repair. Why? Simply because you want to preserve the originals, just in case you make a mistake. Keep the original scan or photo in one folder and save the copy in another. Save it using something like ‘edited’ or ‘fixed’ so you know which is which.
3. Right click the copy and choose ‘Edit in Gimp’.
4. Once GIMP opens, look up on the top right, in the Toolbox, for the icon of the magnifying glass. Making repairs is much easier when you zoom in on the pixels, the little things that make up the photo. Here’s how we started:
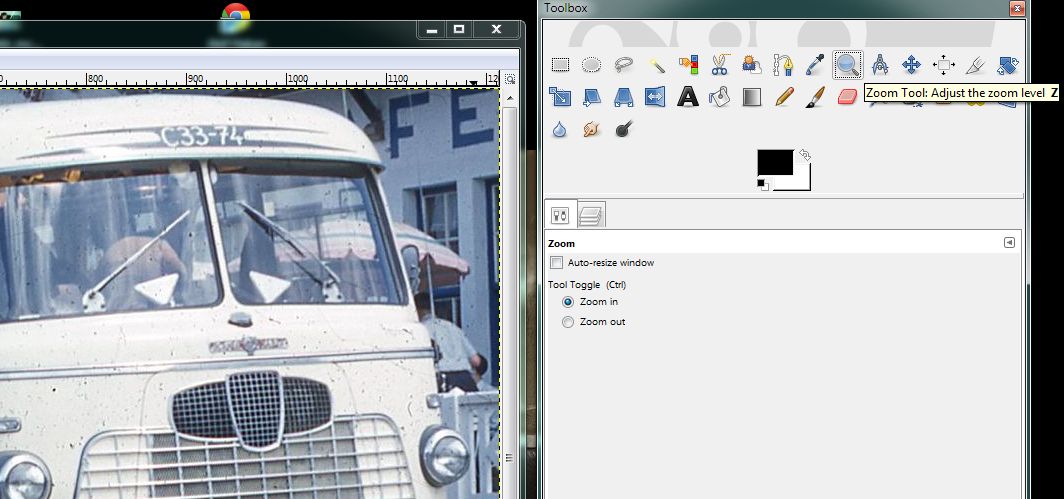
5. Once you’ve clicked the zoom icon, move over to the photo and click on the area that you want to repair. You can click anywhere you want but if you stick to the part you want to fix, that area will be centered in the window.
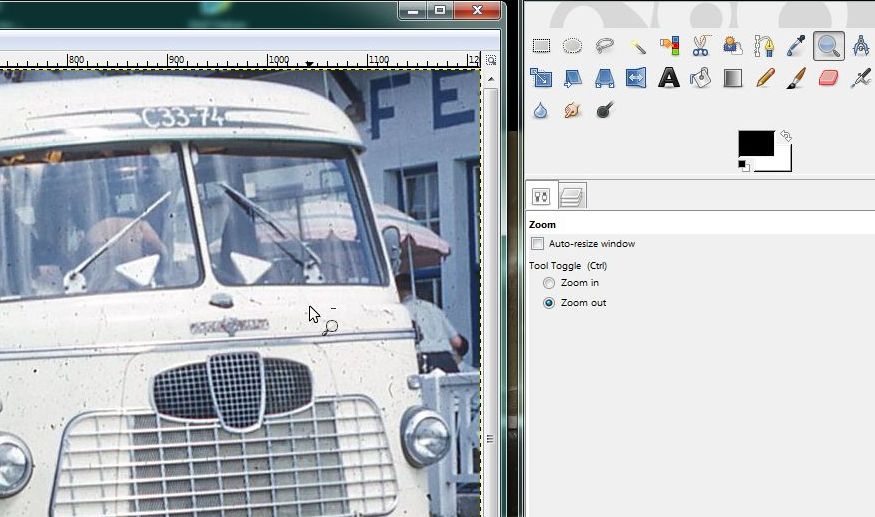
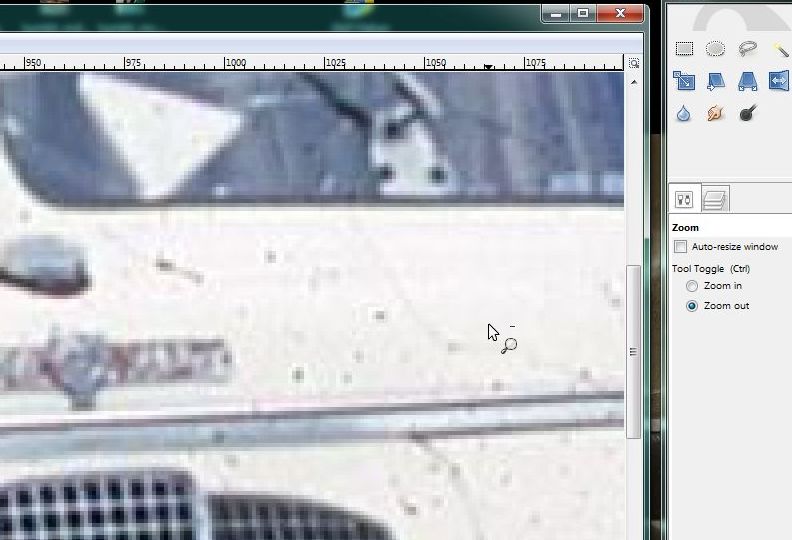
6. Depending on the type of repair you are doing, zoom in very close or just a bit. We’ve found that with red-eye removal, it’s better to click as far in a possible. In this example, we don’t need to be quite so far in.
7. Once you get the size you want, look over into the Toolbox and choose the Clone tool, the rubber stamp icon.
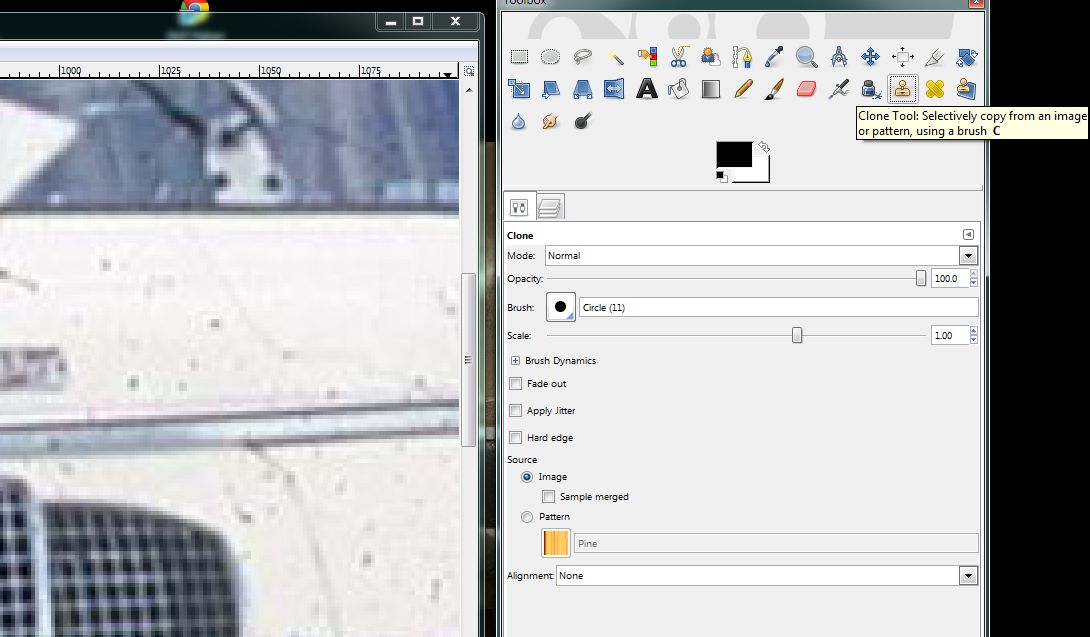
8. Next, select an area of the photo that isn’t smudged or damaged. What you’re looking for is a section that is clean and completely unblemished. When you find that area, hold down the CTRL key and click once in the middle of that section. GIMP will place a small cross icon there. Like this:
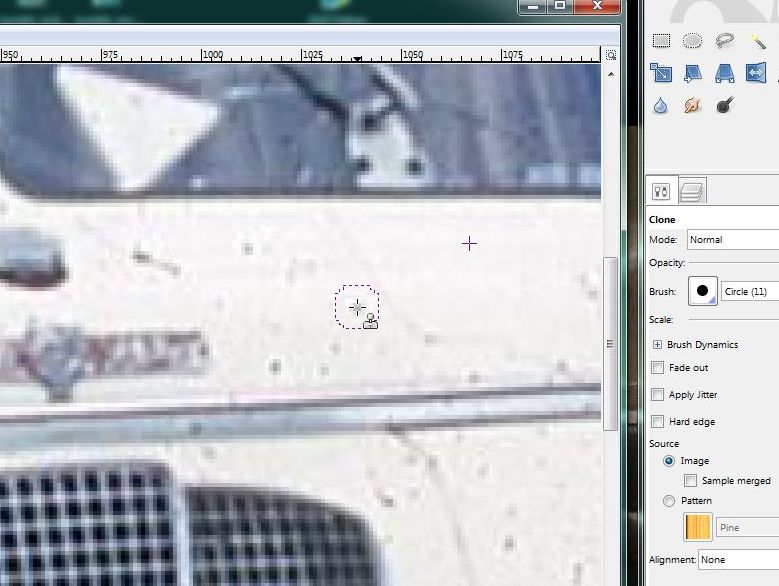
9. Once you have a nice, smooth area chosen, move the cursor (mouse) to an area that you want to repair. Hold the left mouse button down while you move the cursor around that problem area. GIMP will replace pixels in that area with clean pixels from the area you choose before. In a way, you’re painting over a dirty area with clean, fresh pixels. You have to make sure, obviously, that the pixels you are moving from one place to another are the same color and brightness, etc., as the originals. Here is how we did it:
10. Before you save your work, you might want to smudge the area that you worked on in order to smooth out any irregularities that cropped up when you replaced the pixels with clean ones. Back to the Toolbox and choose the icon of the hand with a finger sticking out. Here it is:
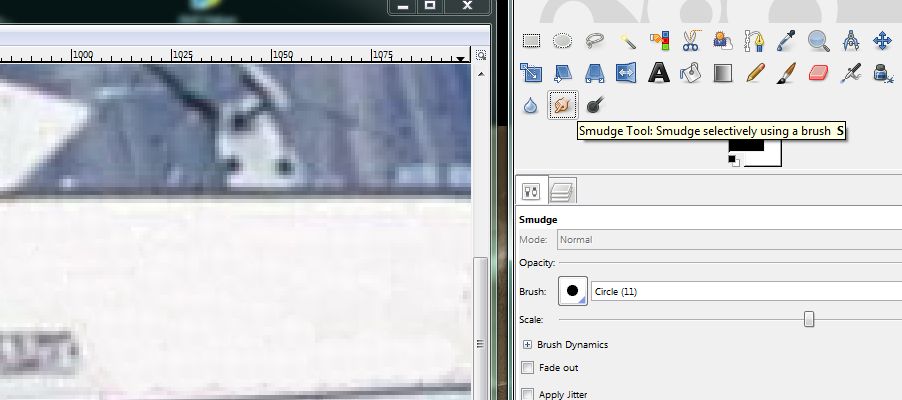
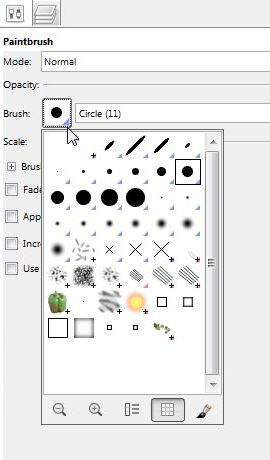
11. Move the smudge tool around and you’ll see the area become much smoother. You might have to vary the size of the brush. Click on the icon just to the right of the word Brush in the Toolbox. This is what you’ll see:
TIP: You may find that the smudge tool is all you need to repair some photos. If there are slight blemishes, let’s say on an old document or newspaper clipping that you’ve scanned, the smudge tool is all you need to repair those spots. Give it a try.
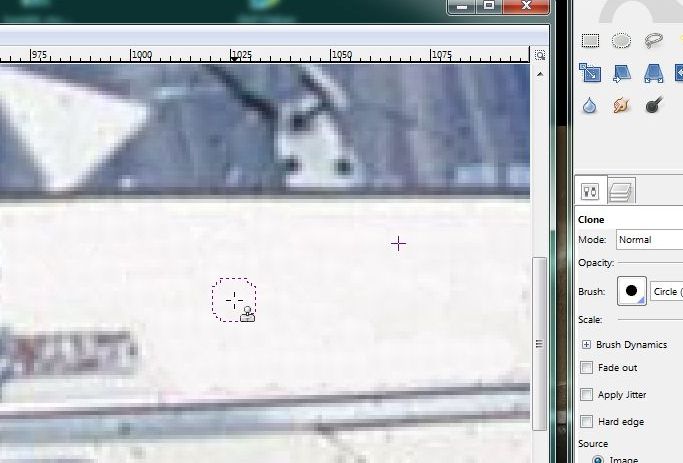
12. Here is our work, not completed, but you can see how the repair is looking now:
Remember that you can undo anything by hitting CTRL and the z key or by going up to Edit on the top and choosing Undo. We hope you find our instructional helpful. Explore GIMP on your own. You’ll find that it is a very handy bit of software…and it’s free!
Thanks for reading!