
Windows can be confusing by times, even for experienced users. Here are ten tips that will help you spend more time working and less time getting frustrated.
1. Multiple Windows Explorer windows: We use Windows Explorer often. Many times, we’re moving stuff around from one folder to another. If you have one window open while you do this, it takes time to do just about anything. Here’s how to get two or more windows open. Click on the folder icon on the bottom left of your taskbar to get one window open then right click the same icon and choose ‘Windows Explorer’. A second window will open up which will allow you to move things around from window to window, one folder in the left and another folder in the right. How do you move stuff around? Read #2.
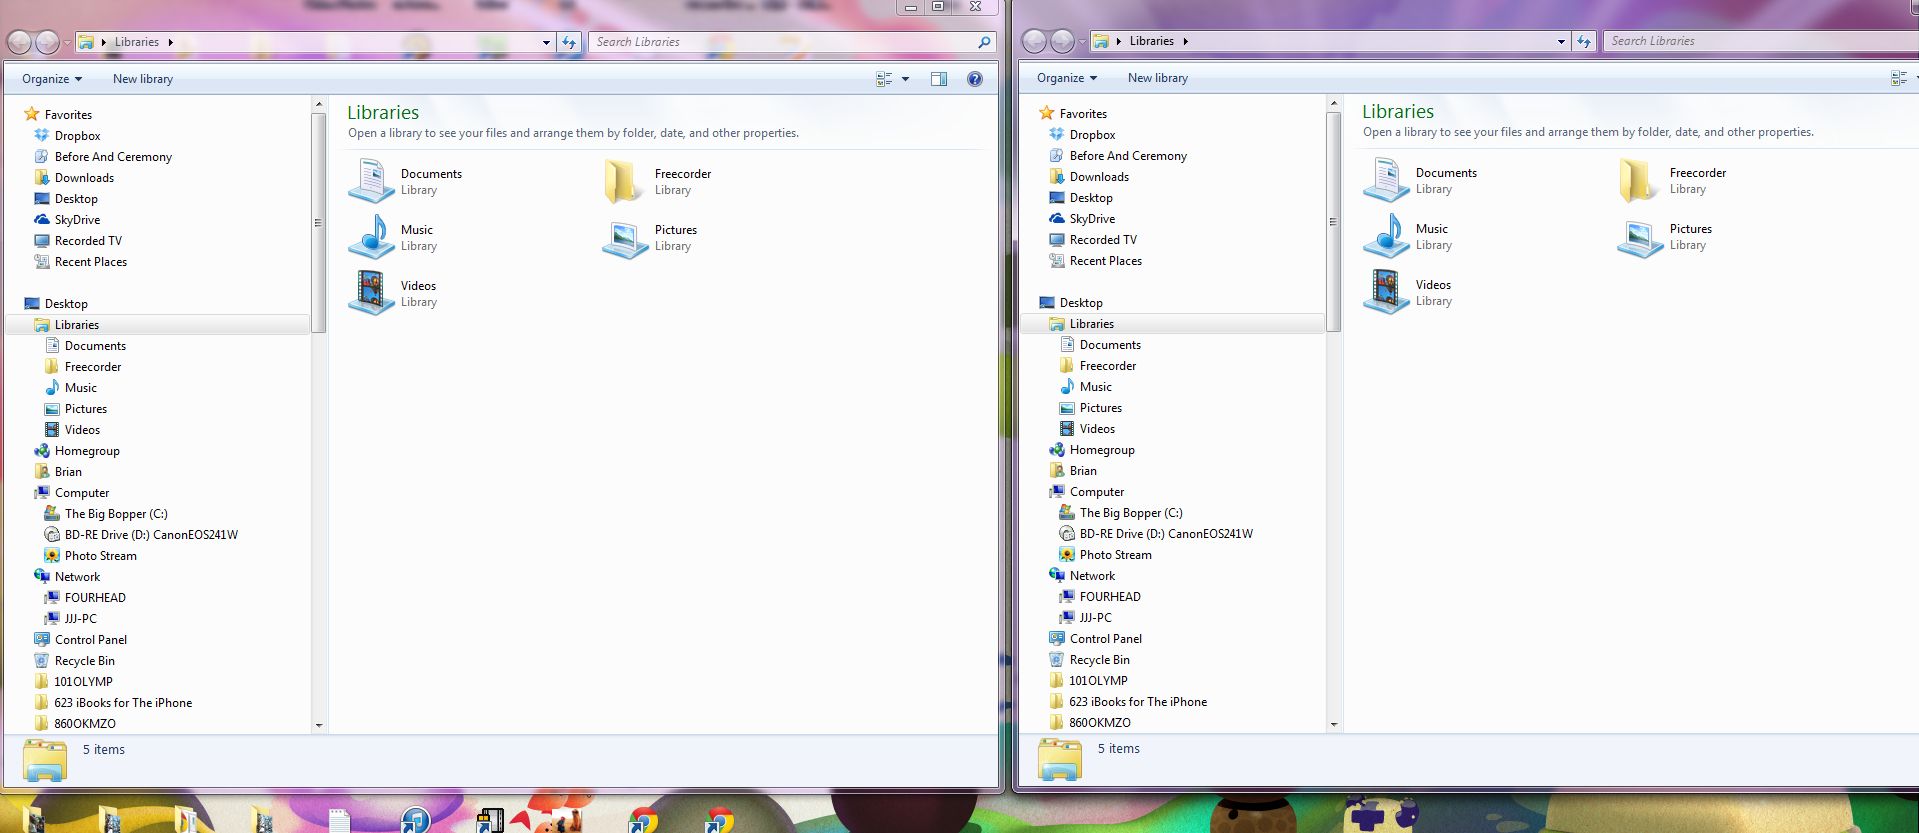
2. Dragging and dropping is easy, right? Select something with your left mouse button but don’t release that button. As long as the button is pressed, the thing you selected can be dragged around your screen, even from one folder to another. If you want to move a file to another folder, just click on the file, hold the button and drag it to the folder you want it to end up in. You’ll know when to let the button go when the target folder turns blue. Want to select more than one file? Read #3.
3. Multiple file/folder selection: There are several ways to select more than one file. If you click anywhere inside a folder, hitting CTRL and the A key at the same time will select everything in the folder, single files as well as folders. If you click on one file in a line of files, move your mouse down to the last one you want to choose then hold down the shift key and click your left mouse button. That will select the first and last file and/or folder and everything in between. Want to select only a few files? Hold down the CTRL button and click on every file or folder that you want to select. Read #4 to see what you can do with the files or folders after you select them.
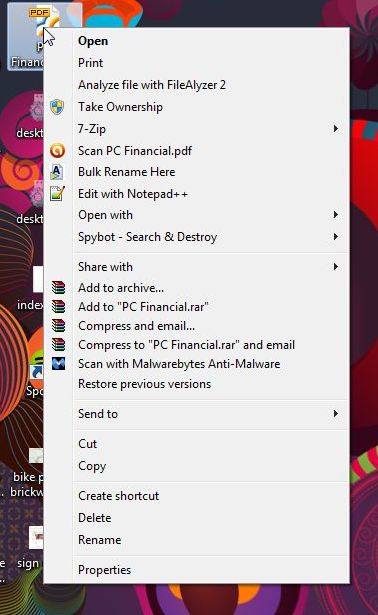
4. Right click menus; Your right mouse button is very handy once you have selected something in Windows. Right click a selection and read the menu. There are all kinds of things you can do from that menu. Right now, we’ll choose Copy and Paste. Once you choose Copy, the whole selection you’ve made is copied into Windows memory (RAM). It will stay there until you select something else or until you Paste it all into another folder. Once you decide on a location, click anywhere in the white area (or on a folder if you want to Paste it all into that folder), right click and choose PASTE. Read #5 for a faster way to do this.
5. Shortcut Keys: If you select something, there are several shortcut keystrokes that you can use to interact with that selection. You have to press two keys at the same time but, believe us, it’s a lot faster than using your mouse. Here are some shortcuts you can use: CTRL/a (select everything inside a folder), CTRL/c will copy any selection, CTRL/x will ‘cut’ any selection (cut removes the selection from its current location while copy leaves the selection where it is and puts a copy somewhere else when you choose Paste later on), CTRL/v will paste anything that is in Windows memory into whatever you choose to paste it into, CTRL/s will save something that you’ve already saved again or it will open up the ‘save as’ window if you haven’t already saved your selection or file, CTRL/z will ‘undo’ whatever action you’ve just performed. Remember this last one. If you move a file or do something drastically wrong, hit CTRL/z and that action will be undone. There are more shortcuts but that’s enough for now.
6. Screen Captures: Sometimes you want to save a photo or part of something that is on your screen. You can’t always save an image you see so you have to do a ‘screen capture’. On your keyboard, and it varies from computer to computer and laptop to laptop, look for a key near your F (function) keys. It will have ‘PRTSCN’ or something similar on it. Sometimes you have to press another key to make it work but normally you just have to press the key itself. Do that and your whole screen is saved temporarily in Window’s memory, waiting to be pasted into an image program. We use Irfanview for all of our basic image work and we recommend that you do the same. Just open any photo in Irfanview, hit CTRL/v or right click and choose Paste, and the copied screen is pasted into a new photo window, ready to be saved as a picture.
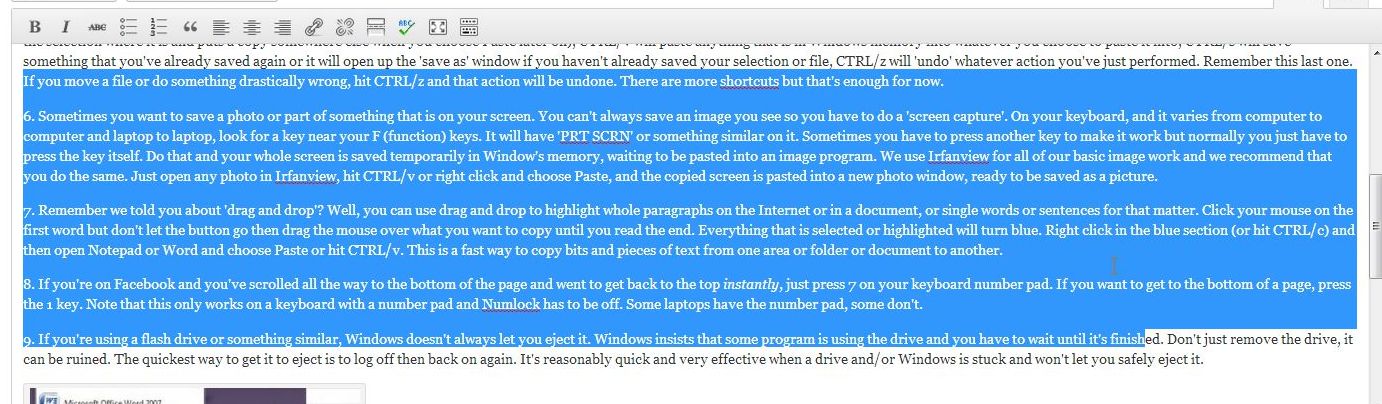
7. Highlight sections of text: Remember we told you about ‘drag and drop’? Well, you can use drag and drop to highlight whole paragraphs on the Internet or in a document, or single words or sentences for that matter. Click your mouse on the first word but don’t let the button go, then drag the mouse over what you want to copy until you reach the end. Everything that is selected or highlighted will turn blue. Right click in the blue section (or hit CTRL/c) and then open Notepad or Word and choose Paste or hit CTRL/v. This is a fast way to copy bits and pieces of text from one area or folder or document to another.
8. Zip to the top (or bottom) of a page: If you’re on Facebook and you’ve scrolled all the way to the bottom of the page and want to get back to the top instantly, just press 7 on your keyboard number pad. If you want to get to the bottom of a page, press the 1 key. Note that this only works on a keyboard with a number pad and Numlock has to be off. Some laptops have the number pad, some don’t.
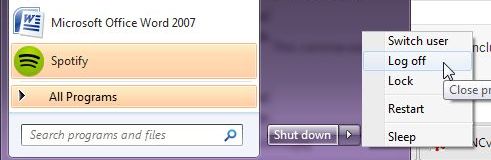
9. Safe Ejection: If you’re using a flash drive or something similar, Windows doesn’t always let you eject it. Windows insists that some program is using the drive and you have to wait until it’s finished. Don’t just yank the drive out, it can be ruined. The quickest way to get it to eject is to log off then back on again. It’s reasonably quick and very effective when a drive and/or Windows is stuck and won’t let you safely eject it.
10. Permanent File Deletion: We’ve saved this one till the end, mainly because it can backfire on you. You all know how to delete something, right? Select it, right click and choose ‘Delete’. Whatever it is that you selected is sent to the Recycle Bin. What if you want to get rid of that item permanently? Simply hold down the Shift key and then select Delete. Windows will ask you, Are you sure you want to Permanently Delete this file? It’s your choice to say Yes or No to that. If you choose Yes, that file is gone forever. You’ve been warned….
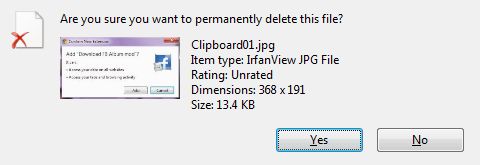
If you send the item to the Recycle Bin, it can be restored. Use this tip carefully, just in case you make a mistake.
Thanks for reading! Hey, why not Like us in Facebook? Keep up with our posts and updates. Here’s the link: Computers Made Simple on Facebook


