Google Chromecast – First Impressions

If you’re one of the millions of us who have ‘cut the cable’, you’ve probably already heard of Google’s Chromecast. Chromecast is available in about 120 countries around the world so unless you’ve been living under a rock, the name should be familiar to you.

Photo of Chromecast
Here it is, the latest version of Chromecast. Different colors are available.

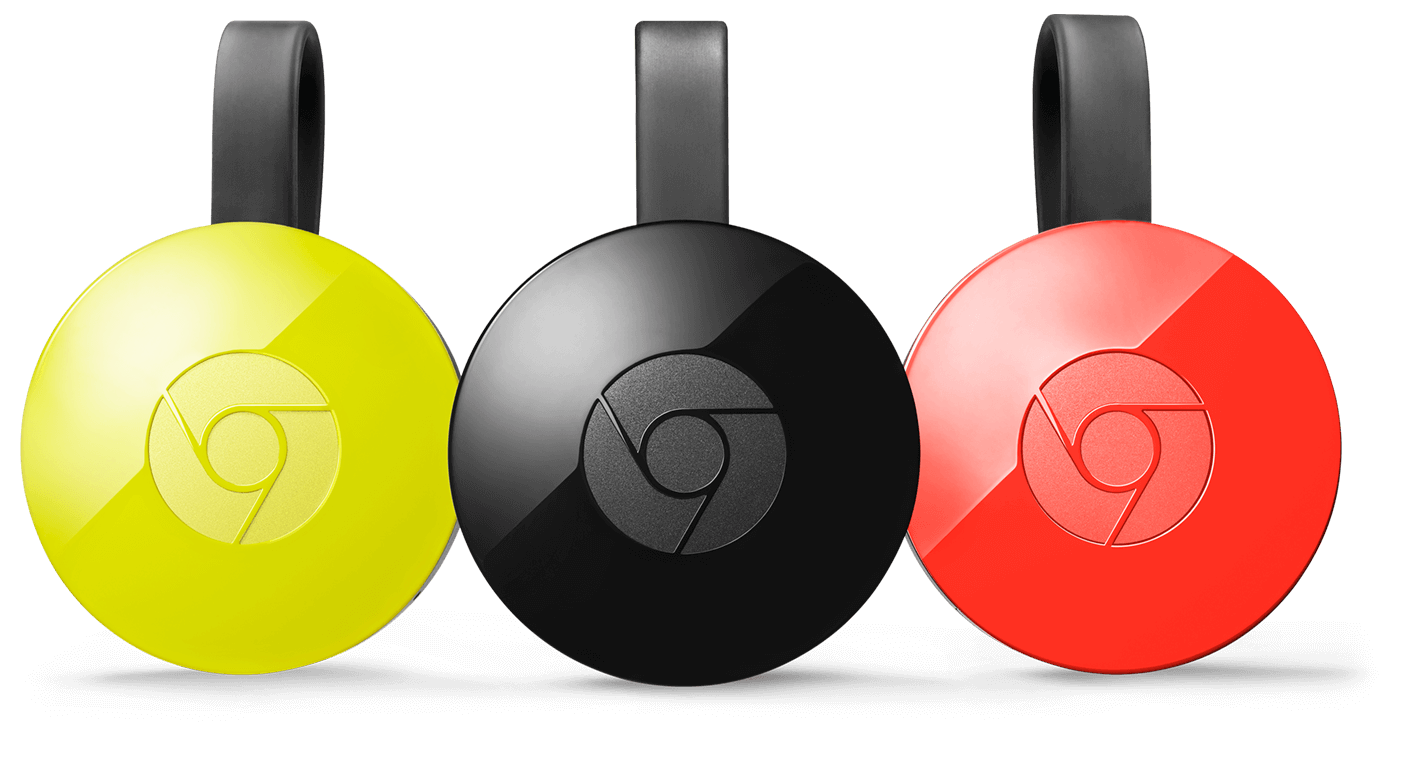
We received a demo Chromecast last week. Here are our first impressions of this simple device plus an explanation of what it does.

All you need to get started with Chromecast is a HD TV and a relatively fast Internet connection. You’ll also need a remote. This is the part that we found a bit unsettling about Chromecast because the device itself does not come with a remote. The solution to all of lives probably lives in your pocket or purse. Any Android or Apple smartphone will work as a remote control unit. Additionally, you can use a tablet, laptop or desktop computer running Google Chrome. A simple solution, as it turns out.

You’ll have to think of Chromecast as an enabler rather than a standalone piece of technology. For less than $50.00, any HDTV can be made smart. When we think of a smart TV, we usually think of something that allows you to use Netflix. Many people stop there but there is so much more than Netflix out there.

Photo of Chromecast setup
Connect Chromecast to any open HDMI port, plug it into an electrical connection and you’re off!

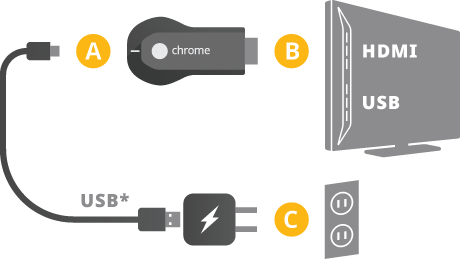
The photo above shows how your Chromecast should be connected to your HDTV.  Once you’ve done that, the rest of the setup is done on your remote; your smartphone, tablet, laptop or desktop computer. Setup is easy, don’t worry. On a smartphone, you download the Chromecast app then enter your WiFi password and you’re off and running.

Once your phone and Chromecast are linked, it’s simply a matter of downloading and installing the apps that enable you to watch shows on your HDTV. Yes, Netflix is one of those apps but there are many, many more. Here’s a small list:

Photo of Chromecast apps
In order to watch material from any of these apps, you’ll need to install that app on your remote.

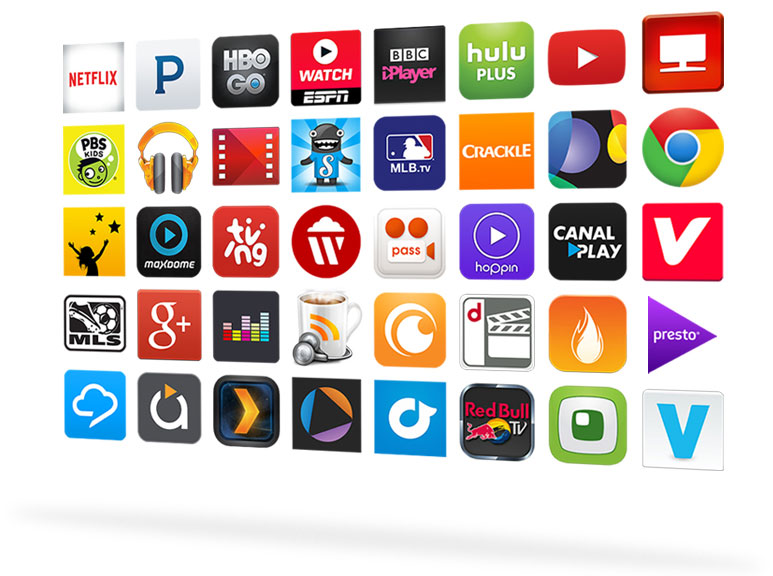
Once you’re installed some apps on your remote, find something you want to watch and then cast it over to your HDTV via your remote and Chromecast. Tap the icon you see below and your show will pop up on your HDTV.  Anything that you’re watching on your remote that can be cast to your HDTV will have this icon up on the top right corner:

Chromecast icon
If you can see this icon on your remote screen, you can cast whatever you are watching up to your Chromecast and watch it on your HDTV.

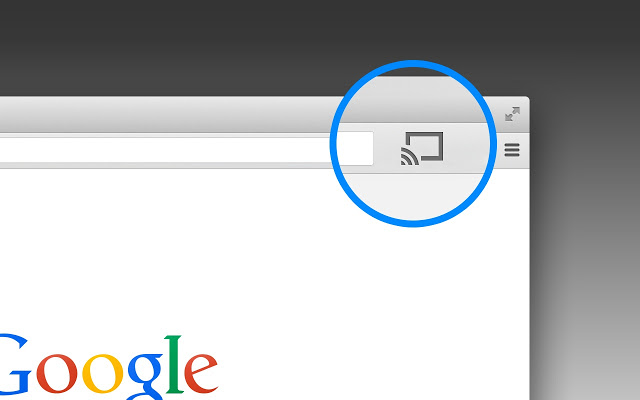
Play will pause on your remote and continue on your HDTV. If you want to watch something else, press pause or stop on your remote and choose something else. Cast it up to your Chromecast and your HDTV will show your current selection.

TIP: Once you start any video on your HDTV, the quality will be poor for a few seconds. Don’t dismay, it will get better. If you have a relatively fast Internet connection, you won’t notice a difference between your Chromecast broadcast and a DVD. Chromecast uses the latest and greatest WiFi protocols. A wired Ethernet connection is available, more on that later.

That’s it for today. We’ll run through some of the available apps in our next post. Comments and questions are welcome but  Likes on our Facebook page get immediate attention.  Here’s the link: Computers Made Simple on Facebook .Thanks for reading!

Connecting a Nexus 5 to a Windows PC – Update

We’ve been having a problem lately, mainly since we switched to Windows 10, whenever we try to hook up our Nexus 5 to a PC. Windows sees the Nexus as an Acer ADB device for some reason. Here’s how we fix this:

  1. This procedure is done on your Nexus 5, not on your PC. Start by connecting your phone to your PC using a USB cable.
  2. Go to your Settings, that would be the gear icon on your app screen. After a recent Android system update, we’re on version 6 now, the menu that controls your USB settings has disappeared. This means that you have to do a search for them. Look for the icon of a magnifying glass at the top of your screen.
  3. Type the letters usb in the search space.

    settings for usb
    This is what you see when you search for ‘usb’ on the settings screen. You want to choose Select USB Configuration
  4. Several choices will pop up. The one you want is ‘Select USB Configuration’.  Press that choice.
  5. More than likely the choice you want on the next screen is already chosen. You should see ‘MTP (Media Transfer Protocol) selected. No matter, select it again by simply touching those words.

    MTP Things
    Even if MTP is pre-selected, touch those words again to confirm the choice.
  6. If you’ve followed the steps correctly, a file explorer window should pop up on your screen. It should show your Nexus 5 as a storage device that you can double click on to reveal the contents.

This process should work for you. We’re not sure why Windows 10 defaults to the ADB device choice but doing this fairly simple set of steps should get you up and running quickly. It’s as if you have to remind Windows that the Nexus 5 is an MTP device.

If by chance this doesn’t work for you, try our previous routine. Here is the link:  Nexus 5 to PC


Comments and questions are welcome but  Likes on our Facebook page get immediate attention.  Here’s the link: Computers Made Simple on Facebook .Thanks for reading!

Disable Browser Window Resize

It’s hard to know what to call this post but if you have a modern laptop, you know the problem. Seemingly for no reason, your browser window resizes itself, making the text so small that can’t read it or so large it looks like a first grade reader. Here’s how to stop that, once and for all.

1. You may not know it but there is a bit of software that controls your trackpad. In our case that software is put out by Synaptic. On the lower right corner of your taskbar there should be an icon that looks something like this:

Photo of Touchpad Icon
The icon may not look exactly like this but we’re quite sure you have one on your laptop.

2. If you can’t find it, you’ll have to look in your Control Panel. Once CP is open, look for Hardware and Sound then either Touchpad/Mouse or Device Manager. Find your pad there, right click it and choose Properties.

3. In the Properties window, look for Pinch Zoom. Depending on who made your laptop, the actual wording may vary. Here’s what you might be looking at:

Photo of Disable Pinch Zoom
Disable Pinch Zoom. That’s what you’re looking for, depending on which company made your laptop.

4. Basically, you want to disable zoom, no matter what it’s called on your laptop. Once you do that, click OK and/or Apply and the window will close. No more of that annoying resizing!

Let us know if you have a problem with this or anything else to do with computers, tech, software, Facebook, WeChat…you get the idea.

Comments and questions are welcome but  Likes on our Facebook page get immediate attention.  Here’s the link: Computers Made Simple on Facebook . Thanks for reading!

Lock Down WordPress – Part Two

Our last post was about WordPress usernames vs. names that are publicly displayed in various places on your site. Whatever you do, don’t reveal your username and, more importantly, don’t leave the username set to ‘admin’.

Today, we’re moving on to two plugins that really lock down your WordPress site. One, Wordfence, is something we’ve written about before. Check that out here:

Wordfence

Wordfence aims to lock out intruders, anyone who uses the wrong username and/or password. It can also lock  you out of your own site but that is easily corrected. This photo will give you an idea of how often WordFence steps into action on this site:

Photo of Wordfence report.
This photo shows the attempts to break into this site. Most are from Russia, is that a surprise to anyone?

This list of countries is not complete, Israel should be on the list but isn’t. We were surprised that hackers from Israel would be attacking this site but anything is possible, right?

The various options that Wordfence offers are too complex and detailed to explain here. Check out their site, read about the premium option (we don’t think it’s worth it) and install it from your WordPress dashboard. You’ll be glad you did.

The second plugin that we use on this site is Google Authenticator.  Again, this is a free plugin, one that locks your WordPress site down if the correct code isn’t entered. Install it on your WordPress site from your dashboard then install the app on your mobile device, it’s available for Android, iPhone and Blackberry. Once the plugin is activated, you’ll see a code like this on your phone:

Photo of Google Authenticator code
Enter the code within the time limit and you’re in.

There is a time limit on the app, not on your website. It the clock is close to the top, let it go past 12 and enter the new code.

With these two plugins, you can pretty much relax in the knowledge that your WordPress site is secure and safe from hacking. Good luck!

Comments and questions are welcome but  Likes on our Facebook page get immediate attention.  Here’s the link: Computers Made Simple on Facebook . Thanks for reading!


Lock Down WordPress – Part One

Believe it or not, this site averages 650 hacking attempts every day. There are so many attempts to get into it that we’ve stopped the email notices from the main plugin that we use to keep hackers out. Computers Made Simple is reasonably popular but it’s not remotely near the top of the list. Despite that, we get hundreds of hacking attempts every day. Here are some tips on how you can protect your WordPress site, big or small. Even if your site is brand new, hackers are trying to get into it.

We’ve written before about keeping your WordPress username separate from your posting name. Here is a link to that post: Username/Posting Name Should be Different 

While the two steps mentioned in our previous post are good, we’ve discovered a way that hackers can see your username, even if you have it set to something different than your posting name.

TIP: If you run a site with several contributors, make sure they read this post.

WordPress now allows you to have your author’s name displayed publicly as something different than your username. The importance of this can’t be ignored. If a hacker is able to discover your username, they are 50% of the way into getting access to your site. Don’t let them! If they don’t know your username, even if they somehow divine your password, they won’t be able to get into your WordPress installation.

Head to Users then edit your admin account, the one that has admin privileges, in other words. Hopefully you’re not still using admin as your username, right? If you are, it’s even more important to change it now.

Look for this section on the editing page:

Photo of WordPress page
Make your first name that does not resemble your username. Your nickname could be anything, or blank. Display name will be your first name.


The important thing here is to make sure your username is:

1. Not Admin

2. Not in the ‘Display name publicly as’ space.

Nickname is not required, so don’t worry about it. If your username is still admin, change it using these instructions:

Protect Your WordPress Site

At this point you’ve prevented hackers from discovering your username. As long as it’s not ‘admin’, they won’t be able to get in, even if they know the password.

In our next post we’ll detail another way to lock down your WordPress site.

Comments and questions are welcome but  Likes on our Facebook page get immediate attention.  Here’s the link: Computers Made Simple on Facebook . Thanks for reading!


a little bit of hi-tech, a little bit of common sense and a lot of fun