Category Archives: Windows Secrets

Computer Troubleshooting – fixing random problems

We ran into a problem this weekend with one of our laptops. For some reason, still undefined, we could connect to our central router’s WiFi but could not connect to the Internet. We had good signal strength but no go on the Internet connection. When we’re faced with this kind of situation, we try to look at the problem systematically, running through a series of troubleshooting steps to get to the root of the problem.  Even though we didn’t sort out the trouble, here are some of the steps we went through. If you’re in the same situation, you can try to use a few of these DIY (do it yourself) strategies.

1. We tried to use Windows to sort out the connection problem but, as usual, the Windows troubleshooter was useless. It’s nice that Microsoft tries to help but in all of our years of using Windows, we can’t remember when their troubleshooter worked. You’re welcome to try, but our success rate is dismal, to say the least.

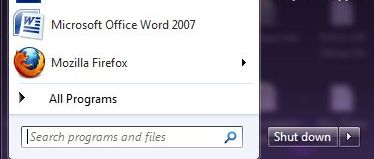
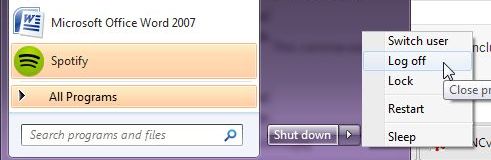
2. Rebooting (restarting) a computer or mobile device is the first thing you should do. Save your work, bookmark any important sites you’re on and restart. Signing out won’t work as well as completely shutting down and starting everything up again.

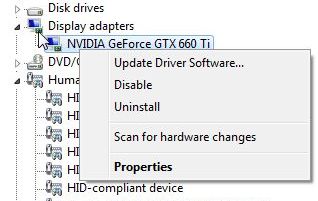
2. In the case of our WiFi problem, we weren’t sure if it was software or hardware related. Our next step was to uninstall the Broadcom WiFi adapter. While this may sound extreme, it’s not. The adapter is a piece of hardware, yes, but we didn’t actually remove it from the laptop. We simply went into our device manager and uninstalled it from there. Next we rebooted the laptop and, of course, Windows found the adapter and reinstalled it. Why did we do this? Sometimes a driver, the thing that makes a piece of hardware work, gets corrupted. Removing a device then rebooting your computer can sometimes bring it back to life. Windows checks the driver and if it’s corrupted or old, finds a new one or asks you to find one for it.

Photo of Disable or uninstall hardware
This is an example of the ‘uninstall’ screen in Control Panel then Device Manager.

3. Since most laptops can use a wired connection as well as WiFi, we took the laptop down the hall and connected it with an Ethernet cable to a spare port on the router. This bypassed the WiFi connection and we were able to connect to the Internet immediately. Because of this, we knew that our problem was not a virus. On to step 4 to read why.

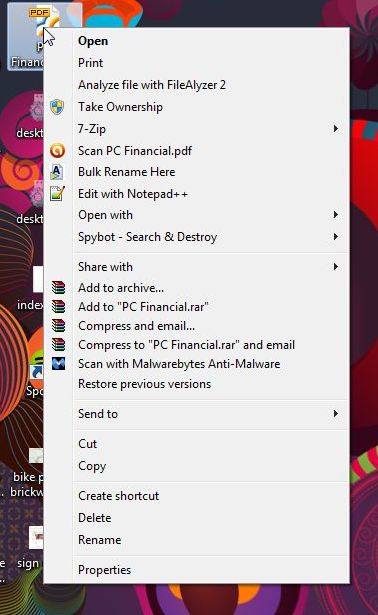
4. Sometimes a virus or malware can interfere with your computer’s stability. If you’ve downloaded music or a new piece of software from an unfamiliar site, there is a chance that a virus has hijacked your computer. If you do not do a virus scan on a regular basis, and you should, make sure you do one as soon as your computer starts to ‘act’ differently. Here’s a link to a good and reliable online anti-virus scan: Free Online Virus Scan  We’ve used these guys for years when we have reason to distrust our own anti-virus software.

Photo of Trend Micro House Call
This asks you to download a small file with allows Trend Micro to scan your computer online.

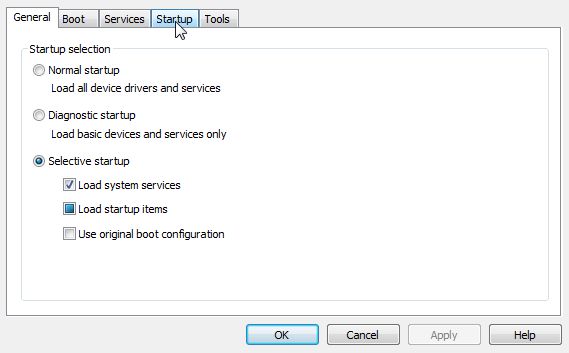
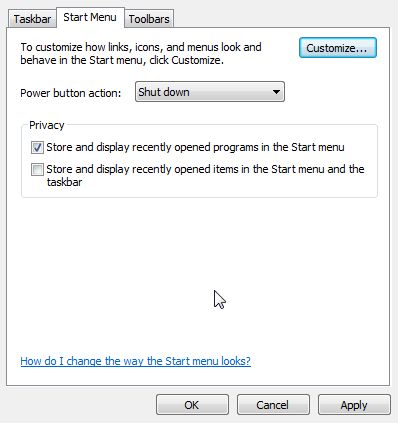
5. Windows’ computers have what is called a ‘safe mode’. If you are having problems, try to reboot your computer into this mode and see if you can duplicate the problem there. There are two ways to get into safe mode, the easiest is to tap the F8 key gently a few times just as your computer is restarting, after you see the first letters on your screen.

Photo of DOS Screen
Tap your F8 key when you see the first screen like this.

Choose Safe Mode or Safe Mode with Networking (as we did) if you want to check your Internet connection:

Photo of Safe Mode screen
Use your up and down keys to choose, then hit Enter.

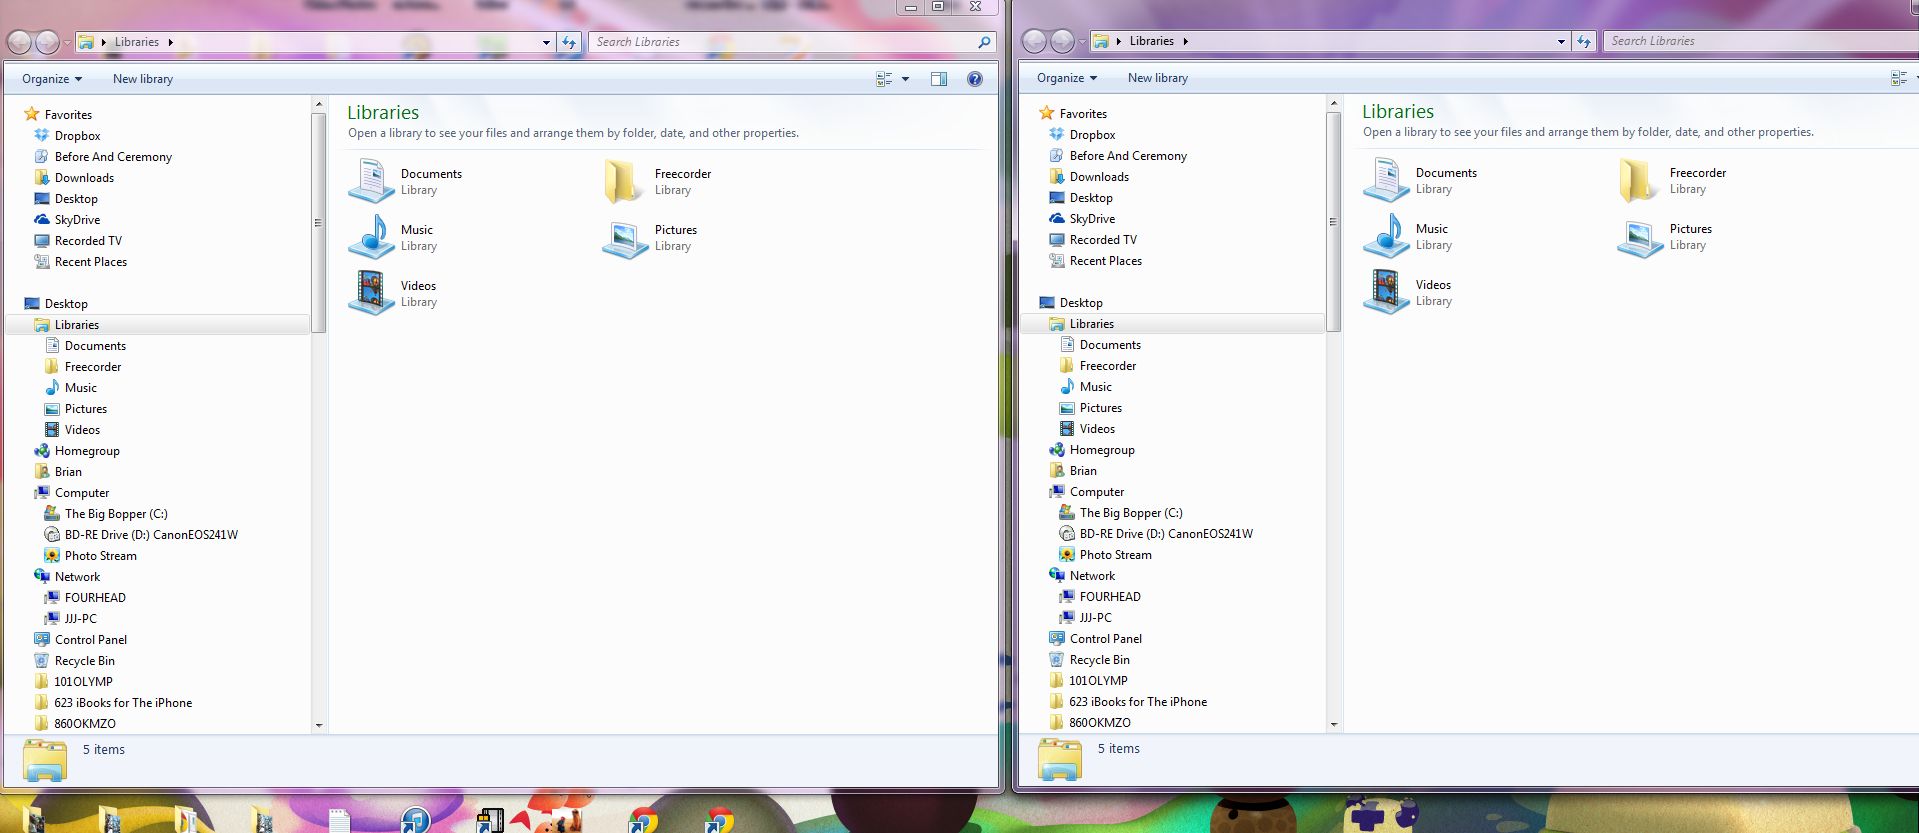
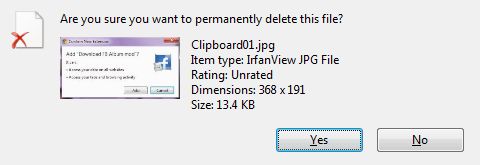
When you are in Safe Mode, everything will look quite different. Manage as best you can to check the problem, free from the many other programs that start when you run your computer. If you find you are having a problem running your anti-virus software or deleting some software, try doing it while you are in safe mode. Some programs defend themselves from deletion but when you run safe mode, they cannot run and cannot stop themselves from being deleted.

Somehow we were able to reconnect to the Internet but we’re not sure why we couldn’t in the first place. Maybe one of these steps solved the problem, who knows? Whenever we encounter a problem that isn’t immediately obvious, we run through these steps one by one until we sort things out. Hopefully, you’ll be able to do the same.

Thanks for reading!


Speed Up Your Computer

When you add software to your computer, that software usually insists on adding itself to your start menu. What does this mean? It means that, sooner or later, your computer will run slower and slower and/or it will take forever to boot. Here’s a quick way to speed up your computer without deleting any software.

1. Head down to your Start button:

Photo of Msconfig   1
That little search box is what we’re looking for.

2. Type ‘msconfig’ in the ‘Search programs and files’ slot:

Photo of Msconfig   2
msconfig is what you type, then hit Enter. 


3. In the window that opens, and it might take a while, look for Startup:

Photo of Msconfig   3
Click on Startup.

4. What you see next is a list of everything that ‘starts up’ when your computer starts. By this we mean software, of course. Windows has many things that run in the background but, for now, we’re only dealing with software that you’re installed. This list is pretty straightforward. If an item is checked, it starts when your computer starts. If it isn’t checked, most of the time it doesn’t start when your computer starts. We say most of the time because some software, malware, adware and things from Apple (usually), start up even when unchecked. We’ll tell you how to get rid of those things a bit farther down. 

5. Even if you don’t uncheck anything, this list gives you an idea of why your computer is slower than it used to be. Things on this list are in chronological order so the original stuff is at the top, the things you have added on later are lower down the line. If you scroll down, you’ll see some things like this, perhaps:

Photo of Msconfig   4
The one we hate is the Yontoo Desktop. We don’t know how we got it but we know we got rid of it.

6. Usually, the sketchy stuff is at the bottom. Nothing bad will happen if you uncheck something, so don’t worry about wrecking your computer. Unchecking something only means that you’ll have to wait for a bit before you can use the software. Want to run Spotify? Well, you’ll just have to look for the shortcut on your desktop and double click it, it won’t be on your taskbar after you uncheck it here.

7. Down on the lower right of your taskbar, you’ll see a row of icons. Those icons are the programs that are running right now on your computer. Yes, they are running but you probably aren’t using them. Some programs, Skype is one, have an icon on the right of your taskbar and another on the left. The icons on the left side usually are the ones you are actually using, as opposed to ones that are just running in the background, waiting for you to click on them. After you uncheck some of the items in the list, there should be fewer icons down on the right of your taskbar.

8. OK, so now you know why your computer is running slowly. If you can’t stop something from starting by unchecking it in msconfig, go to the program and find its preferences. Somewhere in the preferences is a menu where you can choose to uncheck ‘start when Windows starts’. Quicktime, Adobe Reader and some other third party software (as opposed to Microsoft software), want to run all the time, just in case you decide to use them. This eats up your resources and slows your computer down. Now you know how to stop them from starting!

9. Finally, remember those icons on the lower right? Sometimes you can right click them to get to the preferences menu. Here’s an example:

Photo of Msconfig 6
A right click on the icon brought up this menu.

This is a handy way to tell Open Live! Central 3 that we don’t it to start when Windows starts. We also chose to uncheck the second part, too. You’ll have to make your own decisions on all of this but you can use msconfig to control what starts and what doesn’t, most of the time. Next time, we’ll tell you how to use it for something else. Stay tuned! 


10 Windows Tricks and Tips for Beginners

Windows can be confusing by times, even for experienced users. Here are ten tips that will help you spend more time working and less time getting frustrated.

1. Multiple Windows Explorer windows: We use Windows Explorer often. Many times, we’re moving stuff around from one folder to another. If you have one window open while you do this, it takes time to do just about anything. Here’s how to get two or more windows open. Click on the folder icon on the bottom left of your taskbar to get one window open then right click the same icon and choose ‘Windows Explorer’.  A second window will open up which will allow you to move things around from window to window, one folder in the left and another folder in the right. How do you move stuff around? Read #2.

Photo of Two Explorer Windows
Drag things from one window to the other. You can have more than two, too.

2. Dragging and dropping is easy, right? Select something with your left mouse button but don’t release that button. As long as the button is pressed, the thing you selected can be dragged around your screen, even from one folder to another. If you want to move a file to another folder, just click on the file, hold the button and drag it to the folder you want it to end up in. You’ll know when to let the button go when the target folder turns blue. Want to select more than one file? Read #3.

3. Multiple file/folder selection: There are several ways to select more than one file. If you click anywhere inside a folder, hitting CTRL and the A key at the same time will select everything in the folder, single files as well as folders. If you click on one file in a line of files, move your mouse down to the last one you want to choose then hold down the shift key and click your left mouse button. That will select the first and last file and/or folder and everything in between. Want to select only a few files? Hold down the CTRL button and click on every file or folder that you want to select. Read #4 to see what you can do with the files or folders after you select them.

4. Right click menus; Your right mouse button is very handy once you have selected something in Windows. Right click a selection and read the menu. There are all kinds of things you can do from that menu. Right now, we’ll choose Copy and Paste. Once you choose Copy, the whole selection you’ve made is copied into Windows memory (RAM). It will stay there until you select something else or until you Paste it all into another folder. Once you decide on a location, click anywhere in the white area (or on a folder if you want to Paste it all into that folder), right click and choose PASTE. Read #5 for a faster way to do this.

Photo of Right Click Menu
There are many choices when you right click a file or folder.

5. Shortcut Keys: If you select something, there are several shortcut keystrokes that you can use to interact with that selection. You have to press two keys at the same time but, believe us, it’s a lot faster than using your mouse. Here are some shortcuts you can use: CTRL/a (select everything inside a folder), CTRL/c will copy any selection, CTRL/x will ‘cut’ any selection (cut removes the selection from its current location while copy leaves the selection where it is and puts a copy somewhere else when you choose Paste later on), CTRL/v will paste anything that is in Windows memory into whatever you choose to paste it into, CTRL/s will save something that you’ve already saved again or it will open up the ‘save as’ window if you haven’t already saved your selection or file, CTRL/z will ‘undo’ whatever action you’ve just performed. Remember this last one. If you move a file or do something drastically wrong, hit CTRL/z and that action will be undone. There are more shortcuts but that’s enough for now.

6. Screen Captures: Sometimes you want to save a photo or part of something that is on your screen. You can’t always save an image you see so you have to do a ‘screen capture’. On your keyboard, and it varies from computer to computer and laptop to laptop, look for a key near your F (function) keys. It will have ‘PRTSCN’ or something similar on it. Sometimes you have to press another key to make it work but normally you just have to press the key itself. Do that and your whole screen is saved temporarily in Window’s memory, waiting to be pasted into an image program. We use Irfanview for all of our basic image work and we recommend that you do the same. Just open any photo in Irfanview, hit CTRL/v or right click and choose Paste, and the copied screen is pasted into a new photo window, ready to be saved as a picture.

7. Highlight sections of text:  Remember we told you about ‘drag and drop’? Well, you can use drag and drop to highlight whole paragraphs on the Internet or in a document, or single words or sentences for that matter. Click your mouse on the first word but don’t let the button go, then drag the mouse over what you want to copy until you reach the end. Everything that is selected or highlighted will turn blue. Right click in the blue section (or hit CTRL/c) and then open Notepad or Word and choose Paste or hit CTRL/v. This is a fast way to copy bits and pieces of text from one area or folder or document to another.

Photo of Drag Selection
The text in blue can be copied or cut.

8. Zip to the top (or bottom) of a page:  If you’re on Facebook and you’ve scrolled all the way to the bottom of the page and want to get back to the top instantly, just press 7 on your keyboard number pad. If you want to get to the bottom of a page, press the 1 key. Note that this only works on a keyboard with a number pad and Numlock has to be off. Some laptops have the number pad, some don’t.

9. Safe Ejection: If you’re using a flash drive or something similar, Windows doesn’t always let you eject it. Windows insists that some program is using the drive and you have to wait until it’s finished. Don’t just yank the drive out, it can be ruined. The quickest way to get it to eject is to log off then back on again. It’s reasonably quick and very effective when a drive and/or Windows is stuck and won’t let you safely eject it.

Photo of Logoff menu.
Switch user will work just as well.

10. Permanent File Deletion: We’ve saved this one till the end, mainly because it can backfire on you. You all know how to delete something, right? Select it, right click and choose ‘Delete’. Whatever it is that you selected is sent to the Recycle Bin. What if you want to get rid of that item permanently? Simply hold down the Shift  key and then select Delete. Windows will ask you, Are you sure you want to Permanently Delete this file? It’s your choice to say Yes or No to that. If you choose Yes, that file is gone forever. You’ve been warned….

Photo of Ten Tricks and Tips
Make sure before you select Yes.


If you send the item to the Recycle Bin, it can be restored. Use this tip carefully, just in case you make a mistake.


Thanks for reading! Hey, why not Like us in Facebook? Keep up with our posts and updates. Here’s the link: Computers Made Simple on Facebook

Hide Recently Opened Files

For whatever reason, there are times when might want to hide the list of files that you’ve recently opened. If you hover your mouse over the Windows Explorer icon just to the right of the start button, you’ll probably see a list of the files that you have recently opened.

Here is what that icon looks like:

Photo of Windows Explorer Broken
Windows Explorer Icon. Hover over this and see what files have been recently opened. 

Maybe you share a computer or you have been snooping, whatever, there should be a way to stop Windows from recording your activity, right? Well, there is. Follow these steps to stealth computing!

1. Right click the start button down on the lower left of your taskbar. This one:

Photo of Windows-Start-Button
Right click this button.


2. Click the word ‘Properties’ and this menu will pop up:


Photo of Properties Menu 1
Right now, this is the way the menu probably looks.


3. All we’re concerned with now is the second line in this menu, the one that reads ‘Store and display recently opened items in the Start menu and the taskbar’. Let’s uncheck that line to make our menu look like this:

Photo of Properties Menu 2
Uncheck the second line then click Apply or OK.


4. Once you have unchecked the menu, click OK (or Apply then OK), and the change will be made. No more record of what files have been opened. Yay!

Thanks for reading! If you have a problem that you can’t solve, make a comment on any page and we’ll see what we can do. Better yet, ask a question on our Facebook page: Computers Made Simple on Facebook  and then ‘Like’ the page. Thanks!

Fix Microsoft Software Problems

Every now and then, Microsoft’s Office or Word Starter simply won’t work. Either they won’t start or they won’t close down, something screws up somewhere. What do you do? You let Windows fix the problem. Here’s how:

1. Click on Start or the Windows icon down in the lower left corner of your taskbar and look for Control Panel.

Fix   1
Open your Control Panel


2. When the Control Panel opens up, look for Programs:

Fix   2
You want to click on the words ‘Uninstall a program’.


3. You don’t really want to uninstall a program, all you want to do is fix one, but this is how you get to do that. Once the program menu opens, scroll down to the Microsoft program that you want to fix. In this case, we’re going to pretend to fix Microsoft Office:

Fix   3
Click once on the program that you want to fix, to highlight it.


4. Up on the blue bar, part way down from the top, look for the words ‘Organize   Uninstall    Change”.  We want to click on Change.

Fix   4
Change is what you want. Click it.


5. Once you click Change, you’ll see a menu that will let you Add or Remove Features (you must have the CD or DVD handy), or Repair the installation. We want Repair.

Fix 5
Choose Repair, then Continue.

Follow the prompts and Windows will repair the software for you. In the case of Office or Word Starter, you should probably delete all the user settings, just in case they are causing the problem. Repair will ask you if you want to do that, we would suggest ‘yes’.

The final two screens may not look the same as ours, depending on which Microsoft program and which version of it you are using. This fix only works with Microsoft software, unfortunately. We used this when the free edition of Word, named Word Starter, wouldn’t…start, that is. This solution fixed everything up quite nicely.

Thanks for reading!  Why not ‘Like’ us on Facebook and keep up with all the latest tech news and tips?   Computers Made Simple on Facebook