Category Archives: Instagram

Instagram (Cont’d) – The Ultimate Social Media Guide – Part 4

We’ll finish up with Instagram in this post. Posting videos, searching for users with similar tastes, following/unfollowing…let’s get going.

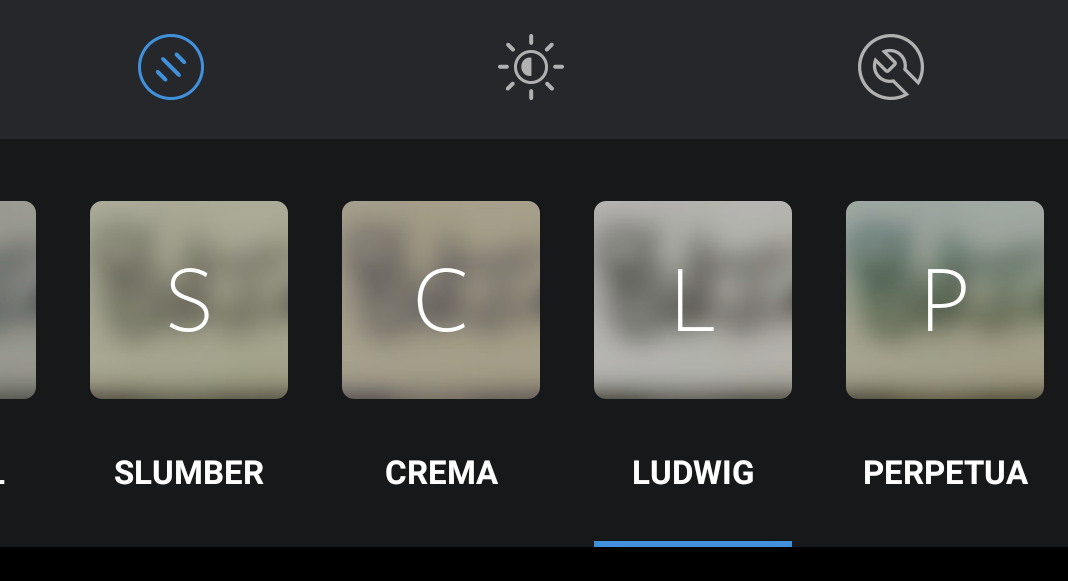
1. Posting Videos – You don’t need a separate app to post short videos on Instagram. If your device can record videos, and most can, you will be able to post them right from the Instagram app. Why would you post a video? Maybe you’ve got something to say, something to sing or maybe you’ve captured your cat doing something funny. All are great subjects for videos.

Photo of Instagram video button
Press the red button to shoot a video now or press Gallery and choose one from there.

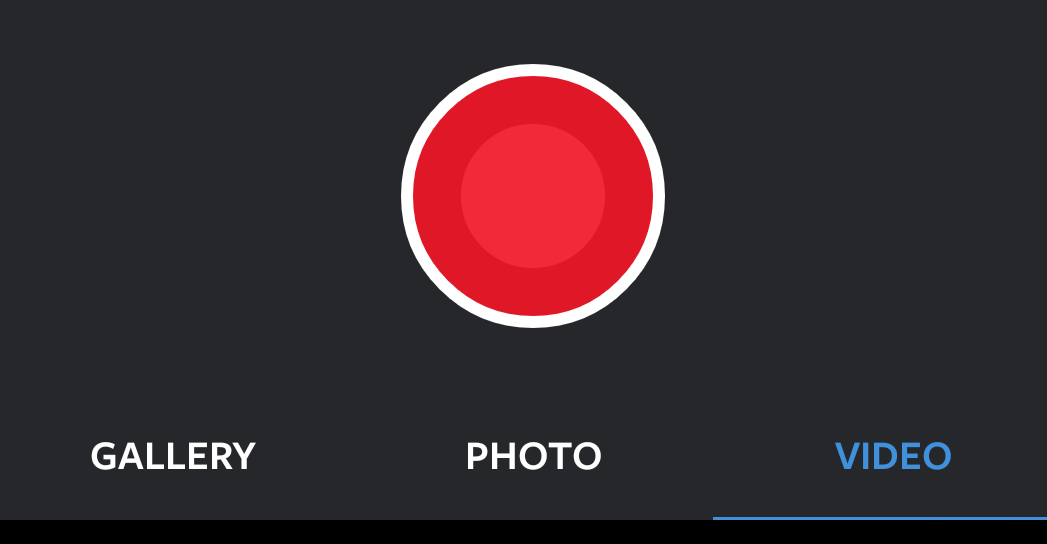
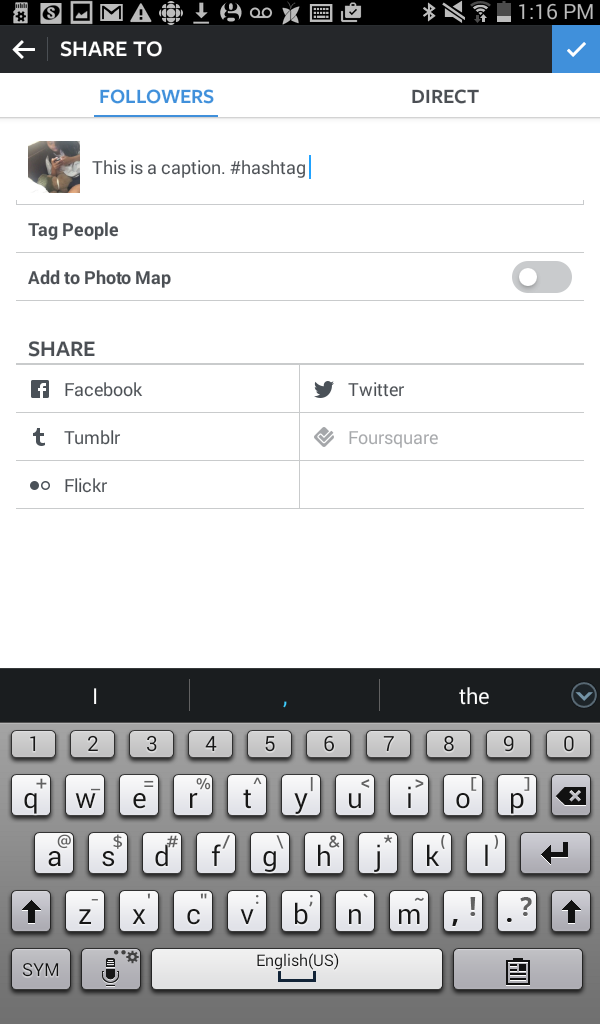
It doesn’t matter if your video is new or if you recorded it previously. Press the camera icon then choose Video instead of Photo if you want to record it live. Press Gallery if you want to use a video that you recorded at another time. After that, it’s the same as posting a photo. Type in some words, some hashtags, etc. then press the blue arrow at the top right. That’s it! Videos are good for sharing sounds with your followers. We post unusual bird songs, crazy squirrel noises, etc. , things that don’t come out in a photo.

2. Followers – You will start out with no followers at all, that’s obvious. If you use Facebook, however, you’ll be able to add your friends who also use Instagram. That’s a good start. Later on, you can start to ‘like’ or ‘love’ photos that you see when searching for followers. Sometimes, those users will follow you back.

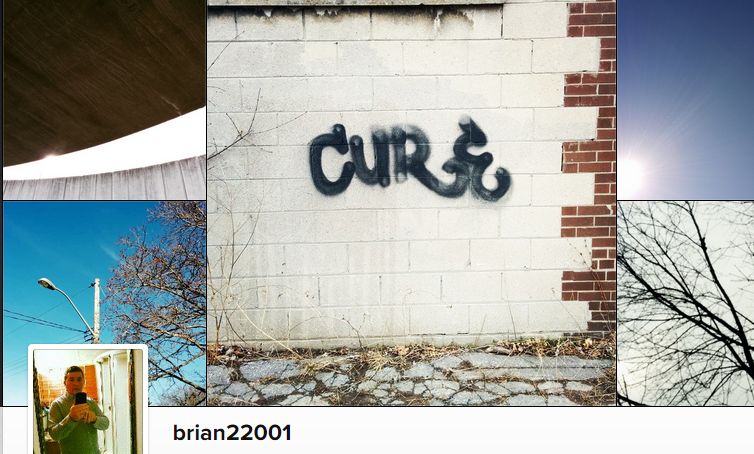
If you see a photo that you like, click the user’s name. This will take you to the user’s profile page, complete with a short bio and thumbnails of all the photos and videos that they’ve posted. Scroll down to see if the photos match your tastes. If they do, scroll back up to the top and press the word Follow. Once you do that, you’ll see every public post from that user.

3. Hashtags – We’ve described hashtags and how to use them before but you must remember this: without hashtags, it’s hit and miss if anyone will actually see your photos, at least at the start.  Hashtags bring your efforts to the attention of anyone who searches using them. Even if those users don’t follow you, they just might like your photo. You will get a notice when they do, don’t worry. That way, you’ll discover other users with similar tastes.

4. Search for People – You can search by username as well but that usually doesn’t work. Why? People rarely use their own name for their Instagram profile. If you press the icon of the magnifying glass at the bottom of any Instagram screen, you’ll be able to search by photo or people. Instagram chooses recent photos and posts them on the photo search page. If you see something you like, tap the photo to make it larger then tap the user’s name to see all of that person’s public posts.

If you tap the People tab, you should see a list of people you might know, from Facebook let’s say, or maybe a series of well known Instagram users.

If you tap the magnifying glass icon at the top of that page, you can search for people by typing in their name or, better yet, search the hashtags. Type in some of your hobbies, for instance,  to discover other Instagram users who share the same interests.

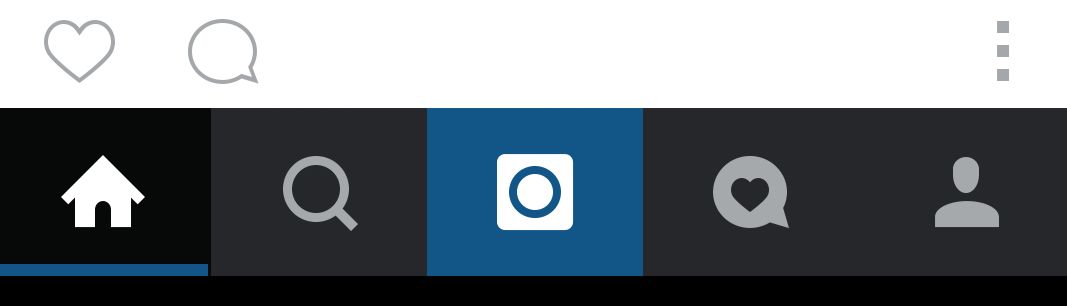
5. Beyond that, the final two icons will show you your notices, as in people who have liked or commented on your photos or followed you. The last icon is your profile. You’ll be able to see how many people you follow and the users who follow you. Make sure you type a few words about yourself, right? If you have a website, this is a good place to advertise it.

6. The Secret Button – Well, it’s not really secret but not many people know how to use it. The main Instagram screen shows photos in a continuous line, allowing you to scroll from top to bottom. All of the photos are large, you don’t have to tap them to see a bigger version. That’s great but as soon as you go to someone’s profile, the photos are shown as thumbnails, requiring you to tap each one to see a larger version. Here’s where the secret button comes in. Look for these icons, just above the thumbnails:

Photo of lines
See the icon of three horizontal lines? Press that.

Press the three horizontal lines. The thumbnails suddenly change to full size photos, allowing you to scroll through them just like on the main Instagram panel. Much easier than tapping a thumbnail, waiting for it to load and then tapping the back button to see the rest of the thumbnails. Cool!

That’s it! You are now officially an Instagram expert. Go forth and impress your friends with your photo techniques and posting skills. Let us know if you have a problem, OK?

Comments and questions are welcome but  Likes on our Facebook page get immediate attention.  Here’s the link: Computers Made Simple on Facebook .  Thanks for reading!

Instagram (cont’d) – The Ultimate Social Media Guide – Part 3

Here’s how to post and adjust your photos on Instagram. All of the information here is directly from the Instagram app, none of what you see is from a third-party source. We advise you to stay away from any third-party apps, we call them ‘helper’ apps. Instagram is secure and very well known. Any helper apps cannot be guaranteed as safe so stay away from them. Here we go:

1. Posting a photo on Instagram can be as easy as opening up the app, pressing the camera icon, snapping a photo then clicking the blue arrow. You don’t even have to put any words on your photo. Simple, yes. Fun, no. Let’s use Instagram’s own tools to make your photo pop out from the rest.

2. Start on the main Instagram screen:

Photo of Instagram icons.
We’re going to use the middle icon for this exercise.

3. You’ll figure the icons out sooner or later but, for now, we’re looking at the middle one, the one that loosely resembles a camera. Press it. This is what comes next:

Photo of Instagram menu
Choose your photo’s source.

4. Instagram wants to know where your photo will originate. Is it from your photo gallery? Is it something you’re going to take right now or is it a video? If you have a selection of photos to choose from, press Gallery. If you want to snap a photo now, press Photo.

5. Once your photo is on the screen, the first thing you might want to do is ‘crop’ it. There’s a bit of a snag here so read this carefully. If you choose a photo from your gallery, you can easily crop it (make it smaller, essentially zoom in on it) simply by putting two fingers on the screen and separating them. The photo will expand beyond the frame. You can then move the center of interest around until you get what you want. You can’t do this with a photo that you shoot within Instagram. For that, you have to crop the photo before you take it. Do the same thing, put two fingers in the middle of the screen then pull them apart to zoom in on whatever it is you’re shooting. Remember that the image you get that way won’t be as crystal clear as the full original. That’s because you’re making the pixels bigger, you’re not really zooming in as you would with a lens with optical zoom.

6. Once the image size is set, move on to the filters. Press the blue arrow at the top, it points to the right, to proceed to the filter screen.

Photo of Instagram filters.
These are the filters, all are inside the Instagram app itself. No need to add a third-party app.

7. Pressing each main filter changes your image except the first one. That one is the #nofilter setting that we talked about last time. The rest, named Slumber, Crema, Ludwig etc., adjust the tones, color and brightness of your photo. Scroll through them by pressing the right one again and again until you find the one you want.

Photo of Instagram filter adjustment
X-Pro is the chosen filter. Press one of the two icons on the right above it for further adjustment.


8. Once you’ve locked in on one filter, there are two more adjustments that you can make. Look for the sun icon, that adjusts the brightness of your photo, then the wrench icon. That one adjusts your chosen filter settings. It’s up to you to decide if you want to adjust things or leave them as they are. Some Instagram users spend a lot of time with this and their images reveal the care they take.

9. All done? Press the blue arrow on the top right. This will bring you to the final screen, the one that will allow you to describe your photo, explain it, make a joke, whatever suits your fancy. Use hashtags to increase your audience. If your photo has a cat in it, use the hashtag #cats so that other Instagram users will find it, if they search for #cats, that is.

Photo of text screen.
On this screen you can add a description of your photo, a hashtag as well as share it with all of your followers, just some of them (press direct) as well as share your photo on other social media.


Note: You can share a photo with all of your followers or just some of them. Use the Direct menu to send your pic to any of your followers using the @ symbol then typing their name.

That’s it. Our next post will be about posting videos, finding people and some of the finer details of Instagram. Stay tuned!

Comments and questions are welcome but  Likes on our Facebook page get immediate attention.  Here’s the link: Computers Made Simple on Facebook .  Thanks for reading!


Instagram – The ultimate social media guide – Part 2

We’ve been using Instagram for a few years and we love it. Yes, it’s a bit of a time-waster but Instagram has some excellent benefits too.

1. Virtual Travel – Depending on who you follow, Instagram can show you real, non-tourist brochure photos from all over the world.

2. Sharing Your Photography Skills – Smart phones can take excellent photos, believe it or not.  Sure, you can use one of Instagram’s filters to liven up a dull shot but many people post unfiltered photos too. Use the hashtag #nofilter when posting and you’ll open up your photo to other Instagram users who don’t filter their photos either.

3. Free Stuff! If you manage to attract enough real followers, you just might be able to snag some swag. Swag is a slang term for ‘free stuff’ that companies send out if you mention their name on Instagram. Obviously you need many thousands of followers before you reach that level but, hey, it’s worth shooting for.

Note: When we say real followers we mean followers you get one by one through your photos, not the kind you pay for. Yes, you can pay for Instagram followers but that isn’t a good idea. Instagram weeds out its user list from time to time, deleting fake accounts.

Photo of Instagram
Speaking of followers, here is our main Instagram account. Check us out!

4. Free Photography Lessons – Whether you’re into fashion or abandoned buildings, there are Instagram users who post photos about it. We’ll explain hashtags in a moment but trust us, there are lots of photos out there on whatever topic you find interesting. Check out framing, exposure, use of depth of field, etc. in photos by regular people or world famous photographers. Feel free to ask questions about photos you like. You’ll find that most people are very friendly on Instagram, aside from the usual trolls who don’t post but feel the need to comment on other people’s efforts.

Instagram doesn’t work on a computer so you’re stuck with the camera in your phone most of the time. That’s not a real problem however because some of those cameras are excellent.  But believe it or not, some Instagram users still use film as a photographic medium. We assume that they scan the results and copy the photos to their phones or email their work to themselves. You can do the same but what you can’t do is post a photo to Instagram from your computer.

Hashtags are used in the same way they are on Twitter. # (the number sign) is what makes a hashtag a hashtag. Putting # before a word or phrase (no spaces) will mark your photo as part of the group of photos with the same hashtag. Once you get your Instagram account, you should start searching for people who post your kind of photos. How do you do that? By using a hashtag as your search parameter. Some popular ones are #nature, #beaches, #abandoned, plus many others. Remember that a phrase can’t use spaces. #nofilter works while #no filter doesn’t.

Once you start posting photos on Instagram, you’re opening up your photos to comments and ‘likes’ from other users all over the world. If that isn’t what you want, you can make your account private. When you do that, only people that you let into your account can see your photos. Keep in mind that hashtags won’t work for you if you have a private account. You can still search using hashtags but other Instagram users won’t be able to see your hashtagged photos.

That’s enough for today. Sign up for Instagram now and check out some photos. In our next post we’ll get into the nitty-gritty bits, all about posting photos, cropping, filters and, yes, posting videos with sound. Stay tuned!

Comments and questions are welcome but  Likes on our Facebook page get immediate attention.  Here’s the link: Computers Made Simple on Facebook .  Thanks for reading!