Category Archives: GIMP

Best Free Software – 10 products you need

Short and sweet today. We just set up a new computer and realized that we haven’t done a ’10 Best’ free software post in a while. If you’re a regular reader, you’ll know that we love free! There’s no need to pay for any software these days, believe it or not, other than a basic version of Windows or iOS. Heck, you can even get a free OS by downloading Ubuntu. If you go that route, Linux has hundreds of very cool, very free apps but that’s another story. Today, let’s move on to free software for Windows.

1. Irfanview 

Photo of Free Software    1
Irfanview


We’ve written many posts about Irfanview. Here’s one, complete with links: Post on Irfanview . We use Irfanview EVERY day for viewing pics, doing screen caps as well as bulk renaming and resizing PLUS making PDFS. You’ll wonder what you ever did without it. Make sure you get the main program as well as the plugins. Install Irfanview first, then the plugins.

2. VLC Media Player

Photo of Free Software    2
VLC Media Player


VLC will play any video file there is, hands down. Again, we use it every day. VLC will do more than play videos but the other things it does can get quite complicated. We prefer to use it as a player as opposed to a video tool. Here’s the link to the homepage: VLC Media Player

3. Windows Movie Maker

When we’re going to upload a video to Youtube, WMM is what we use to create it. Forget about using the Youtube tools, they’re not worth trying. Download WMM, get to know the easy interface, then create your masterpieces with it. It’s free but it’s powerful too. If you’re not into video, use WMM to create slideshows from your holiday pics. Here’s the link: Windows Movie Maker (If you have downloaded the old MSN Live Essentials, you should have WMM already. If not use the link.)
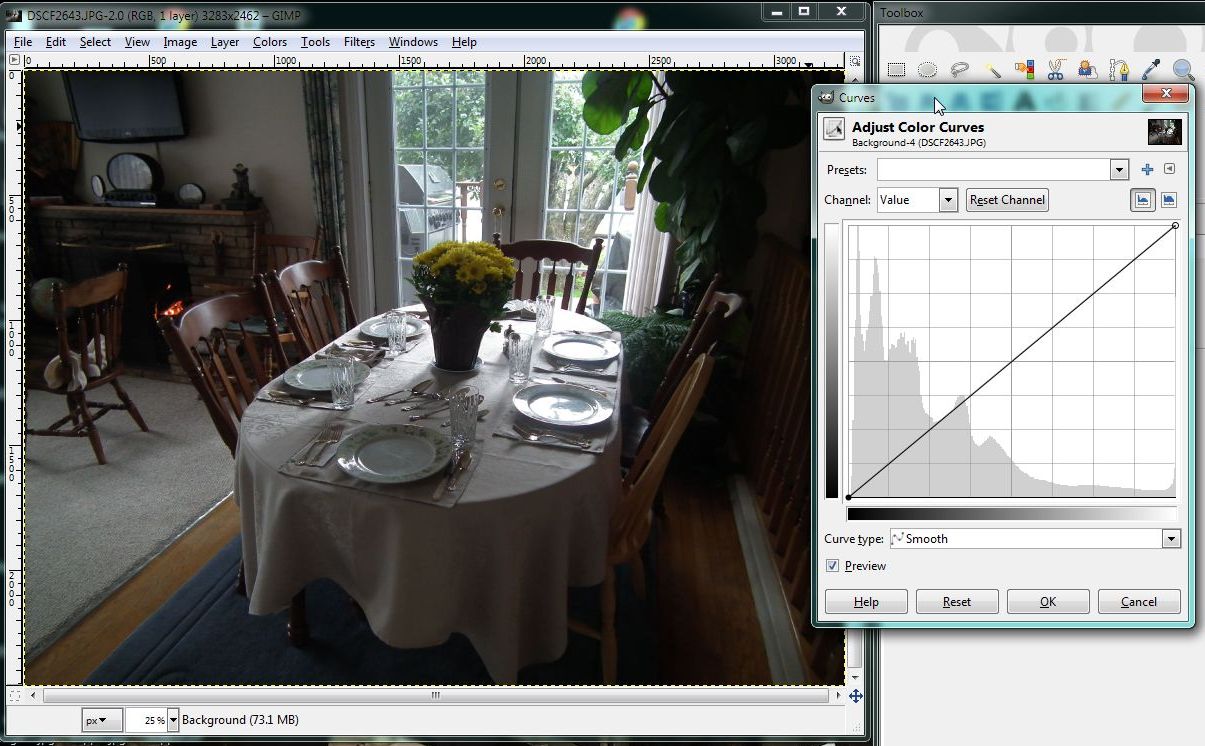
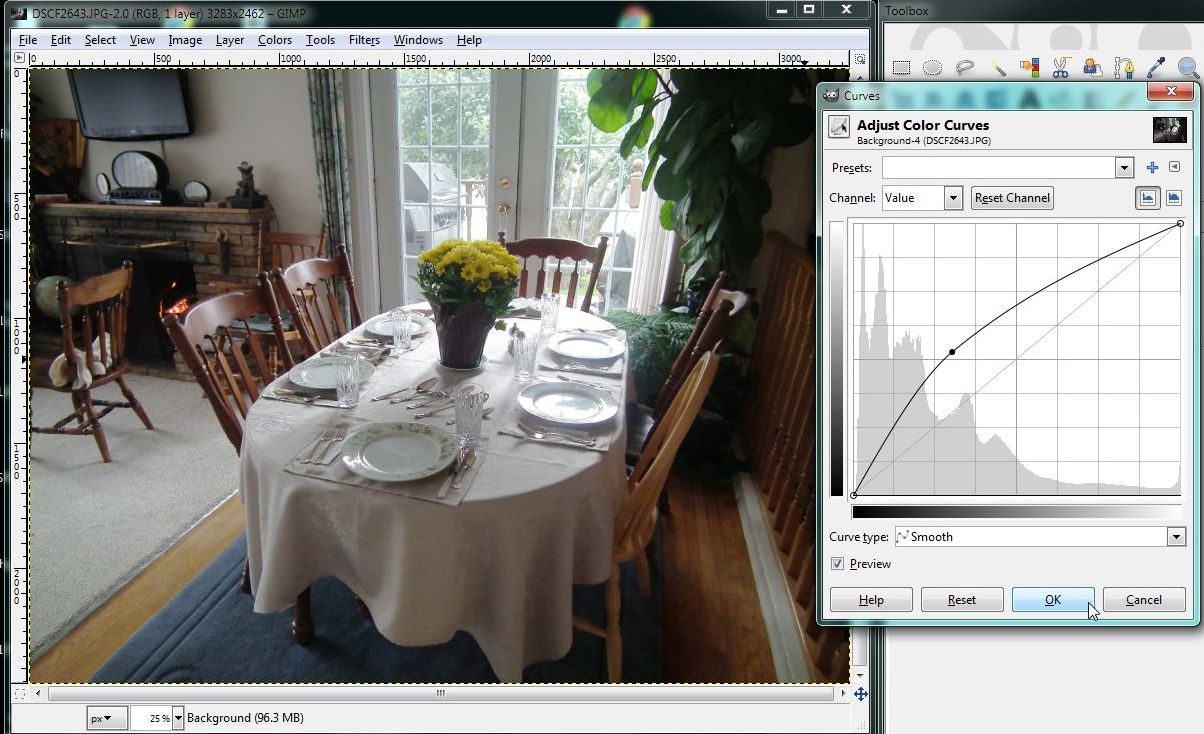
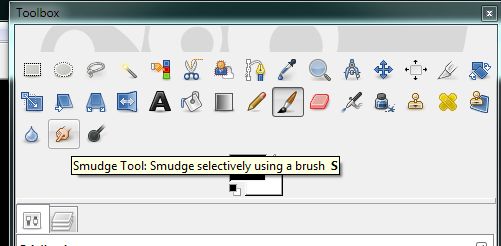
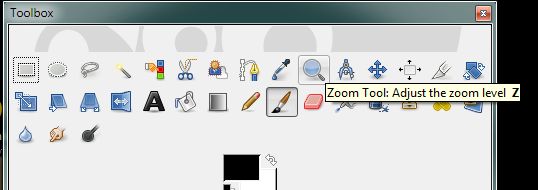
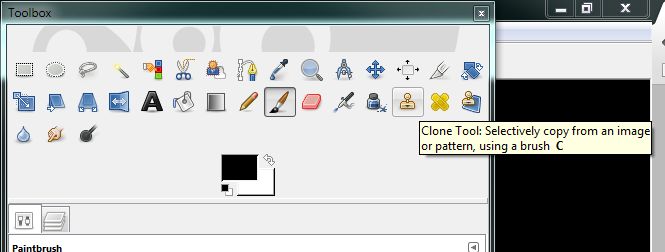
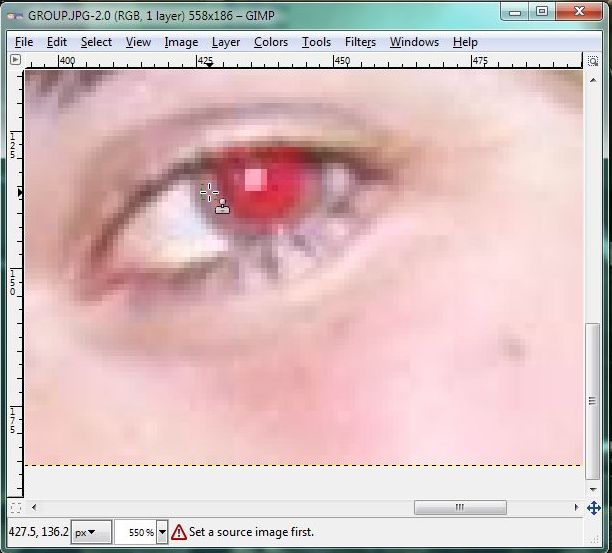
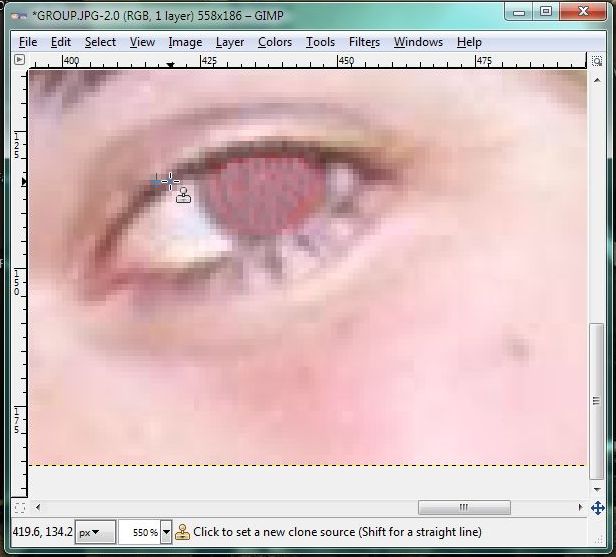
4. The GIMP

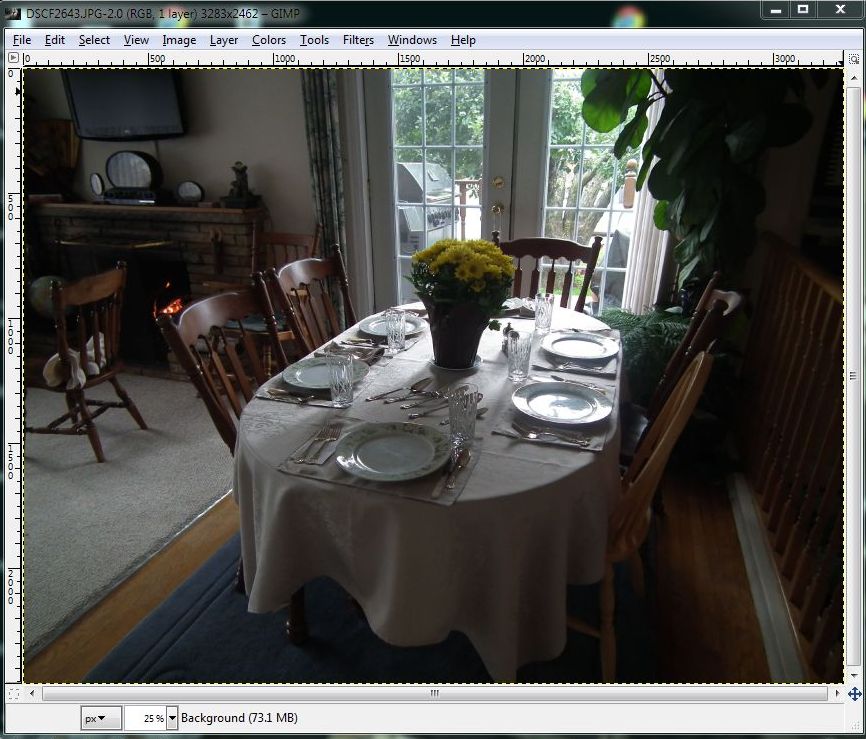
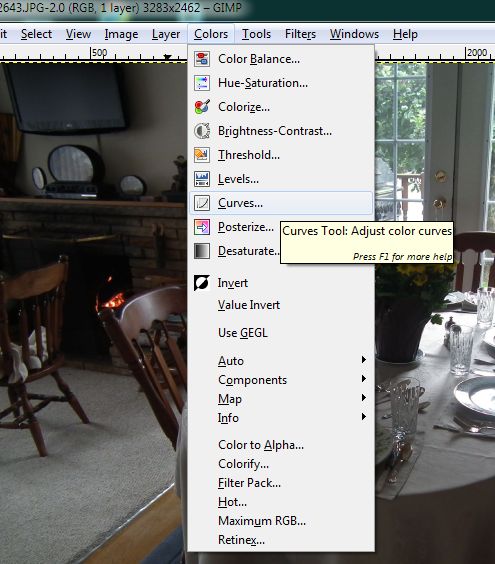
The Gnu Image Manipulation Program is just as powerful as Adobe Photoshop but it’s free. This powerful tool will take your plain pics and turn them into works of art, all the adjustments are at your fingertips. Here’s the link: GIMP

5. Burnaware

Archiving data to DVDs is simple and fast with Burnaware. The GUI is very intuitive, point and click and you’re soon creating DVDs (both normal and BluRay) in minutes. Get it here: Burnaware

6. Dropbox 

Photo of Free Software    3
Dropbox…you need it.


This should be number one on your list. We use Dropbox on every computer we own, and we have lots, keeping all of our current projects synced from on each one. Here is a link to one of our many posts on Dropbox:

Dropbox – 6 reasons why you should be using it now.  Don’t risk losing your data/pics/files to a hard drive that fails. Start using Dropbox now.

7. LibreOffice

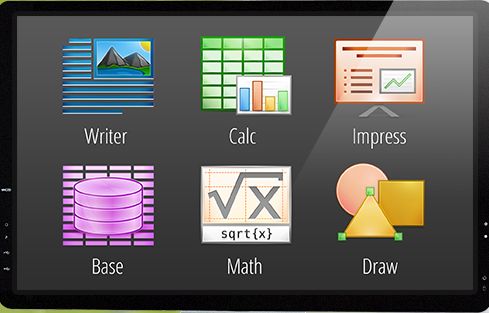
Although not completely compatible with Microsoft Office, LibreOffice is extremely robust…and free. With six components (Writer, Calc, Impress, Draw, Math and Base), LibreOffice has all of your office suite bases covered. Here’s where you can get it: LibreOffice 

8. Recuva 

If you’ve accidentally deleted data from a flash drive or an external hard drive, download Recuva and get it back. Read the instructions, they’re simple, and copy the deleted files to another drive.  You’ll be breathing easier in no time. Get it and learn to use it now so you’ll be an expert when you need to be. Recuva 

9. 7-Zip

Windows has its own zip utility which is pretty good and only a right click away but, and this is a big but, it doesn’t have a password locking feature, at least not an easy one. If you have a file(s) that you need to keep private, 7-Zip is quick, free and easy to use. 7-Zip site

10. Calibre 

Photo of Free Software    4
Calibre – Ebook management.


If you are into Ebooks, you need Calibre to manage them.  This software catalogues all the ebooks on your computer, no matter which folder they’re in, then changes everything into a format that your reader can use when the time comes to upload them to your device. You can also use Calibre as an ereader, too. iTunes works fine as far as getting books to your Apple device, but you still need Calibra to get those books into the format that your reader can handle. It’s a big download but it’s worth it. Calibre – Ebook Managment

That’s our ten. What do you use that is indispensable? Let us know in a comment or on our Facebook page: Computers Made Simple on Facebook 

Thanks for reading!


Setting Up a New Computer – Part Three

We’re down to optional software now, things you might find handy in some situations but not every day. The longer you use your new computer, the more these programs will  make sense.

1. GIMP (Gnu Image Manipulation Program) is a powerful and FREE image editor, easily as good as Photoshop or any of the editing software that came with your digital camera. You can work on RAW files, too.

2. Cathy is a free tool that lets you keep track of your backup CDs and DVDS. First you burn the CD/DVD with all of your data on it, then you have Cathy scan it. Once you do that, you can search Cathy’s database for the exact file you want and know immediately what disc it is on. You don’t install Cathy. It runs from a your desktop or from your Dropbox folder. The files it creates, in other words the databases for each CD or DVD, are stored with the program and you can move the whole Cathy folder around with you, moving it from computer to computer.

3. WinDirStat does one thing and it does it very well. It creates a map of any drive that you have attached to your computer. As hard drives get larger and larger, keeping track of your files gets very difficult. WinDirStat creates an image of a drive, showing you graphically what files are where. Large files are shown as large squares, color-coded depending on the type of tile they are. As you download videos or edit large digital photos, your hard drive can get pretty crowded. Use WinDirStat to find and archive your precious videos and images. Here’s a screenshot:

Photo of WinDirStat window.
Names at the top, images of files on the bottom.


4. LibreOffice is a full-fledged office suite, the equal of Microsoft Office but with one big difference. It’s free. LibreOffice will interact with Microsoft Office perfectly so there is no need to feel that you won’t be able to send documents around to your friends or co-workers. Here’s a screenshot of the various parts of LibreOffice:

Photo of LibreOffice
Six apps within one suite.


5. Calibre takes care of all of your digital books, keeping track of them on your computer and converting virtually any Ebook format to any other Ebook format. It’s fast and free and works perfectly.


These are five free programs that are available. Sure, there are more but the selection that we’ve described in our last two or three posts will get you on your way. If you have favorites, please let us know.


Thanks for reading!

Scanning Large Photos and Documents

We’ve described how to use Microsoft ICE in a previous post: Microsoft ICE  This free program works well with normal photographs but we ran into a problem this week with scans of an old map. Here’s how we managed to work it out.

1. We scanned each side of the map using six separate scans. When we placed it on the scanner, we made sure that the map was square and that each scan overlapped the previous scan. When we finished, we had six full platen scans.

Photo of HK Map Scan
One of the six scans for one side of the full map.

2. In order to ensure that each photograph was oriented the correct way, seeing as how we had to scan some parts of the map upside down, we opened each photo in Irfanview and used the original document as a guide. Some photos had to be turned horizontally left or right. Irfanview is great for looking at photos plus it has many tools with it. We’ll use it later on to make a PDF out of the map. A PDF can handle a large file much better than a JPG photo plus you can zoom in our out at will. For photo editing, however, we use the GIMP. (GIMP is short for Gnu Image Manipulation Program and it’s free.)

3. Once the GIMP was up and running, we created a new file. That new file had to be large enough to accept all six of the scanned documents (photos). The map was about three scans wide and two high. Doing the math created a huge new file. How big was the file? It measured 6920 pixels wide by 5090 high. That’s big!

4. With the file open on one monitor, we opened the folder with the scanned photos in the other monitor. One by one, we dragged each photo from the fold to the new GIMP file. Every time you add a photo to a GIMP file, you create another layer. All of this is done for you, just drag and drop.

5. Once two images were in the new file, we would roughly align them to match each other. With a map, this is pretty easy because of things like roads and location names. Then we added the rest of the scans one by one and arranged them accordingly.

6. After all six scans were in the new GIMP image, we zoomed in and aligned them more precisely. This took a bit of time but, as we said, it’s much easier with a map than it is with a photo.

7. Six separate images mean six layers. A six layered image can’t be saved as a JPG so we had to ‘flatten’ the image into one layer. We double-checked our alignment then selected flatten under the Image tab then saved the image as a JPG file.

Photo of large HK Map.
Here it is, six scanned photos arranged like the original 1972 map.

8. Lastly, we used Irfanview to create a PDF from the two large GIMP images, one for the front of the map and the other for the back. Here’s our instructions for that: Creating a PDF with Irfanview

This is a basic outline of what you have to do to scan large documents. Microsoft ICE works perfectly…most of the time. We were surprised that it didn’t seem to be able to handle the maps but, as it turns out, we did well on our own. You will too.

Thanks for reading! If you have questions, ask us.

Follow us on Facebook. Just click Like and you’ll get all our updates and tech tips as soon as we post them:Computers Made Simple on Facebook

Adjust Brightness Using GIMP

Digital cameras are incredible, aren’t they? Twenty years ago, who would have thought that we’d all be carrying around at least one camera almost all the time? While the cameras themselves are amazing, sometimes the photos that they take need a bit of work. Assuming that you’ve used the correct settings, most digital photos should look pretty good. The problem arises when you take a picture in a difficult lighting situation, one that your camera doesn’t really handle well at all.

Most of these photos occur with a primary component of the photo is backlit. Look at our example photo and you’ll see what we mean:

Photo of example photo 1
This is our ‘before’ photo. The light from the doorway is overpowering everything else.

Every digital camera user should know that they have to set focus and exposure before they snap the photo. How do you do that? With most cameras, you press the shutter button halfway while you’re aiming at the primary part of the photo, let’s say the table in this example. Then you would raise the camera, frame the shot and snap the photo, all without letting go of the shutter button. The camera then knows that you want the lighting and focus set for the table, not for the windowed doorway.

If you didn’t get the right shot, here’s how you can use GIMP to do some repairs. First of all, if you don’t have GIMP, or ‘the’ GIMP, as some people call it, get it here:  http://www.gimp.org/  and install it. Once it’s installed, you can right click on any photo file and the option to ‘Edit with GIMP’ will appear on the menu.

Photo of Curve  2
We’ll be using the ‘Curves’ adjustment tool.


As with most computer tasks, there are several different ways to do the same thing. As far as adjusting brightness or intensity in a photo, we’ve found that the Curves tool works best, much better than the ‘Brightness-Contrast’ or Levels tools. Once the image is open, head up to Colors at the top and click on Curves when the menu pops down.

Here’s what you’ll see:

Photo of Curve  3
The straight line is actually the tool.


See that straight line running on a diagonal in the window on the right? That’s how you adjust the curves in a photo. Grab the line anywhere with your cursor (mouse) and move the line up or down, left or right, while holding the left mouse button down. Look at the photo and you’ll see how the levels are adjusted. You can grab the line in one place, adjust it, then grab it in another place and adjust that, as well. If you get waylaid, simply click the ‘Reset’ key and the image goes back to normal. Here’s what we decided that we liked best:

Photo of Curve  4
Once we got what we liked, we clicked OK to set the curves.


All of these adjustments are subjective, yours will be different from ours. Once you get things set the way that you want them, click OK and save the photo under another name. Such and such ‘edited’ works well for us. Why? Because you still want the original photo, even if the light levels aren’t perfect. If you or your partner or whoever decides that they don’t like your interpretation of the photo, you can always go back and redo your work.

Thanks for reading!


Red Eye Removal with GIMP

Most modern digital cameras have an automatic setting to remove ‘red eye’. Red eye is simply light from the camera’s flash bouncing off the back of a person’s eyeball. When our pupils are wide open in a dimly lit room, conditions are perfect for red eye. Nowadays, cameras use the flash to force the pupil closed before the photo is taken. Blip, blip, blip goes the flash and the pupil closes. Voilà! No more red eye.

But what about all of those old pics that still contain red eye? Here’s a quick, basic tutorial on how to remove red eye using GIMP, the free photo editing program. We’ve written about GIMP before. Maybe you can check out those posts to get acquainted with GIMP. Here the the links:

Photo Repair with GIMP

How to Clone Part of an Image using GIMP


Using GIMP – The Mosaic Filter

In this tutorial, we’ll be using several tools:

Photo of Red Eye 03
The smudge tool will even out the new pixels in the eye area.


Photo of Red Eye 04
Remember to change your brush size as you move in with the zoom. A brush that seems small on the normal photo will be huge when you’re zoomed in.


Photo of Red Eye 01
The zoom tool will bring you in close to the red eye you’re working on.


Photo of Red Eye 02
The clone tool will take pixels from one place to another.


Here’s the image that we’re using today:

Photo of Red Eye 1
Lots of red eyes here.


1. Our first step is to open the photo in GIMP. Right click it and choose Edit in GIMP. Then, in order to get close in on one of the red eyes, choose the magnify tool and click right on the eye you want to work on. That will center the eye on the GIMP workspace. Here is how far we zoomed in:

Photo of Red Eye 2
Zoom in to about here.

2. With the eye this big, it’s easy to see the work area. In the photo above, we’ve already chosen the area that we want to clone from, the beige area outside of the red part. Choose the clone tool then click the tool in a non-red area while holding the CTRL key. Look for the cross-hairs in the photo above, that’s our source. The icon of the rubber stamp is our tool which will place pixels from the beige area onto the red area.


Photo of Red Eye 3
This is the eye with all, or most, of the red removed.


3. We’ve taken all of the red pixels and replaced them with beige pixels. Are the person’s eyes beige? No, but there is nothing else to work with. In this particular case, there is no color at all except the beige which is, most likely, the brown of the real eye color mixed with red. We could have used a darker brown but, as you will see later, just about anything looks better than the red.

4. What’s missing in the eye above? The center part, right? We will add some black in the middle to make the eye look real. Zoom back out (choose the zoom tool and hold the CTRL key while clicking on the image. GIMP will zoom out). In our example, we moved back enough to get some of the dark cap on the other girl. Here’s how it looks:

Photo of Red Eye 4
We took pixels from the cap on the left and put a dot in the center of the eye we were working on.

At this level of zoom, the eye looks totally fake. We know that. First, this is an example, and second, once you zoom out to the bigger photo, you won’t notice this as much. Take your time and do the best you can.

5. We worked on the two girls in the middle for a short time and came up with this:

Photo of Red Eye 5
Not perfect but better than the red that we started with.


Two things here: we expect that you’ll be able to do better than this example, that’s first. Second, we wanted you to know that we were working on a real photo, not one that had been set-up for this. If we were going to use this photo in an album or on Facebook, for instance, we would have done a substantially better job. As it is, it’s not that noticeable but it’s not perfect.

Have some fun with this tutorial and see what results you can come up with. Questions and comments are welcome so don’t be shy.

Thanks for reading! Like our page on Facebook and get constant updates on our posts and other information that we post there. Computers Made Simple on Facebook