
VHS ruled the home entertainment world for about two decades, from around 1980 up till 2000 or so. The switch from analog tape to digital video discs (DVDs) happened rapidly. Unfortunately many of us were left with hundreds of hours of VHS tapes, usually sitting in boxes in storage.
Getting the information from those tapes used to be a very laborious process. The tapes are analog as we said earlier. Analog data can only be transferred in real time, there are no files that can be copied and pasted as there are with digital data.
We’ve written about VHS transfers before. Here is a link to our original solution: Archive VHS Tapes Unfortunately the process listed in that post is very hands-on. We’ve recently found a simpler, somewhat faster answer to the analog to digital problem. Yes, the process is still done in real-time but it’s pretty much hands-free.
The Toshiba DVR630:
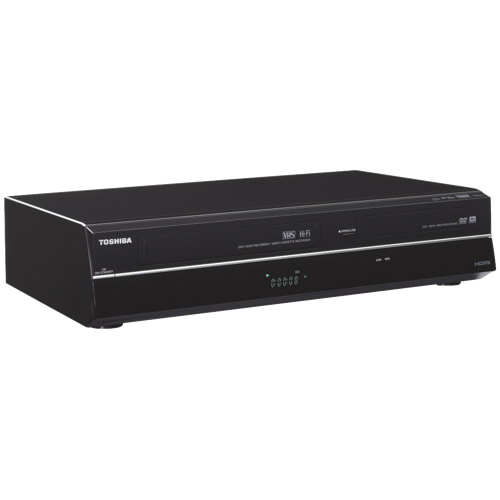
Priced around $200.00, the DVR630 is one of very few DVD recorders that has a VHS tape player built into it. Memorex has one also, we hear it’s the same unit as the Toshiba, and there may be others. We chose the Toshiba based on the name and the online reviews.
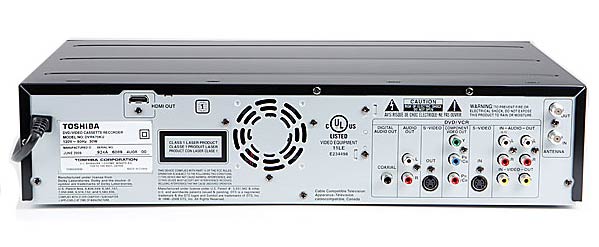
The beauty of this particular machine is that it has an HDMI out port. Why is that important? This means that you can hook it up to your new HDTV with only one cable. The VHS image you’ll see on your screen certainly isn’t High Def but it’s as good as you can possibly get plus there’s only one cable to hook up. Most HDTVs have more than one HDMI port. If yours doesn’t have enough, you can buy an HDMI splitter for less than ten dollars. Here are the ports on the back:
Transferring VHS tapes is a bit confusing to set up but once you’ve done it once, it’s basically a two second job the next time. Here are some of the steps you need to perform:
1. VHS to DVD or DVD to VHS? Yes, you can go both ways but VHS to DVD is the norm.
2. Quality of the recording. You can jam 8 hours of VHS tape on a DVD or just 2. Obviously the quality is better on the latter setting.
3. Once the recording has been completed, you must finalize the DVD before you can view it on another DVD player or on your computer. That process takes less than two minutes.
TIP: To save yourself time, record all of your tapes at the lowest quality, highest time per DVD setting. Why? Because once you get the data off of the VHS tape, you can scan it quickly on your computer or standalone DVD player. If you find something that you’d like to save in higher quality, you can re-record it later. Running through a VHS tape from start to finish takes a long time, even on fast-forward. The process is much faster on a DVD.
If you have a large number of VHS tapes, the whole recording process will take a month or more, broken up into six hour stretches. The beauty of the DVR630, aside from its HDMI out port, is that it stops recording once it has sensed that there is no image data for three seconds. If the VHS tape runs out, the DVD recording stops. All you have to do then is to finalize the DVD, switch the VHS tape to a new and insert a blank DVD and start over again. Let it run overnight, you can’t hurt anything by doing so.
That’s it for today, thanks for reading! Comments and questions are welcome but Likes on our Facebook page get immediate attention. Here’s the link: Computers Made Simple on Facebook
You could always have it done professionally. There are numerous VHS to DVD services. Some use low quality DVD recorders or consumer video equipment. However, some will use high end professional video equipment, optimisation equipment, Hollywood grade compression, commercial printing, etc.
Or you could spam WordPress posts with links to your own business. Not cool. If you want to trade links, just ask. Our posts are for everyday people, not pros.