
We’ve recommended GIMP before. GIMP is a free, powerful image editor, full of the same tools that any Adobe product has. In our opinion, GIMP is faster and much easier to use. Here’s where you can download it:
Every now and then, maybe on Facebook, you might want to edit out someone’s face or a part of their body, let’s say something that would upset Facebook’s censors. Here’s how you can do it with GIMP:
1. Once you’ve installed GIMP, right click the photo that you want to work on and choose ‘Edit with GIMP’.
2. When GIMP finally opens, and it might take a few minutes the first time, depending on the speed of your computer, this is what you’ll see:
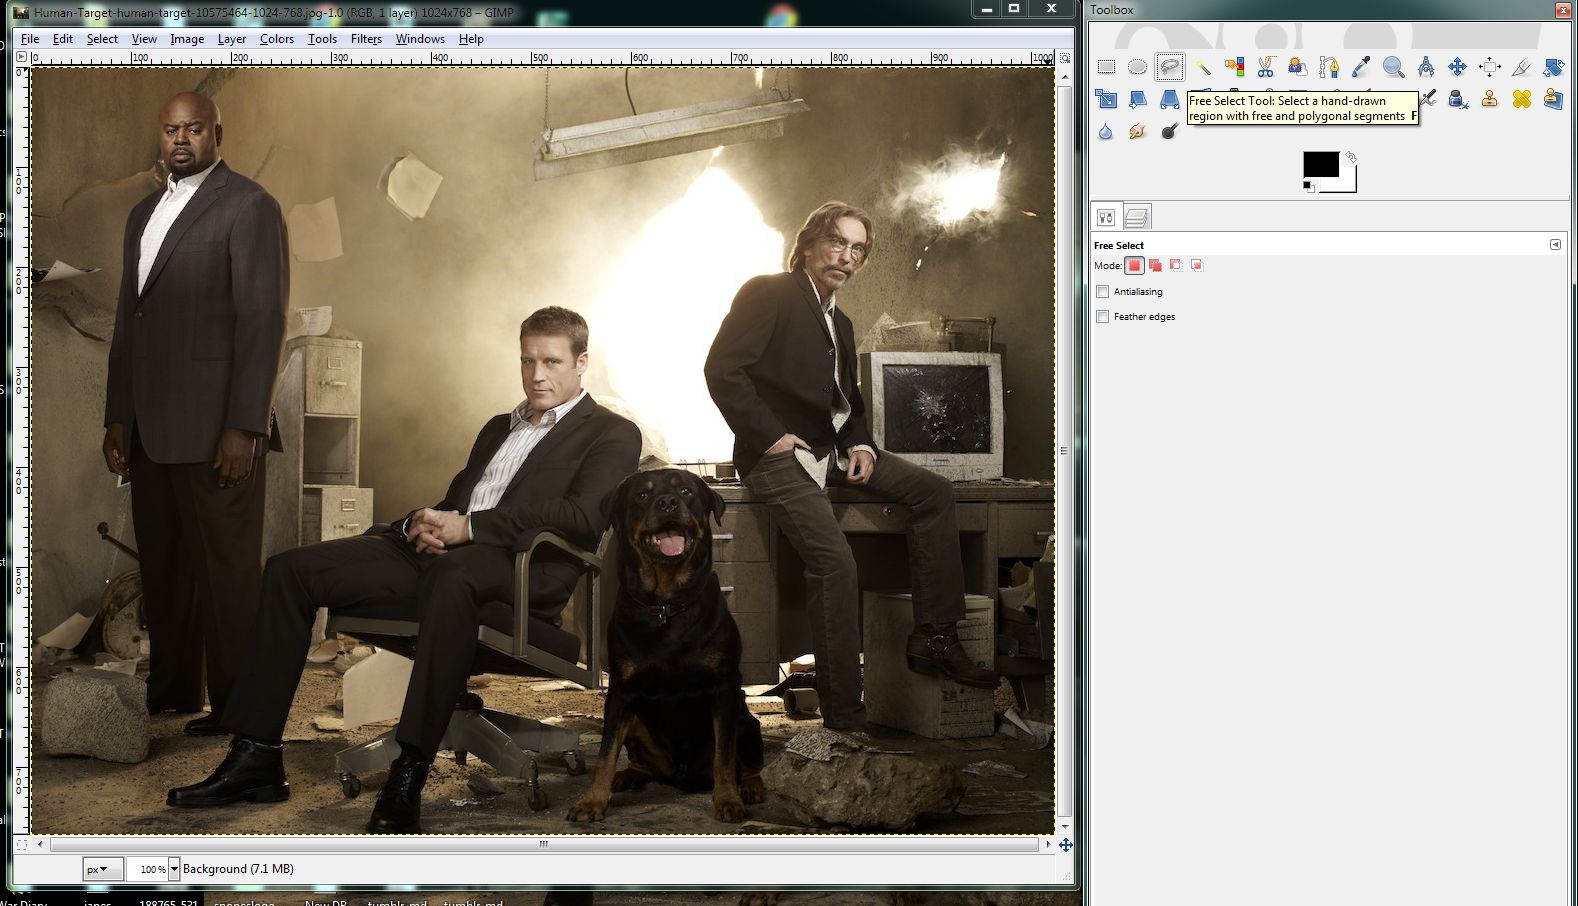
Up on the top right, you’ll see a list of icons which represent different tools to use in GIMP. What we want today is the ‘Free Select Tool’ which allows you to draw around an area to select it.
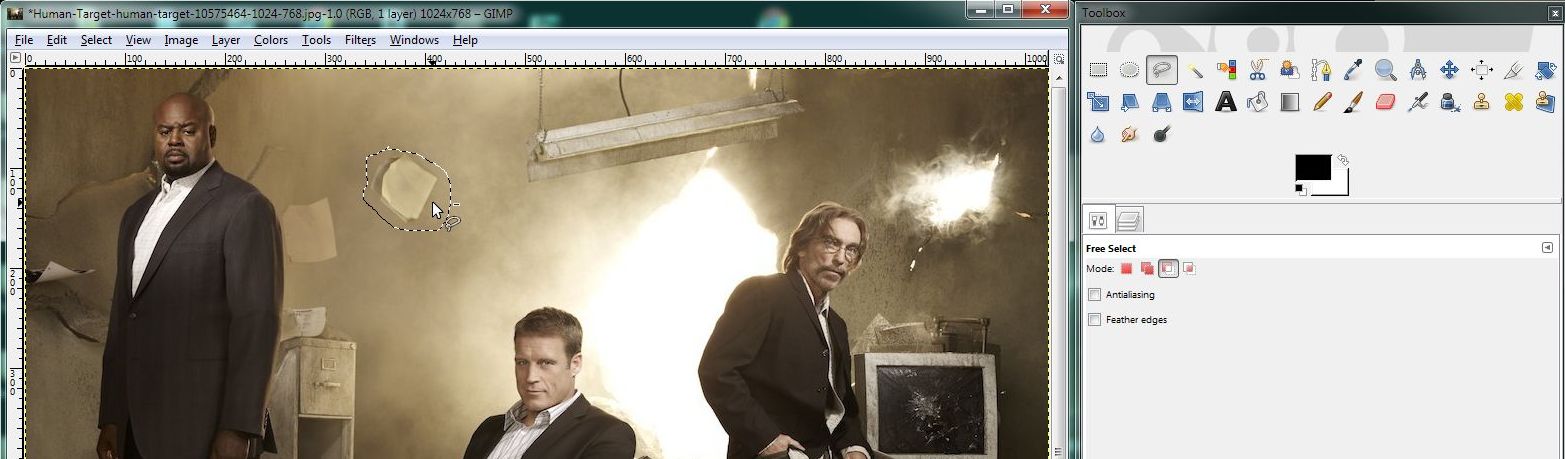
2. We chose to put a mosaic filter in one section of the wall. Here’s what it looks like when that area was selected:
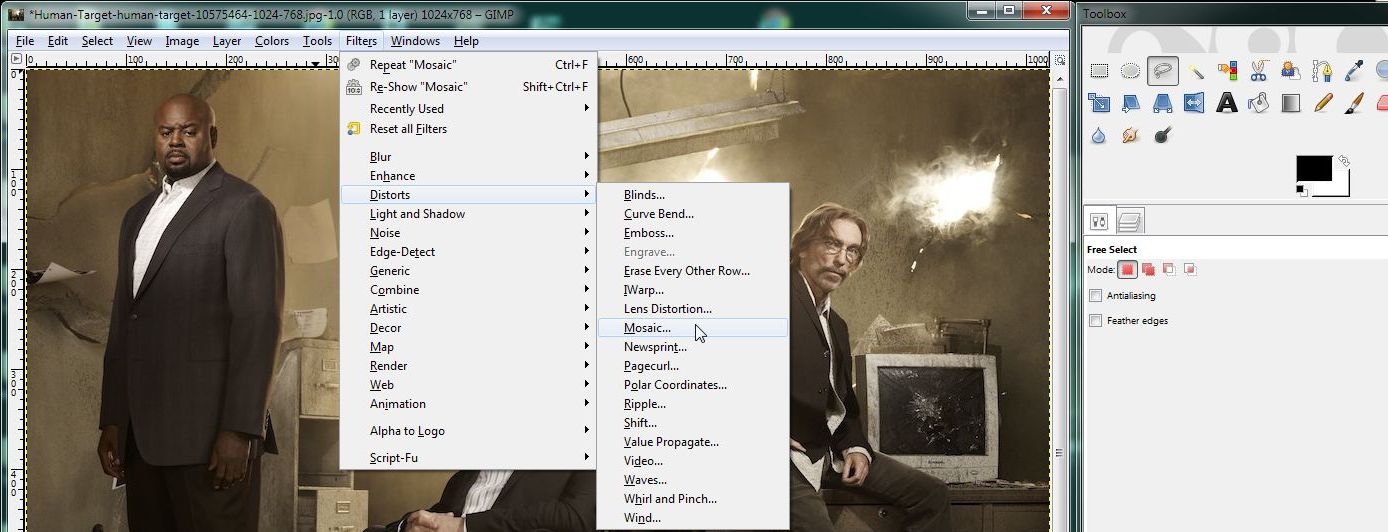
3. If you make a mistake, don’t worry. Either press the CTRL key and the z key at the same time, or go up to Edit on the top and choose ‘Undo’. Then try again. Next, we want to use a filter on the spot that we selected. There are a whole range of cool filters to use, don’t feel you have to stick to using mosaic. We’ll show you the basics, you’re free to discover and use whatever the heck you want! Here’s how to find the mosaic filter:
4. After you click on Mosaic, this menu will open. In it, you can change many settings for that one, single mosaic filter. We will show you the types of shapes that you can use to make the mosaic:
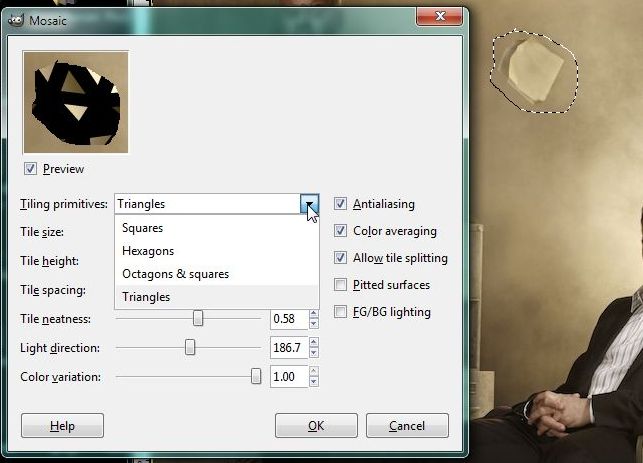
5. Just as you can select the shape that makes up the mosaic, you can also adjust the size, height, spacing etc. of that shape. Use the sliders to adjust these. Notice that the image in the small window changes, not the main image itself. That stays the same until you click OK.
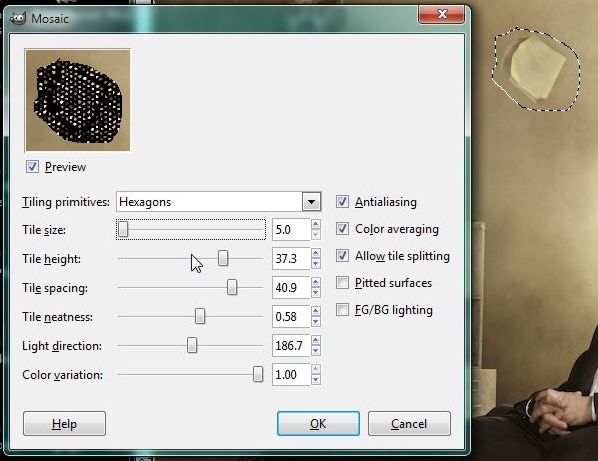
6. Once you get the tile to look right, click OK and the filter will be applied to your main image. Admittedly, our photo looks kind of nasty but we’re sure that your’s will be much more attractive.

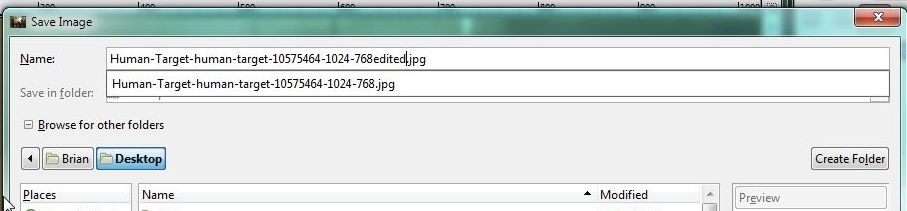
7. Go up to File and choose ‘Save As’ when you are satisfied with your work. Why would you use ‘Save As’? Well, you want to keep the original photo, right? If you choose ‘Save’, you will overwrite the original photo with your new ‘mosaic-ed’ image. It’s up to you but we want to keep both pics. When you choose ‘Save As’, we suggest naming the new image something like ‘***edited’ as we did here:
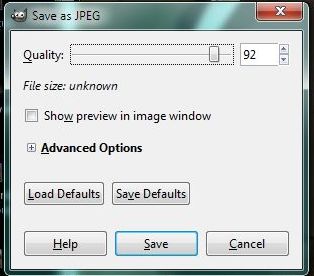
8. After you click OK, the last menu will pop up. This has to do with the quality of the .jpg that you are saving. Anything around 90% is fine.
Once you’ve mastered this exercise, you can see how using these filters isn’t as difficult as you might have thought. Remember that there is a whole range of filters here. You can select part of an image or use the filters on the whole image. We’ll do more on GIMP in the next few posts. Let us know if you have questions and don’t be shy to make a comment below.
Thanks for reading!
One thought on “Using Gimp – The Mosaic Filter”